You have just invested in a new camera. You have been doing photography a little while now so you snap on a lens, rush out and start shooting away. When you get back, however, a certain amount of disappointment begins to creep in, perhaps some buyer’s regret. The images are not what you had hoped they would be.
Why might this be? The chances are it’s because you have not taken the time to set your camera up properly. It might not be a new camera, you may have had it years, but if you don’t set it up correctly before going on a shoot, you run the risk of disappointment. Here are some things that are easy to miss when setting up your camera.
Setting Jpeg Only
Modern cameras are set by default to flatter us. After all, the camera companies want as many people to buy their gear as possible. One of the ways that they do this is to set the camera to a nice punchy Jpeg as a default setting.
As photographers, however, we want to take more control over the image. We know that RAW is going to give us a better result and that JPeg makes a good reference file for the RAW. Setting the camera to shoot both RAW and JPeg will let us do just that.
Always check you are set to RAW and Jpeg before shooting, its very easy to be shooting JPeg only, especially if you have for instance been shooting some sports or even just some family snapshots.
Auto ISO
Auto ISO is brilliant. But only if you remember you are using it. It's quite possible that you have left this on or it has been set by default. If you forget that it’s on, you risk degrading image quality as the light fades and ISO increases.
Make a mental check before shooting on what you anticipate the lighting conditions to be, then set Auto ISO or manual accordingly. If you love Auto ISO then set up some parameters that prevent the ISO going to high and hence noisy. If it reaches its limits, the camera will flash up a warning in the viewfinder and you can take back control.

Area Focus
This is a very common setting to make when shooting. Focus modes are often selected via a button or dial on the camera body and can be mistaken for the exposure meter modes. Area focus is ok for general shooting but when it comes to getting creative you might find it a hindrance.
Setting a single point focus mode is a much better option. A single point will allow you to position that point directly on the subject matter and lock to it. It gives you the confidence to know that the subject will be in sharp focus and not some random part of the image, as can happen with area focus modes.
Staying On Auto
You are in a rush, you want the camera to do the work for you so you put on full auto mode. The problem is that full Auto Modes often override all the settings you have made before. If you need to go auto, choose Program or the most suitable “Priority” Mode. These will maintain settings such as manual ISO and RAW files while still making the exposure decisions for you.
Setting Image Stabilisation The Wrong Way.
Image stabilisation is another setting that can often be set incorrectly. The most common error is leaving image stabilisation on when shooting from a tripod. The problem here is that the motors that stabilise the lens or sensor are constantly moving and making tiny corrections. When you are on a tripod there are no corrections to be made and so you can, in fact, get a type of motion blur during long exposure.
Another mistake that can be made is not setting the correct mode when shooting action. Action shots often require panning the camera to keep up with the subject. Normal stabilisation modes often do not work well with this type of motion. If your camera/lens has it, switch to a pan stabilisation mode. If not, switch it off altogether and bump the ISO if required.
Not Formatting The Memory Cards.
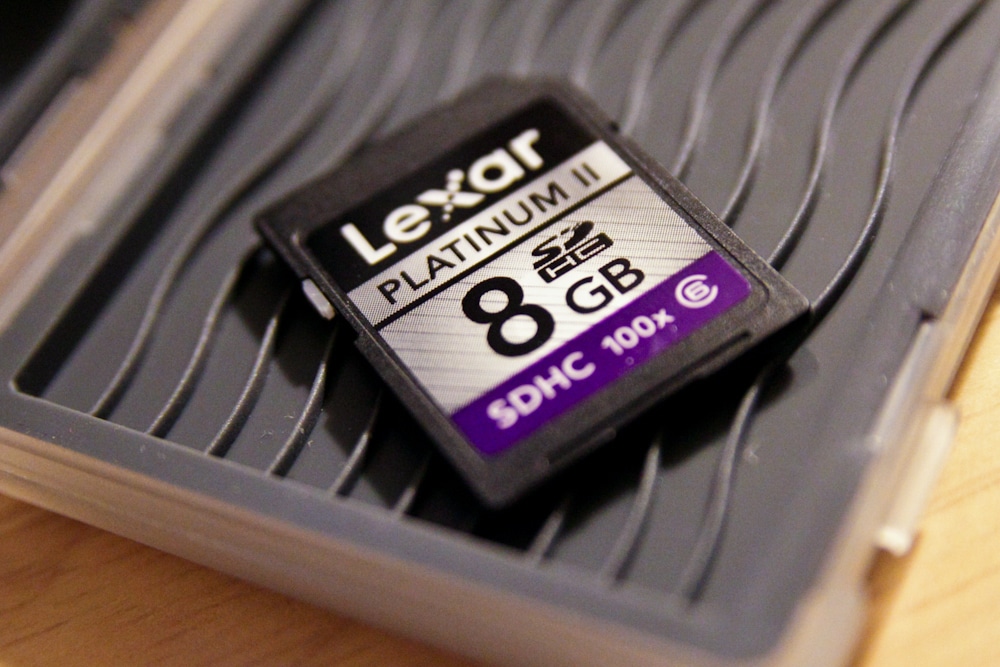
The last of the commons mistakes for today can cause a major headache. Forgetting to format your memory card can have a couple of consequences. First, if you have not uploaded the previous images, and your card is now full, what do you do? Delete some of today's shots or some of the images from your last shoot and soldier through? Maybe you did upload the last shoot but now you will have to select all of those images individually to delete them, taking away valuable shooting time.
Of course, you should always carry spare memory cards but with the massive sizes available to us, we often don’t.
Setting up your camera should be an automatic thing before you go to shoot but not an auto-pilot thing. You should consider the upcoming shoot, think about the most appropriate settings and carefully set the camera up around them. Try to avoid this becoming too instinctive, you still need to make a conscious decision about the settings you need.
So Here Is The Quick Check List
- Make sure you're shooting in RAW – cameras are usually automatically set to jpeg, this needs changing
- Remember you're using Auto ISO – the image can degrade as the light fades and the auto ISO increases
- Set a single point of focus – you images will be sharper than if you are using a broad area focus
- Don't stay in full auto mode – if you need to, set a priority mode instead
- Be careful with image stabilisation – stabilisation will impact your long exposures and panning
- Format your memory cards – a full card is super annoying when you are out photographing
Using the above list, you can see where setting up your camera is most likely to wrong and perhaps make a mental or physical checklist to get them right.
A little forethought before the shoot can help alleviate some frustrations when on location.

