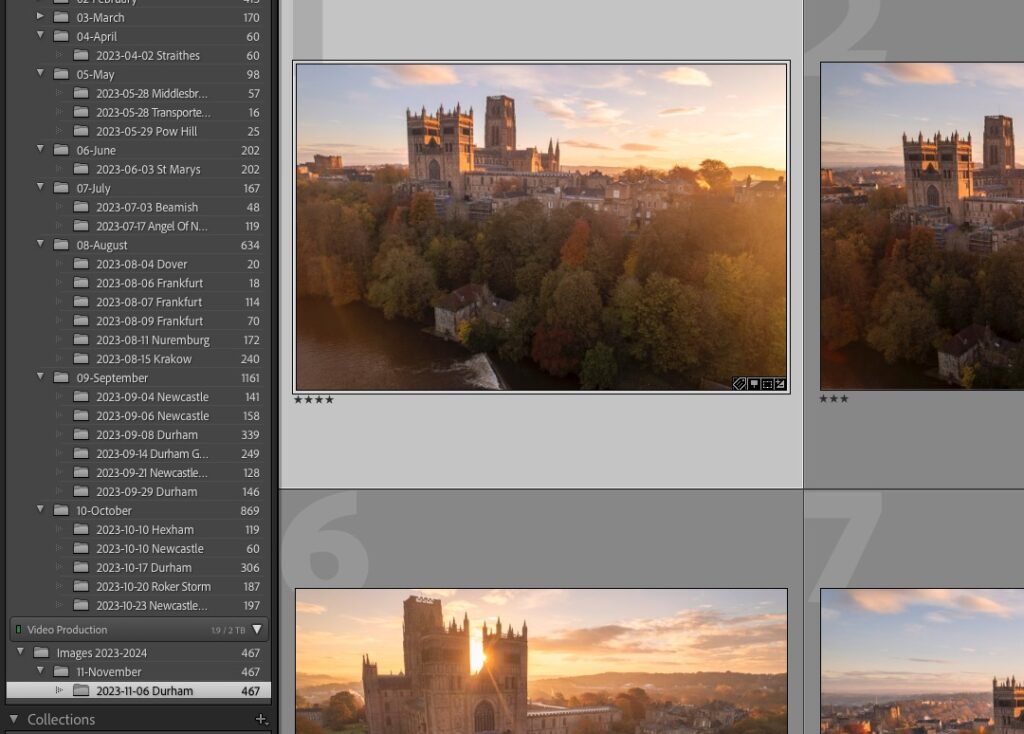
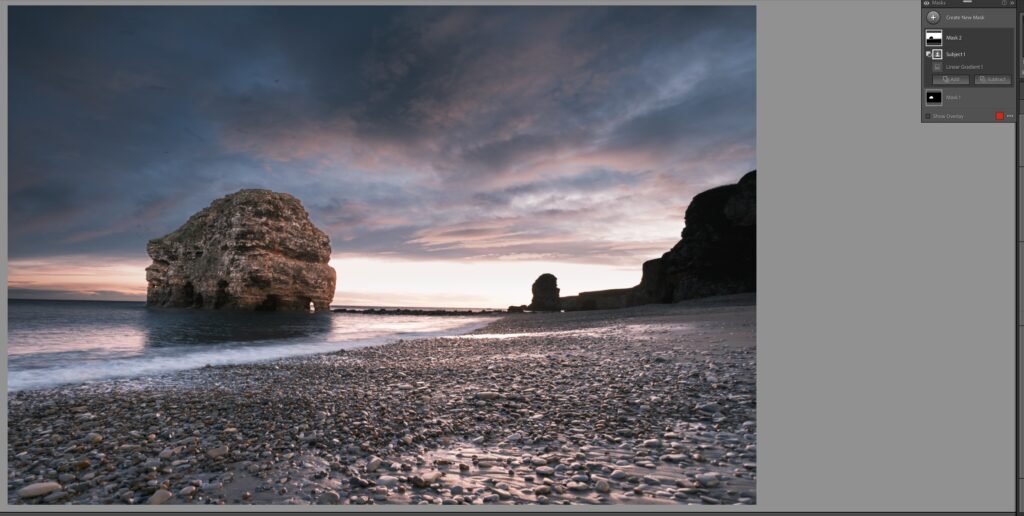
If you're as busy as most photographers, then optimizing your workflow can help you save a lot of time. A few seconds saved on each photo in a batch of 3000 shots will quickly add up to hours. Let's take a look at how you can streamline your post-processing workflow to give you more time to be where you really want to be – away from the computer and out there using your camera.
Batch Actions
After you’ve imported your shots, you can apply several generic adjustments. This can save you on a lot of time.
Since you know exactly how your camera behaves, you're likely well aware of its particular flaws. Check out some of these suggested batch actions.
Noise Reduction
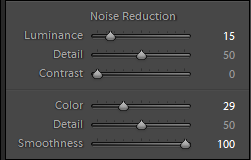
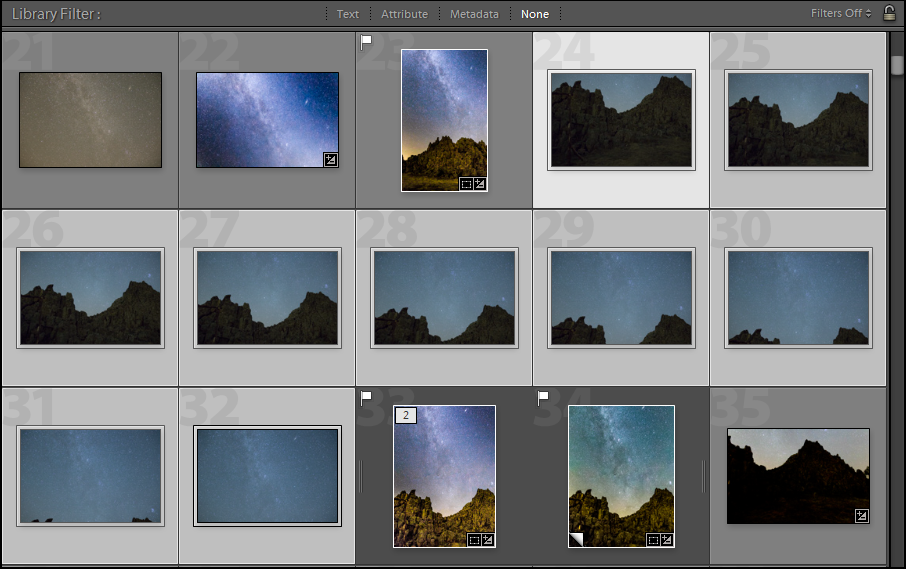
You can apply selective noise reduction by using keywords. There usually aren’t big shifts in ISO, so you can apply a general weak noise reduction for the lower ISOs. Search with keywords for the higher ISO values, and then apply stronger noise reduction to those. So instead of wasting time by scrolling down to the noise reduction field for each photo, you apply a general one to all of the photos. Just tweak the few where the reduction is too weak or too strong.
Sharpening
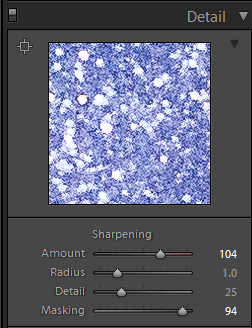
If you know how sharp your lenses are, then you know how much sharpening and masking you will have to do to pictures shot with that lens. Applying this in batch to all of your photos is a big time saver. You can still tweak the photos manually afterwards if you think they are over-sharpened. This rarely happens if you use a small radius (0.5 to 1 pixel) with a decent amount of masking. 90 to 120 is recommended.
Lens Profile Corrections
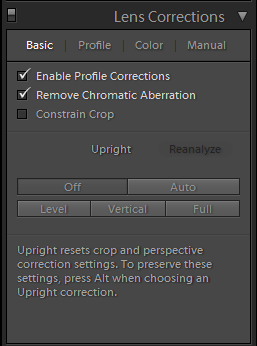
Vignetting, chromatic aberrations, and geometric distortions can damage a photograph if they aren’t corrected properly. Luckily, Lightroom has built-in profiles for most of the lenses and is able to correct everything to within a hairbreadth from perfection. Since this is a profile-based tweak, you can simply select all of the photos, tick the boxes “Lens Profile Correction” and “Remove Chromatic Aberration,” and you are all set. Lens profile correction will fix the vignetting and geometric distortion of the lens based on the metadata in the image while chromatic aberration removal will remove most of the chromatic aberration. Some additional tweaks to chromatic aberration may be necessary with lenses that produce a large amount of it, but it's not really necessary in the majority of cases.
Export Presets
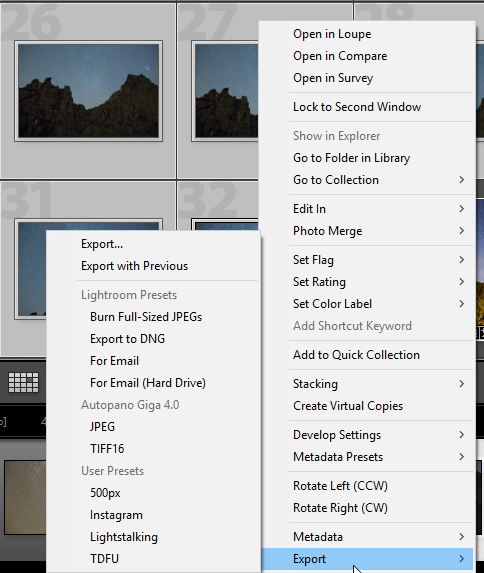
Create presets for exporting images. This is useful if you plan to export images with different watermarks to different locations with different dimensions and metadata. Let's say, for example, that you often export images intended for a social medium such as Instagram. You don't need anything larger than 1024 on the longer edge. You can create a preset that resizes, sharpens, and saves the images in a specific folder. You can later access this folder just by right-clicking on the context menu. There is no export dialog when using presets, which speeds up the exporting process significantly. You can have as many presets like this as you want. Create one for each recurring export you are doing to spare yourself a few more seconds.
Tools
Eyedroppers
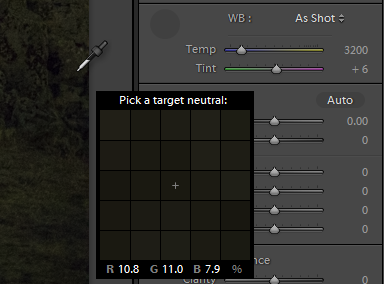
There are two eyedropper tools in Lightroom: one for white balance, and one for chromatic aberration. Click the white balance eyedropper tool on a part of the image that you think should be neutral (gray, black, or white), and the software will adjust the white balance accordingly.
The chromatic aberration eyedropper tool is used directly on a part which shows chromatic aberration. This enables it to select the proper hue of the chromatic aberration and correct it. It might take multiple clicks if there is more than one hue in play.
Masks
When correcting the whites and blacks, it can be a pain to guesstimate whether or not it is clipping. The difference can be really hard to isolate, especially on cheaper monitors. Sure, you could monitor the histogram, but there is an easier way. When you are adjusting the white or black sliders, hold the alt key and Lightroom will display a mask which indicates the moment when clipping starts.
Implementing just a few of these functions in your post-processing workflow in Lightroom will speed up your overall time spent in front of the computer significantly. Share in the comments some of your own workflow tricks!

