Those who love vintage lenses are aware that achieving infinity focus can sometimes be quite tricky. But having a vintage lens can also give you a lot of creative control if you get things right. Let's take a look at some of the causes of this frustration with using vintages lenses and how you can set your lens and camera up for better results.
Why Focussing Can Be So Tricky
The cause of the difficulty in focussing is usually due to the flange focal distance. Flange focal distance is the distance between the back end of the lens and the sensor (film back in the day). Since different manufacturers use different distances in order to use them on the same camera you need to adjust that distance to be the same as the camera suitable for the lens.
 Photo by DaveLawler
The problem occurs when the lens needs to be closer to the sensor. Sometimes you can be a couple of millimeters off, but that would be all. Most lenses that are made for rangefinder cameras have short flange focal distance and it is nearly impossible to use them on a DSLR camera. They would work better on mirrorless cameras since the sensor is closer to the lens.
Therefore, before you buy a vintage lens check the flange focal distance it needs in order to work properly. If that value is equal or bigger than the flange focal distance your camera needs, you are set. If it is shorter, then you have problems.
A Few Notes on Lens Adaptors
Getting yourself an adaptor is one solution for using vintage lenses. Adaptor manufacturers take the flange focal distance into consideration when building the adaptors, however no adaptor is perfect. A tenth of a millimeter can ruin the sharpness on infinity focus. Therefore when you are buying adaptors the more expensive ones are usually better built and more precisely measured than the cheaper ones. It is not just the setting where you fit the vintage lens, the bayonet which grips on your camera needs to be a perfect fit. If they are slightly loose it will cause the lens to make slight deformations or tilt-shift, which will make it less sharp on infinity.
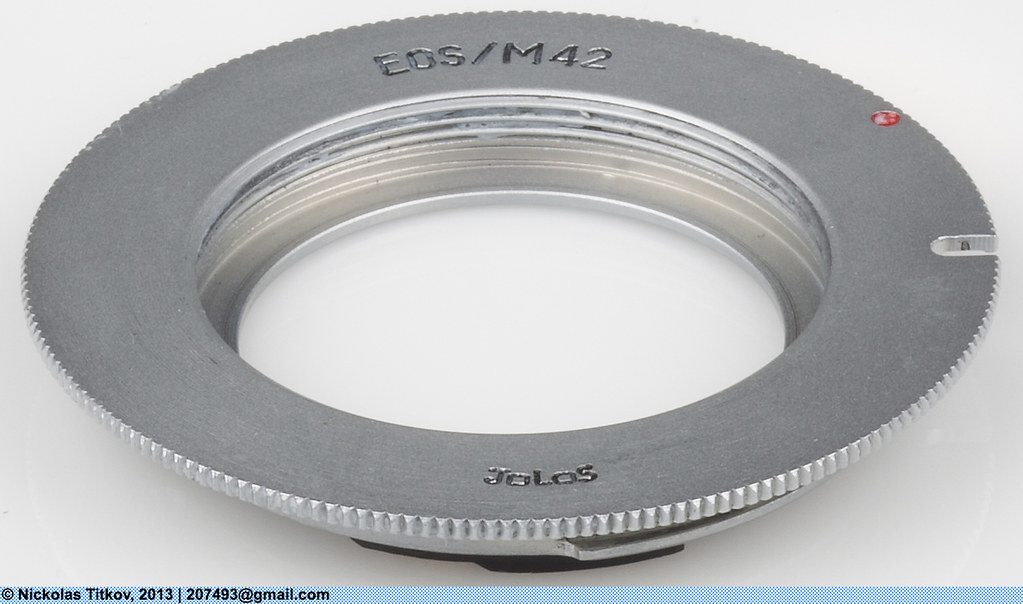 Photo by Nickolas Titkov
Once you have acquired the proper adaptor and you know the flange focal distance is correct, now comes the fiddly part.
How to Rig Your Adaptor for Your Specific Lens and Camera
What do you need?
- your camera
- tripod
- laptop (or regular desktop computer will do if you have means to shoot out of a window or something)
- sticky tape which is at least a tad wider than the inner circle of the adaptor even though ideally it should be wider than the whole adaptor (but not duct tape since it is too thick, regular tape for paper)
- scalpel,
- dry and sunny day (humidity can alter your results, and if it is dark long exposures can make images appear blurry due to motion which can skew your results)
Firstly, take the adaptor and put it on the lens, tighten it as hard as you can with bare hands. Now attach the lens to your camera, open the aperture completely and twist the ring to the infinity value. Connect the camera to your computer and use live view to focus, see if you can achieve infinity focus.
Make sure you focus on something that has clearly visible edges and it is at least a kilometer away. Like nearby mountain tops, power lines and such.
If you can achieve a sharp infinity focus, that is a good sign.
Now see if the ring is spun all the way to the end. In ideal conditions, infinity focus should be achieved a millimeter or two before the focus ring hits the limiter. If your infinity focus is several millimeters before that, you need to separate the lens further from the sensor; if the infinity focus is at or beyond the limiter you need a thinner adaptor. The latter is harder to do at home, since you'll need to trim the adaptor itself. It can be done with sand paper but you need to sand it down with the paper fixed to something and the adaptor ground with equal pressure in order to be trimmed down equally. It is very hard to pull off, it is better just to get a different adapter or get it trimmed by machine.
The former case is slightly easier – you just unscrew the adapter from the lens, get one piece of that sticky tape and stick it on the adaptor on the side which touches the lens. This will generate more distance between the lens and the sensor. Now screw the lens back as hard as you can, and test it again. If that didn't do the trick, repeat the process until you get it right. It is wise, however to mark the focus ring on the lens body so you know that the ring is always in the same place. That way you'll know that you shift the focal distance instead of just guesstimating the changes.
Ideally I wouldn't move the tripod or the camera, that way the frame will be of consistent distance and you won't skew the results.
After you have set the infinity focus it is wise not to remove the adaptor from that lens. If you are able to glue it properly without ruining the lens do that too, that will ensure it won't unwind upon using the lens.
Owning and using vintage lenses can be a great joy and offer you a lot of creative control, but getting things set up can sometimes take a bit of patience and problem-solving. Hopefully these tips will get you started to ensuring you have perfect control over your own vintage lens collection.


