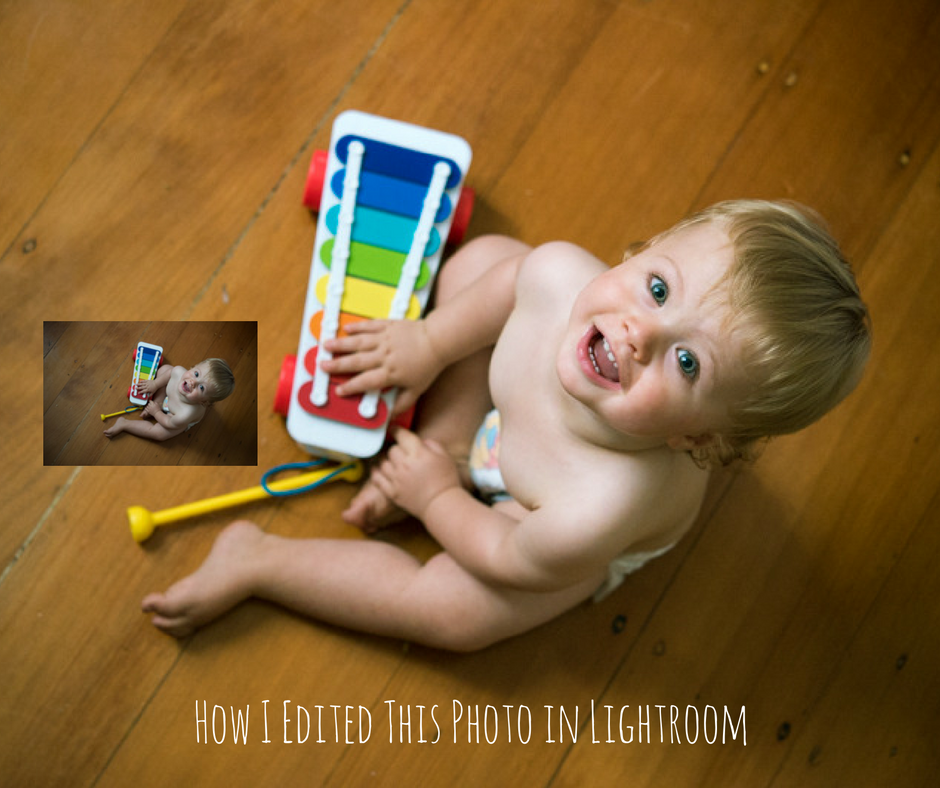
I thought it would be a fun exercise to show exactly how I’d go about editing a photo in Adobe Lightroom.
Now, this is always going to produce different results depending on the individual doing the editing and their specific needs and tastes (I might edit a photograph very differently for a photography competition than I would for getting lots of likes on Instagram for example).
But here’s a photo that I personally like and an edit that suits my tastes.
The primary things I wanted to do were to
- Warm it up because the window light was actually quite warm in real life and shooting raw kind of dulled things a little bit,
- To emphasize his eyes as those big baby blues should theoretically look quite striking against a warm yellow background (opposite colours).
- Plus, it's slightly dark so I needed to brighten things up a little too.
How I Did the Quick Edits To The Image
First up, I opened up the raw file in Adobe Lightroom. The original image was shot with natural window light only and I really was hoping to emphasize the eyes so, like most portraits, that is where the focus is.
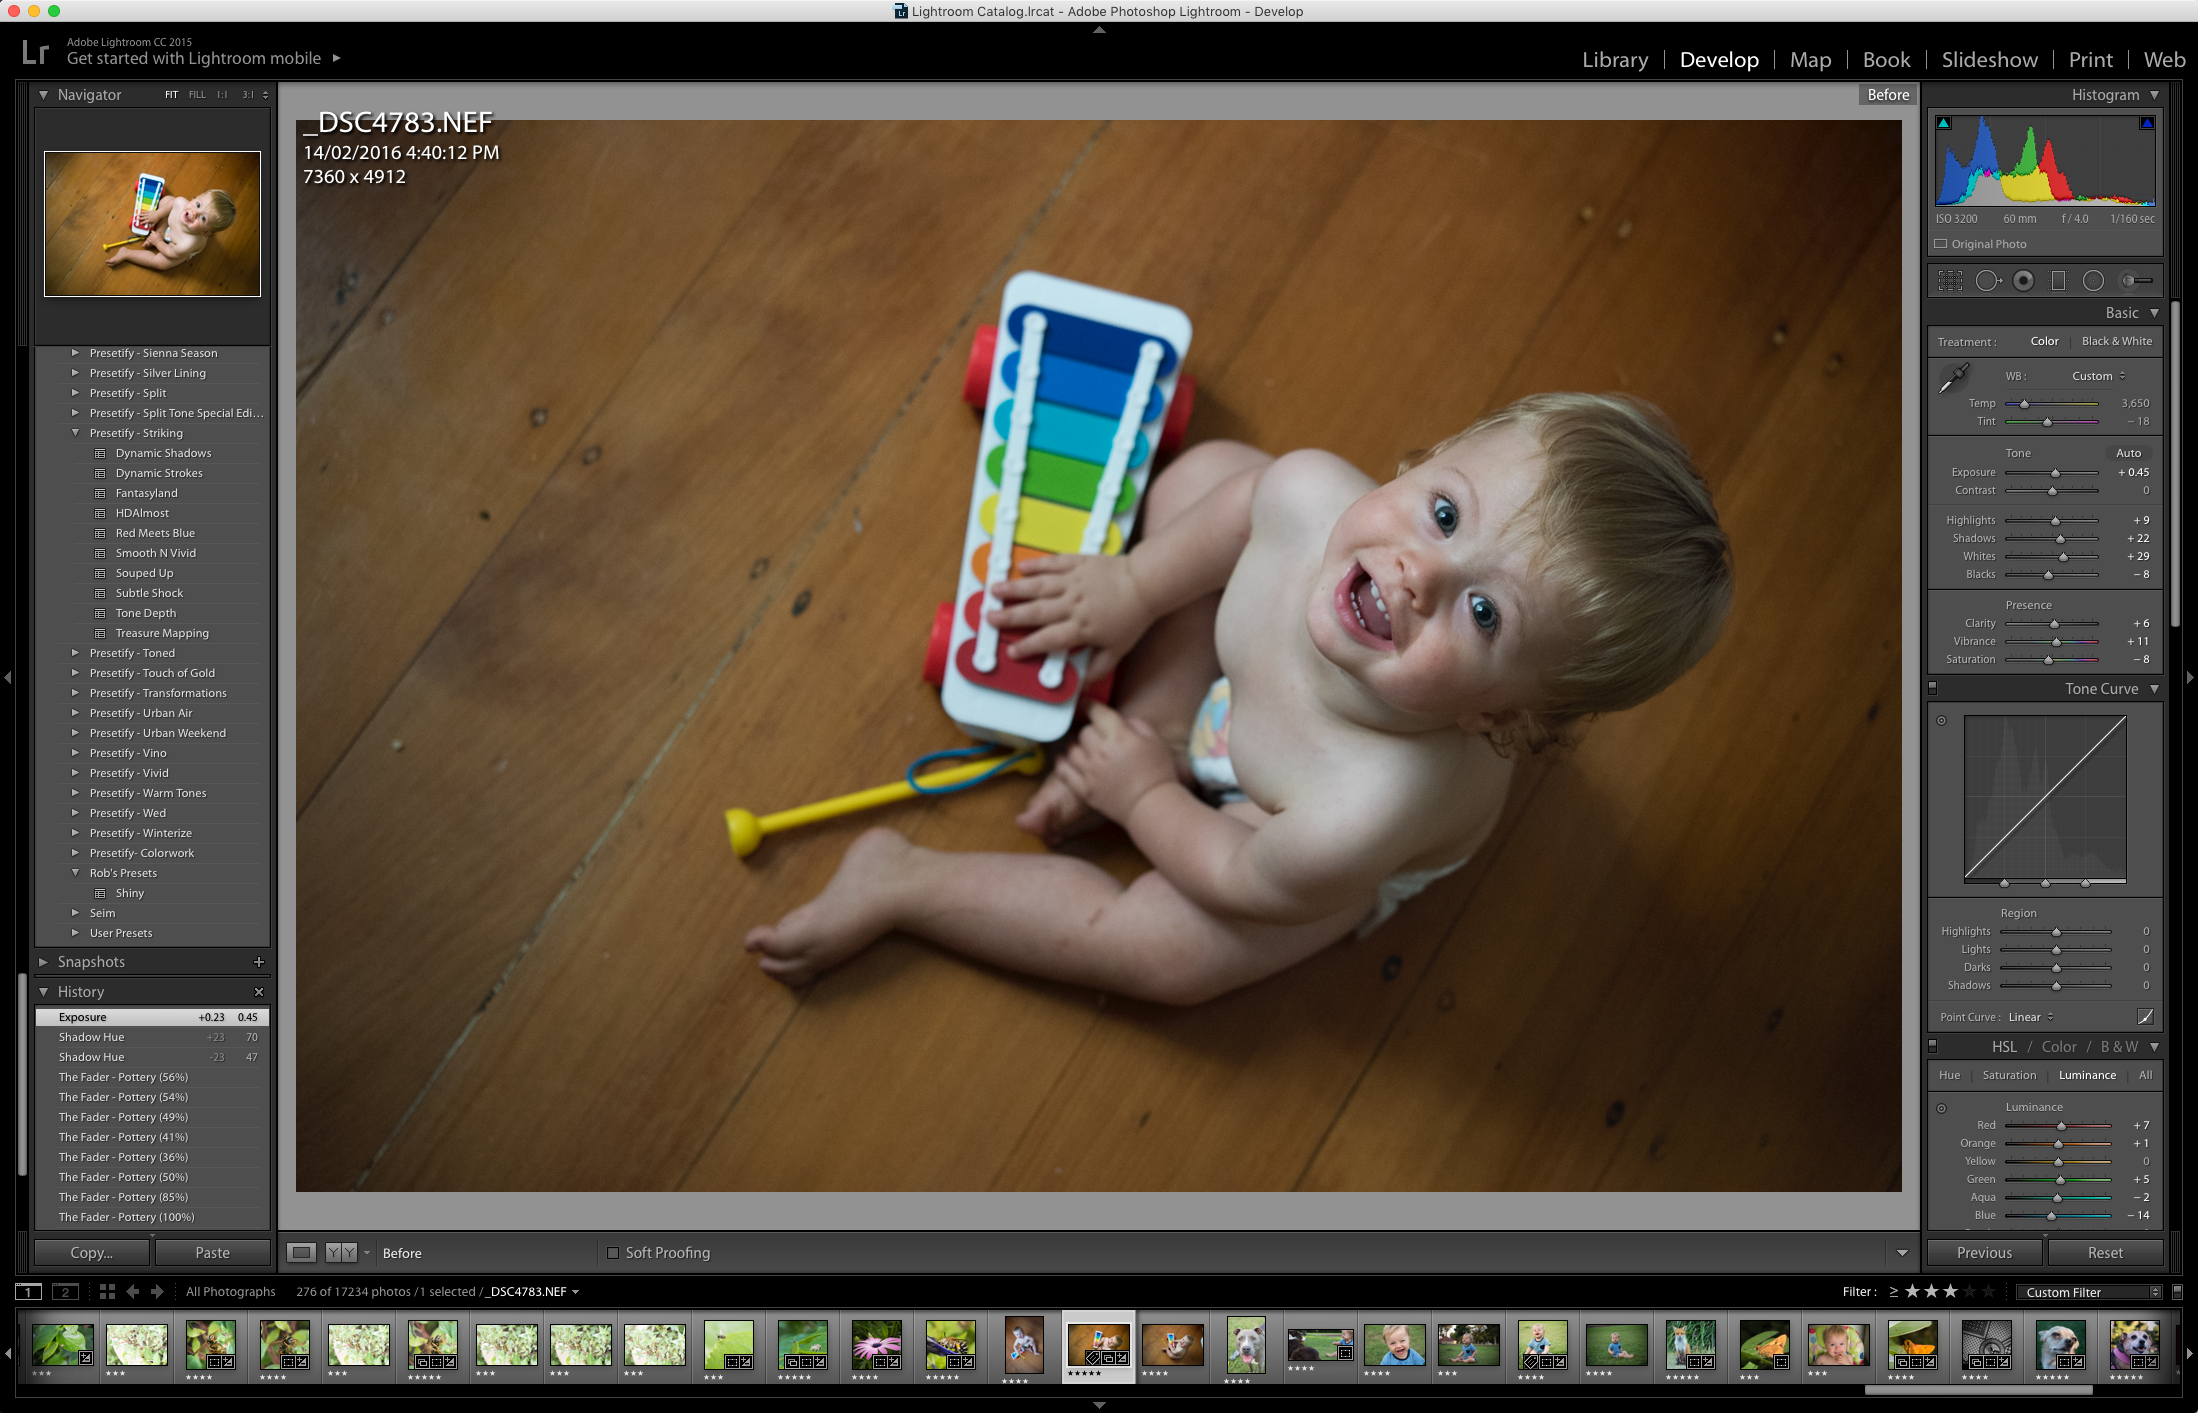
Gear was a Nikon D810 with a 60mm 2.8 macro lens. Settings were ISO 3200, f4 at 1/160th sec.
This was a while back and I have no idea why I jacked that ISO so high – I think I was trying to see the noise performance on the D810.
Luckily it’s very good, so the shot isn’t too grainy due to the high ISO, but usually I would try to keep the ISO setting on a portrait lower and slow down that shutter speed a little to compensate.
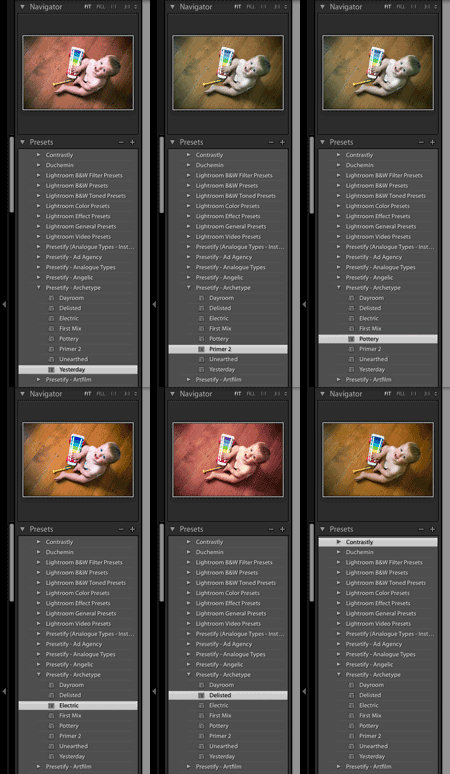
After importing the shot to Lightroom, the first thing I did was play with a couple of my presets. I settled with one called “Pottery” but it was way too strong so I decided to use The Fader to reduce its strength (The Fader is a Lightroom plugin that is basically a strength slider for Adobe Lightroom Presets).
So I settled on the “Pottery” preset from the Light Stalking Archetype collection at 36% which also had the unintended, but welcome effect of brightening up the toy xylophone.
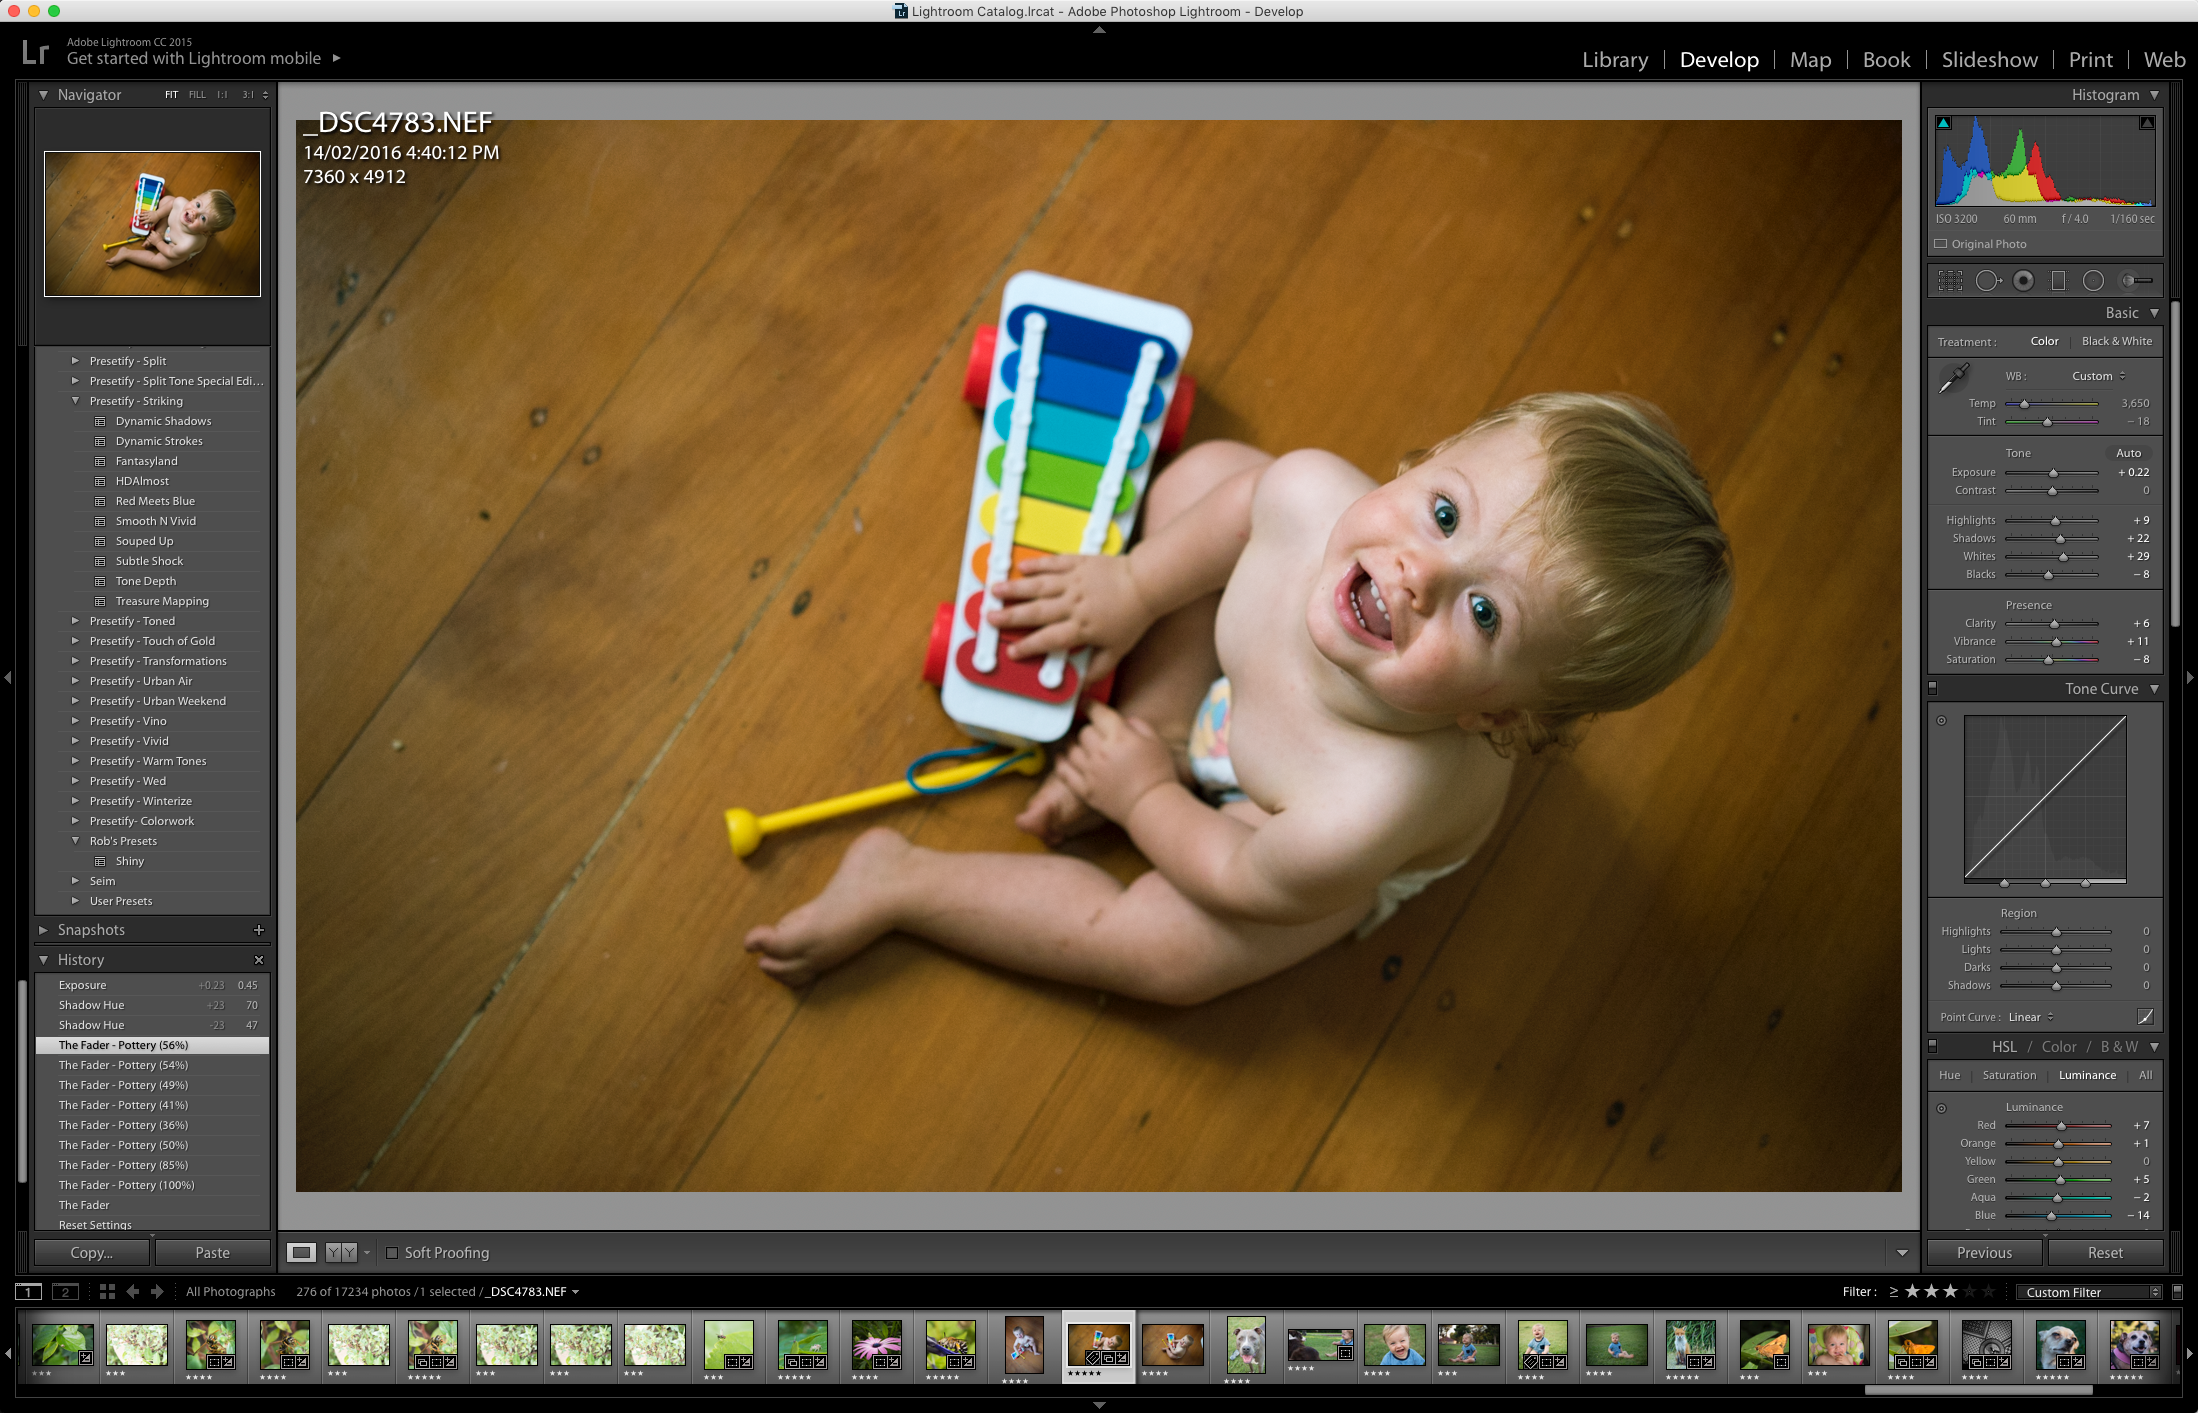
That preset, when used with the Fader, translated to the following Lightroom settings:
Basic Panel:
- Exposure +22
- Highlights +9
- Shadows +22
- Whites +22
- Blacks – 8
- Clarity +6
- Vibrance +11
- Saturation -8
HSL / Color Panel:
- Blue +30 saturation
- Red +7 luminance
- Orange +1 luminance
- Green +5 luminance
- Aqua -2 luminance
- Blue – 14 luminance
Split Toning Panel:
- Highlights – Hue + 13, Saturation +13
- Shadows – Hue 70, Saturations +18
Detail Panel:
Sharpening
- Amount +11
Noise Reduction
- Color +10
If you want this preset you can grab it in this collection.
That got the image a lot closer to where I wanted it and saved a lot of time in doing so (ie. it took me about 10 seconds), but it wasn’t quite there yet so I moved onto some manual editing.
What Were the Manual Edits To This Photo?
First thing is that I thought it was still slightly under exposed for my tastes, so I set the overall exposure slider to +0.45
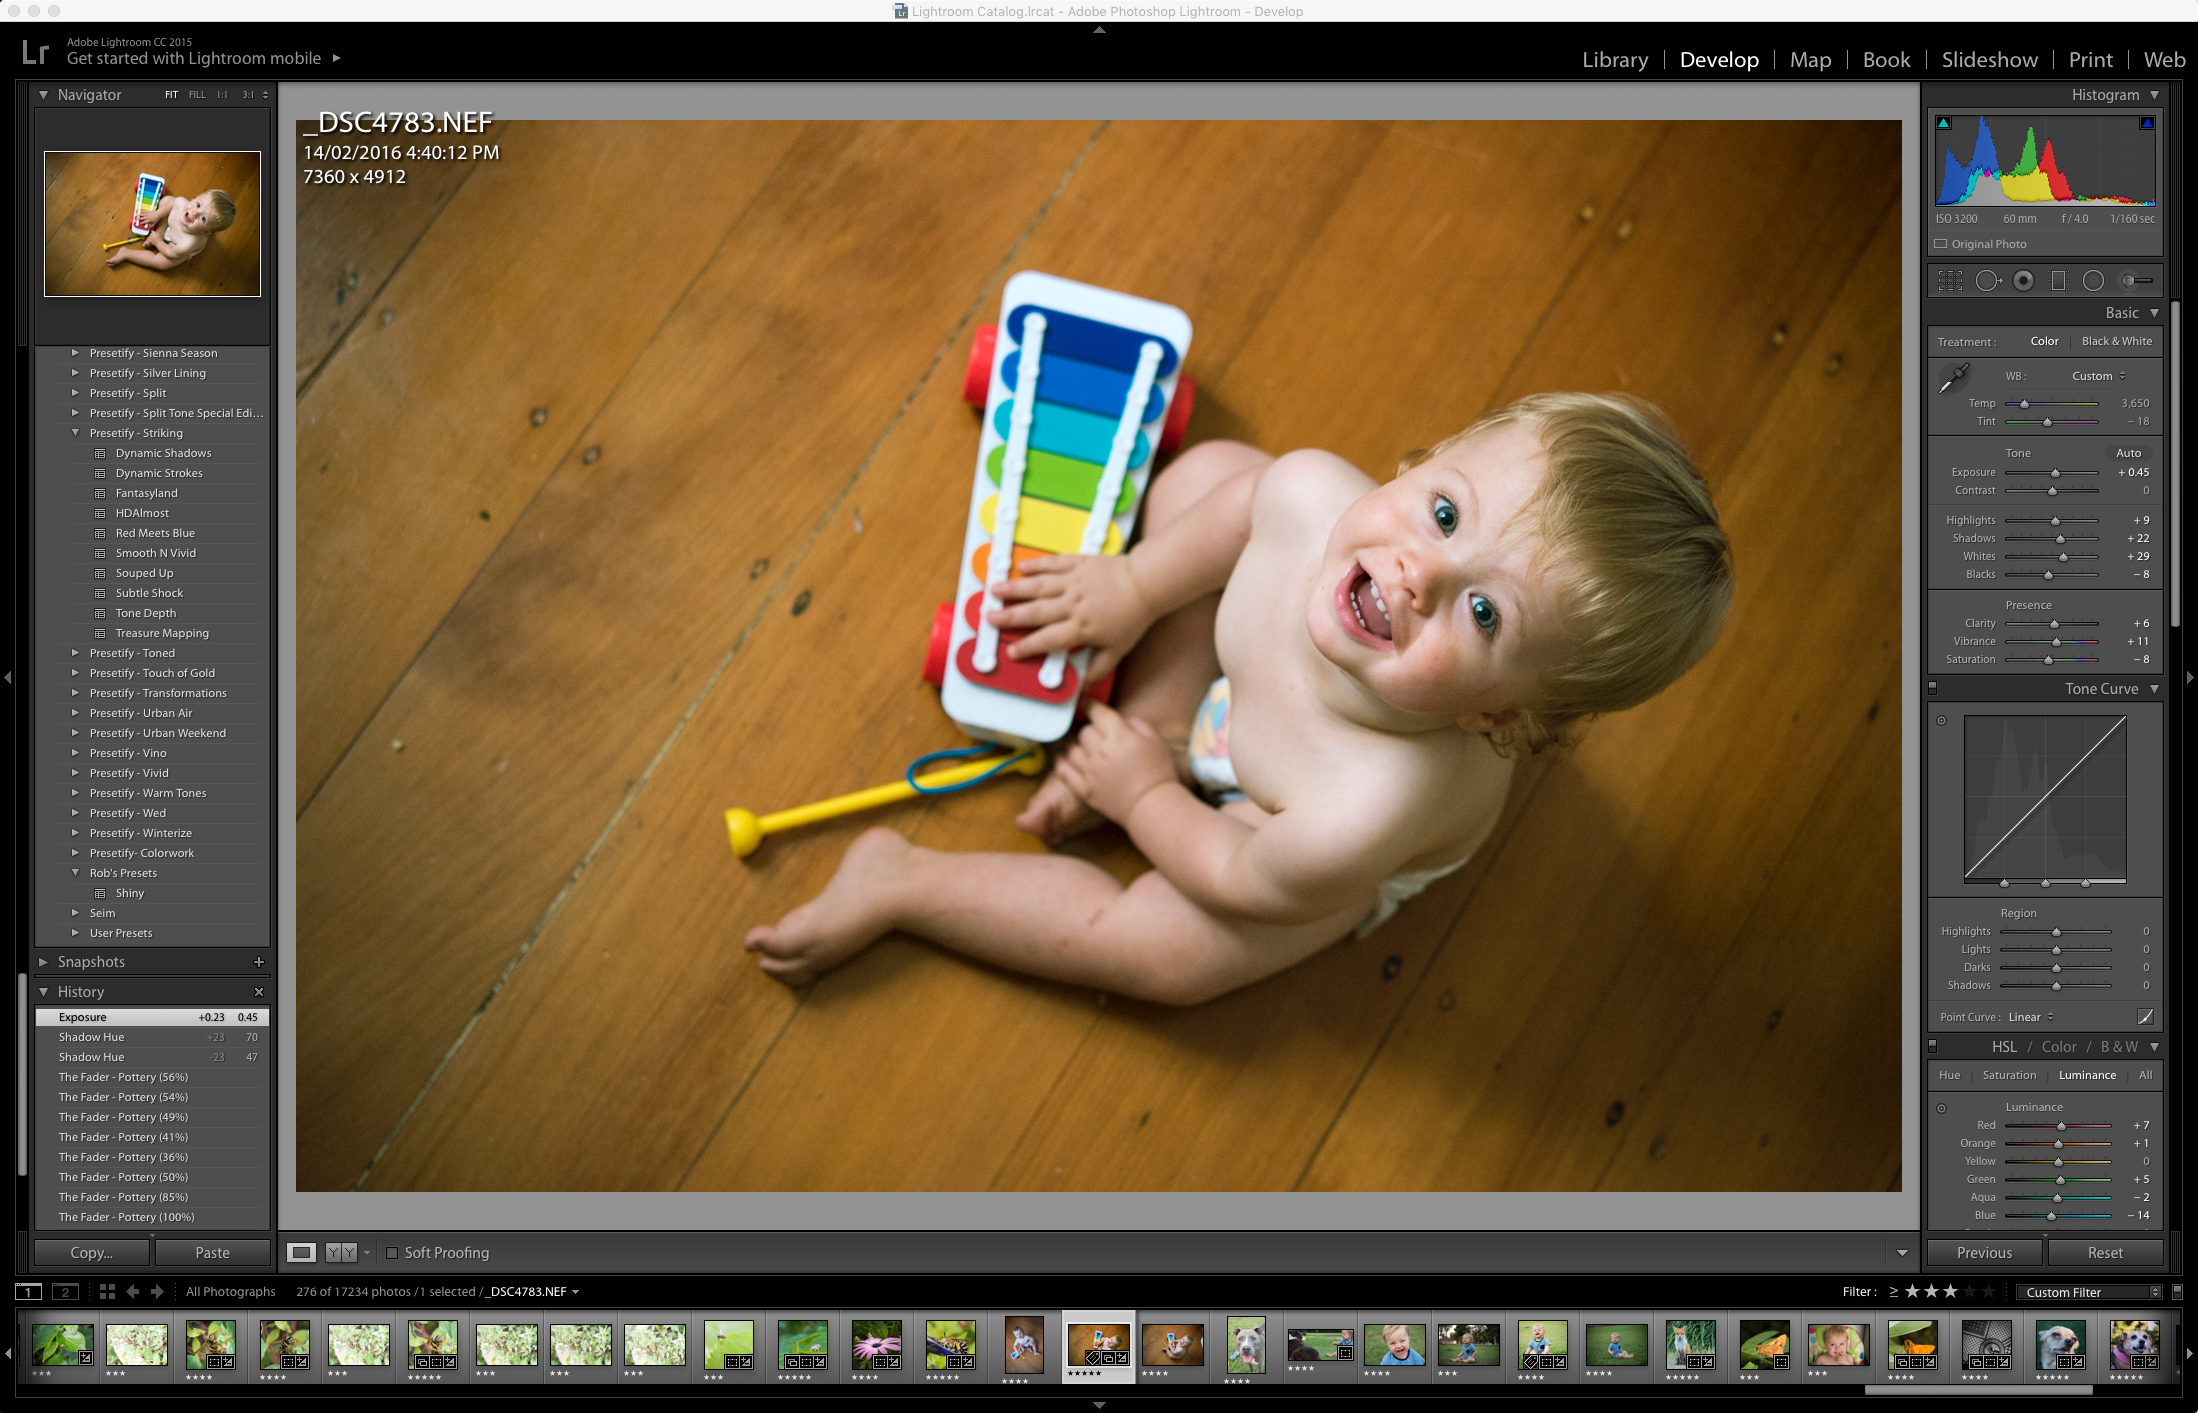
Next, I wanted to work on specific parts of the image, so that meant moving onto the use of brushes and the like.
Local Edits
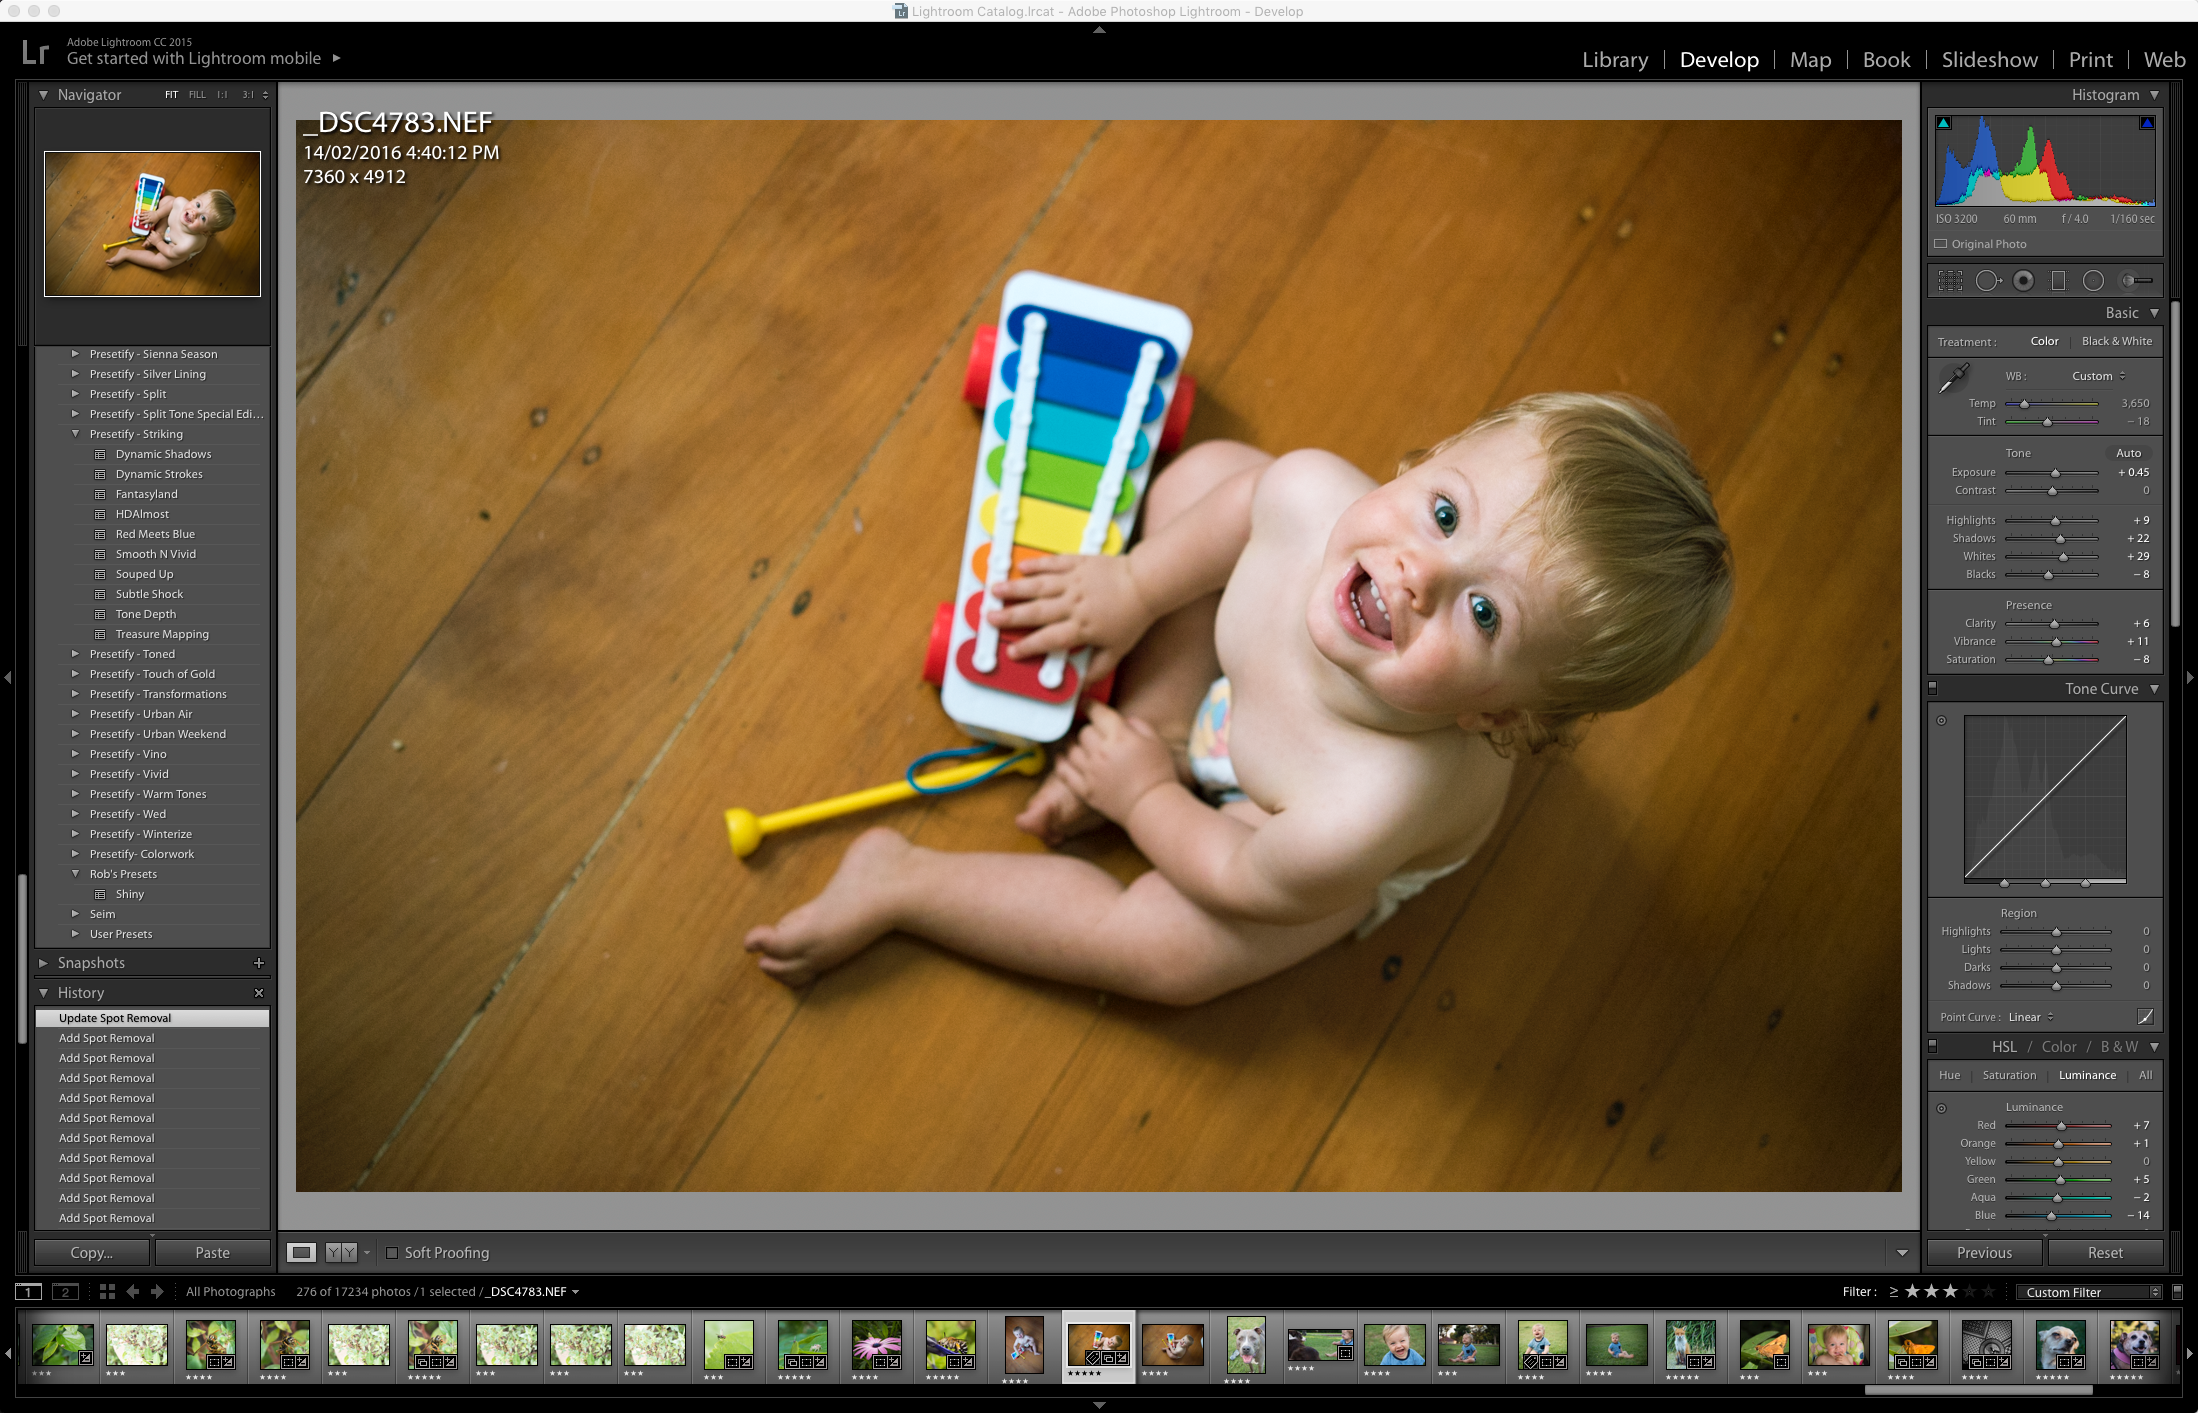
Like any small child, this one was covered in dirt, so I went to the Spot Removal tool to clear the dirt off his leg and a few spots on his face. (Notice his left knee and cleaner face)
The Eyes Have It
Finally, I wanted to start working on the eyes, which I thought were the key to the shot as in most portraits.
Note: I used bushes that are available to our Pop Pack preset customers. You can also make your own on the fly.
Sharpening the eyelashes is usually a quick way to enhance eyes in most portraits. This one was no different, so I used our “Enhance Brows” brush and adjusted it slightly for this image’s specific circumstances to +23 Clarity and -0.30 Exposure.
While it’s nominally for eyebrows, it works wonderfully on lashes too (in fact, I actually prefer it for use on lashes more than for use on brows).
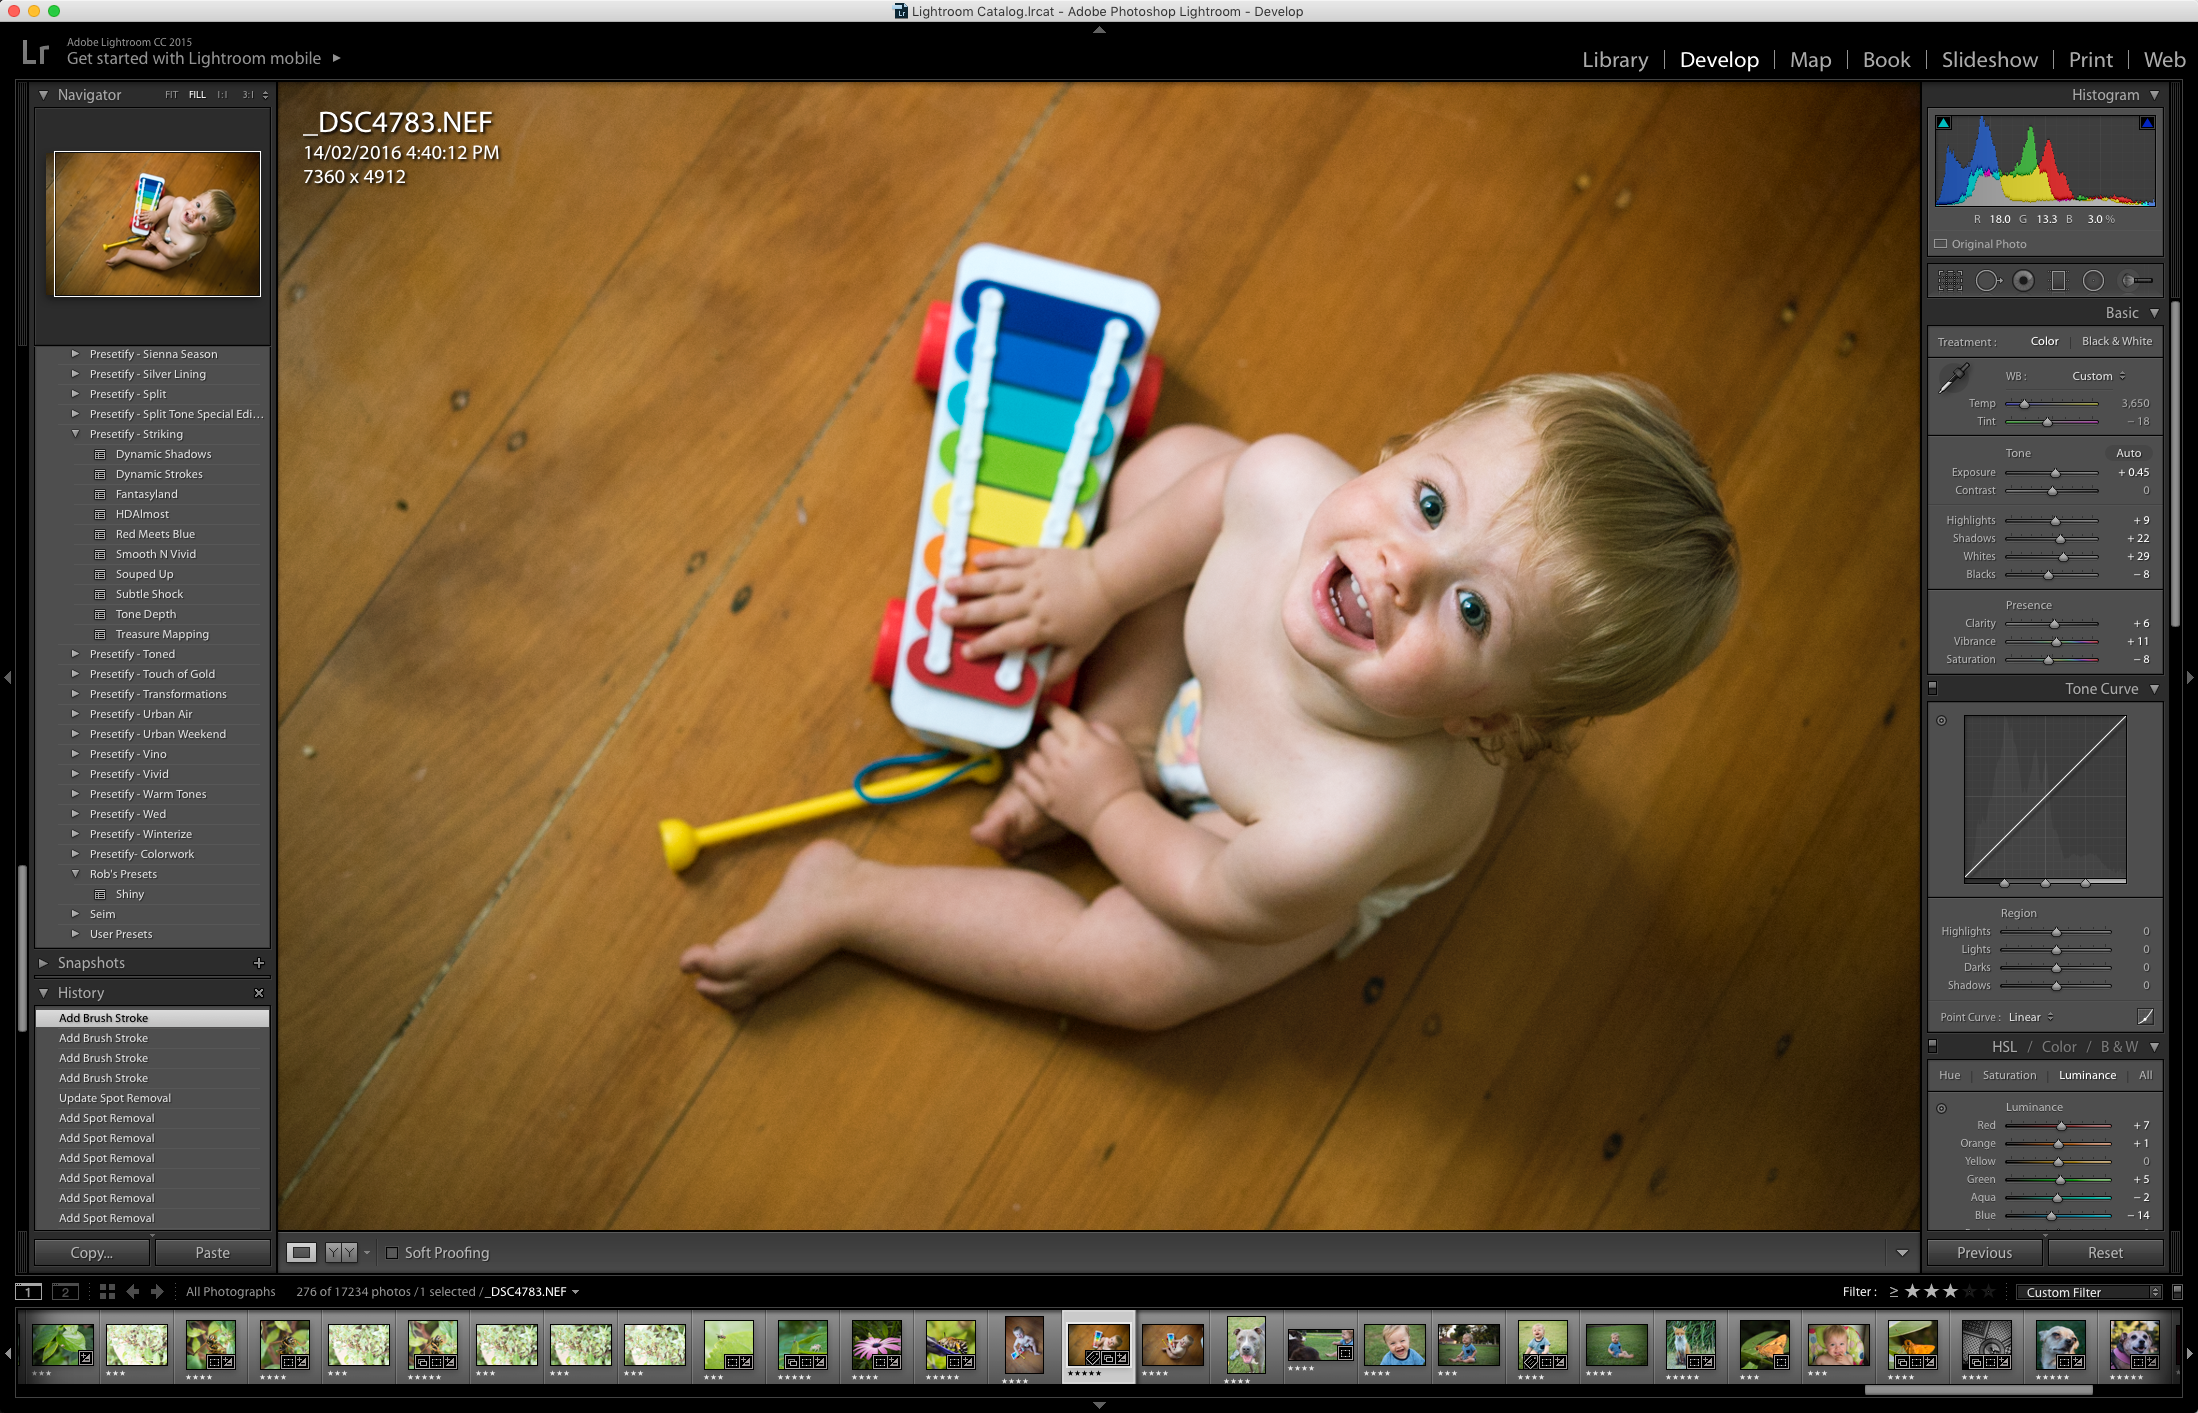
Next up, I wanted to get the color in the eyes popping a little more. For that, I turned to our “Enhance iris” brush and slightly adjusted it for this image to Exposure +0.35, Clarity +10 and Saturation +20.
I ran it around the iris only, leaving the whites and the pupil untouched.
I also noticed these was a slightly blue hue on the whites of the eyes, so I used our “Whiten eyes and teeth” brush to quickly take care of that, again with slightly modified settings to suit the specific conditions of this image (Saturation -10, Exposure +10).
I also ran this brush over his teeth.
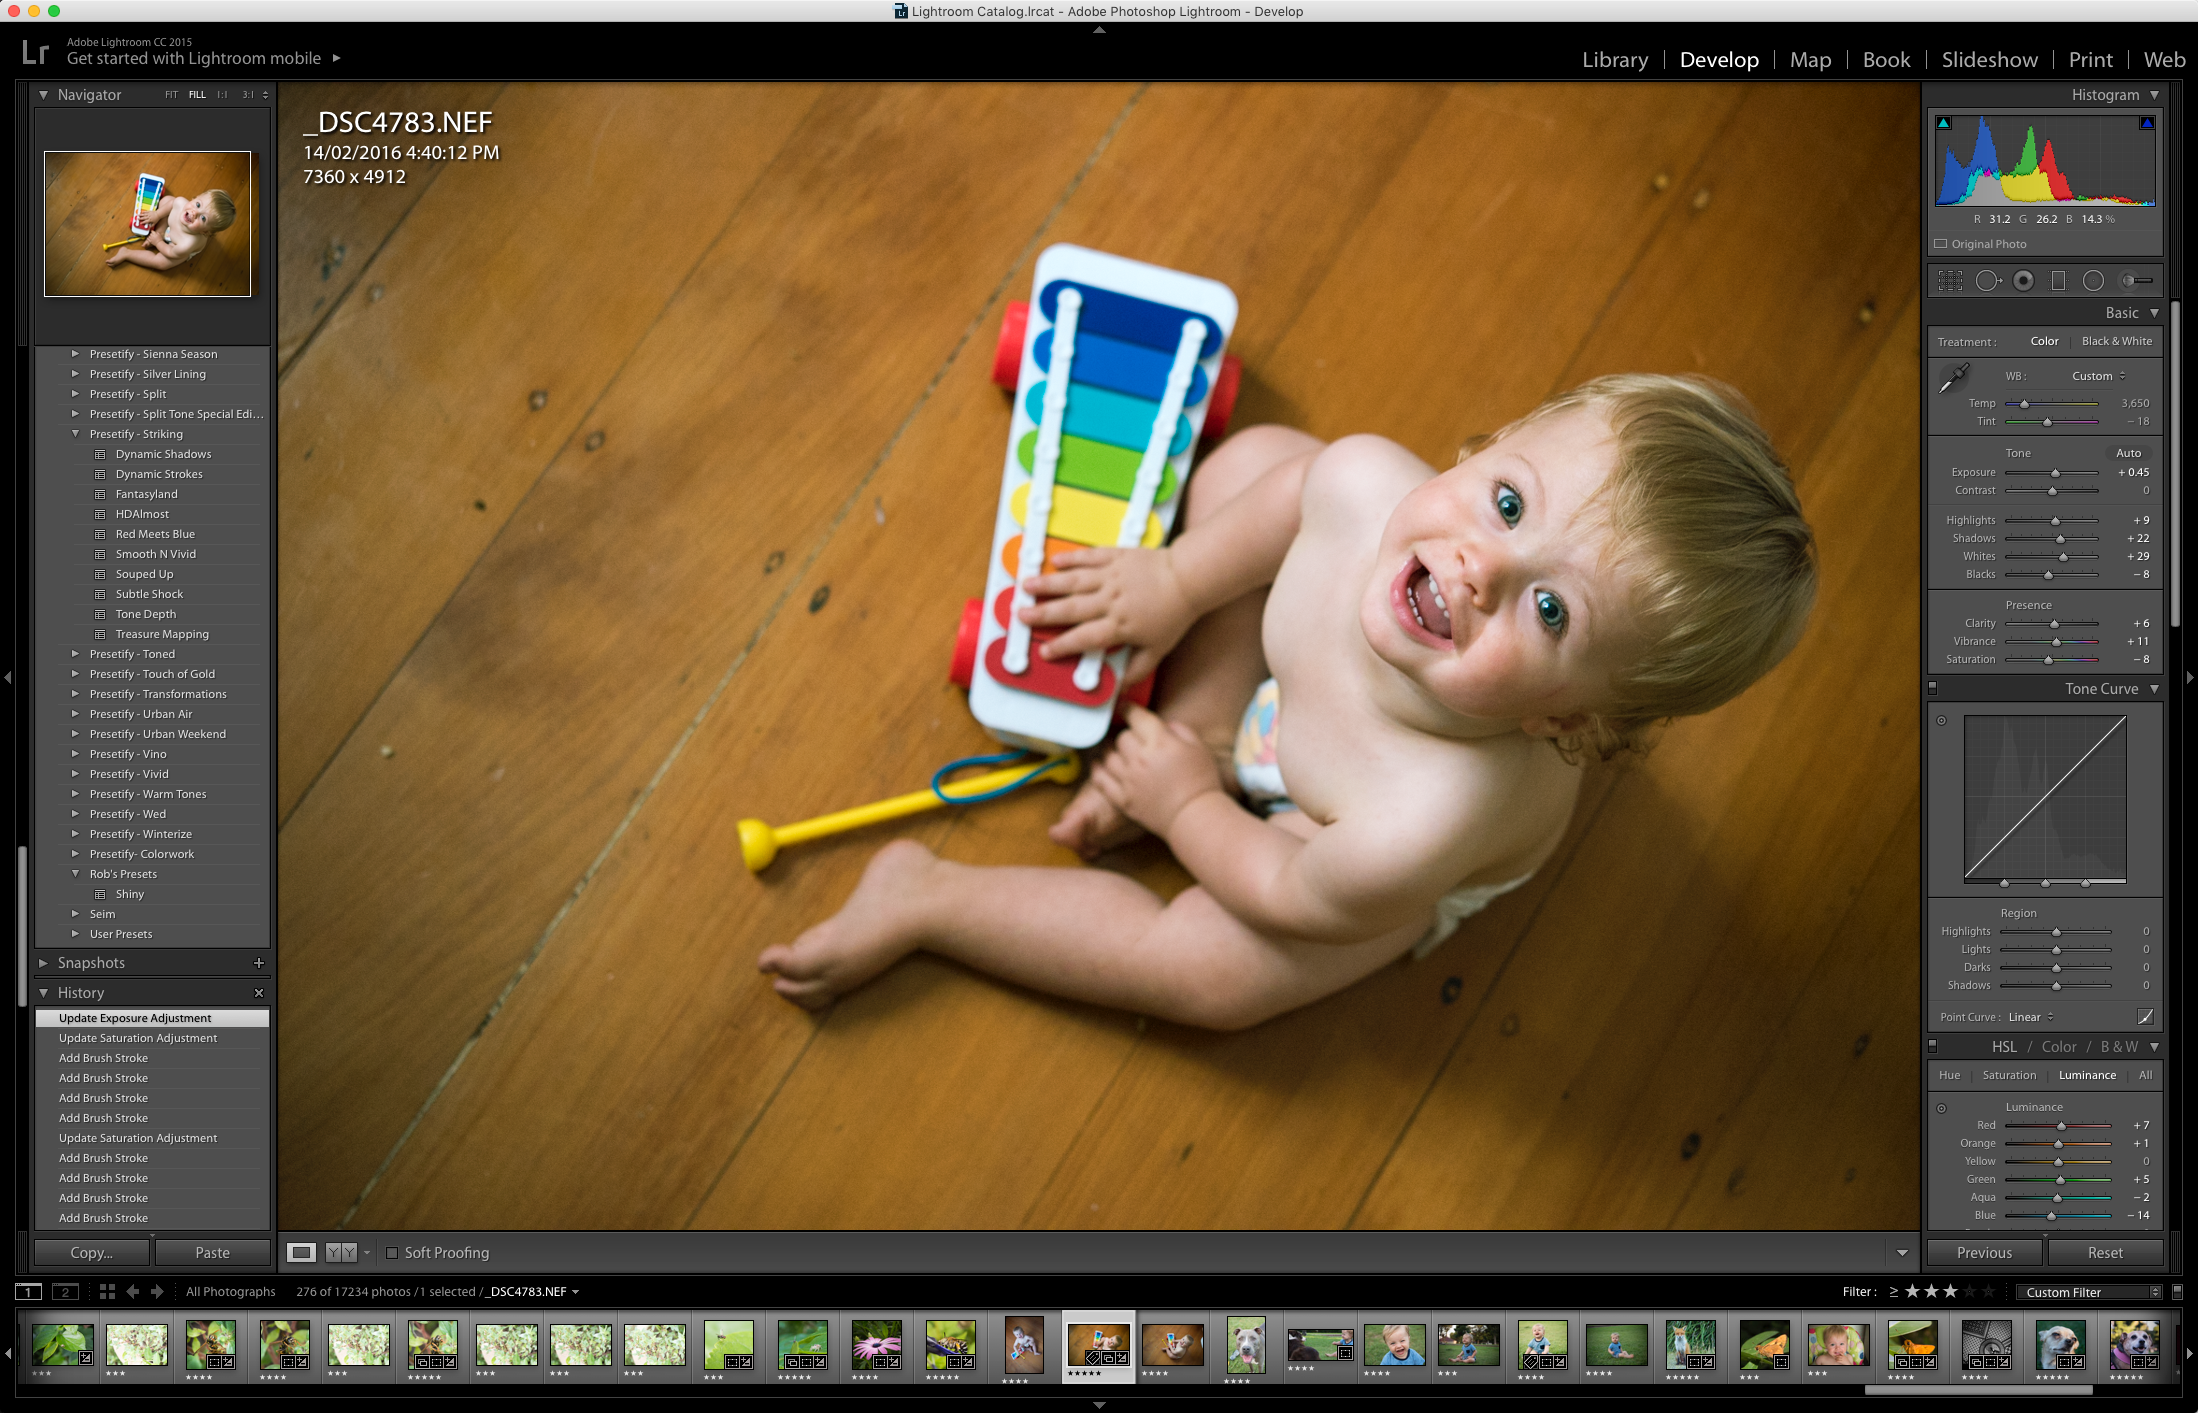
And that’s about it. I cleaned up a few more spots on his face and finished it there.
Before And After In Adobe Lightroom: Done.
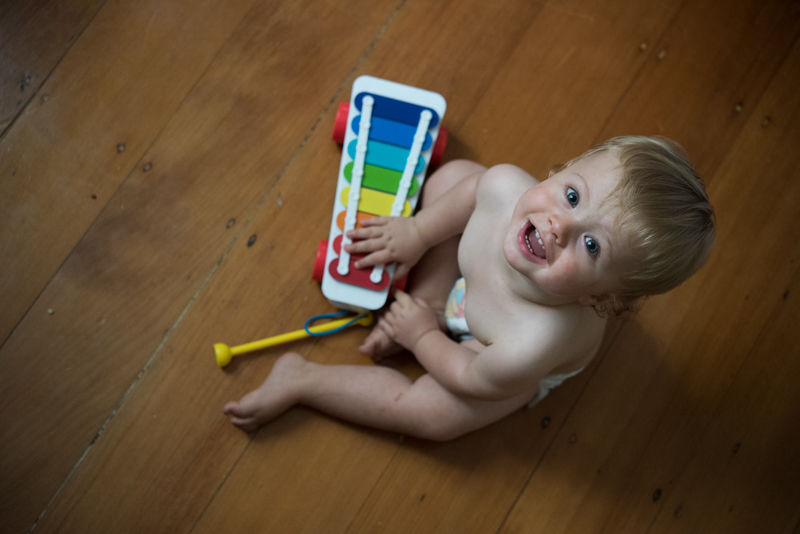

Now, I have talked a fair bit in this about presets and brushes which strictly speaking you don’t really need – you can do it all manually with time and experimentation.
Personally, I find having a decently sized collection of presets and some “go to” brushes a very useful part of my workflow – mainly for time-saving and to quickly give me a few ideas of what edits work with different image scenarios by quickly rolling over the presets in the left column like the image below.
Helpful, but not strictly necessary.
If you're interested in getting your hands on the exact presets and brushes that I used in this example, you can get the presets here (and the brushes are available to people who own that pack).



5 Comments
Good place to learn
Excellent tips.
I do own the presets pack but where are the brushes & how do I use them?
Drop us a line at [email protected] and we’ll help you sort it out, Corinna. 🙂
Interesting article – unfortunately I am not a user of pre-sets, so I guess much of the info is not for me – that said, we can always learn by sharing these bits of tech advice, and it’s one of the great pleasures of photography that most ‘togs DO share, and do help each other.