
If you are reading this, you’ve probably used a Digital Camera at least once in your life. Nowadays, every smartphone has a camera, quite decent camera at that, and you're probably using it on a daily basis.
Okay, so not all cameras are made the same way – some have better resolution, others have better noise performance, but every digital camera (in fact every camera ever) has one thing in common: it converts the light into a photograph.
In order to really get to grips with the concept of “light”, and how to use it in your photography, we can recommend an excellent resource for “Understanding Light” so that you can become a great photographer. The guys at Photzy really know their stuff and this is an excellent place to get started!
The Nuts & Bolts Of A Camera
Every camera has a lens, or something that acts as a medium to focus the light on to a medium that will permanently store the light (precisely, the image that the light creates). The lens can vary in size and in optical quality, but the function it does is always the same – it focuses the light onto the medium (film, sensor, plate).
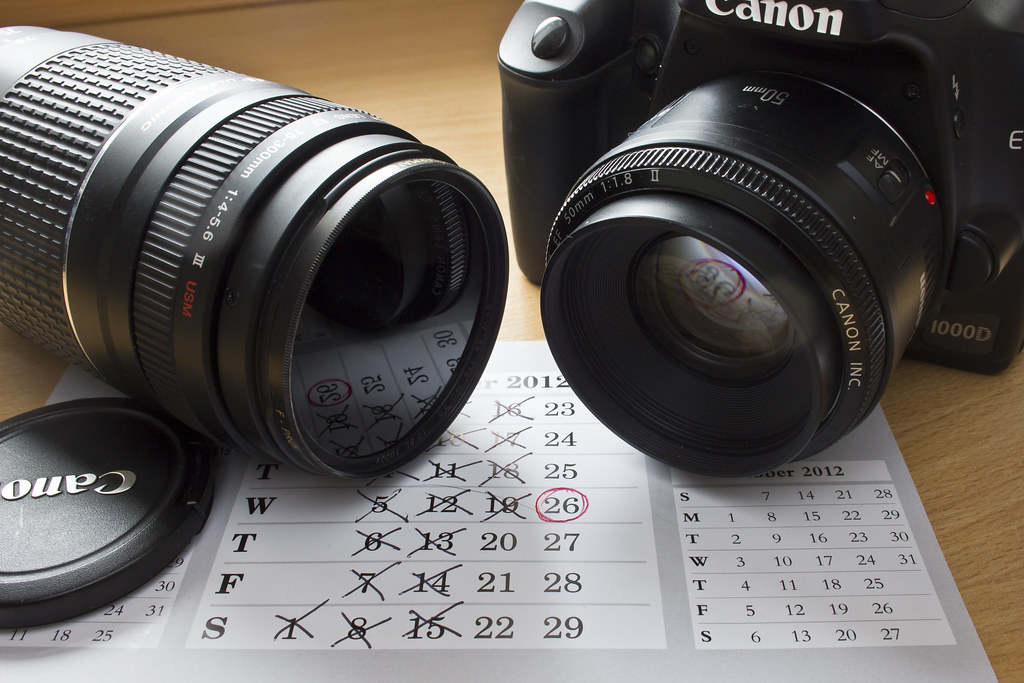 Photo by Chris Isherwood
The medium, in our digital age a CMOS Sensor usually, is constructed of photosensors which are sensitive to a certain colors (red, green and blue). Every photo you see is consisted out of red, green, and blue colors mixed into a single pixel.
One pixel of the sensor is created out of two Green photosensors, one Red and one Blue. Once the light from the lens hits the sensor, it converts that light into electrical impulses which later on is processed to get a final image.
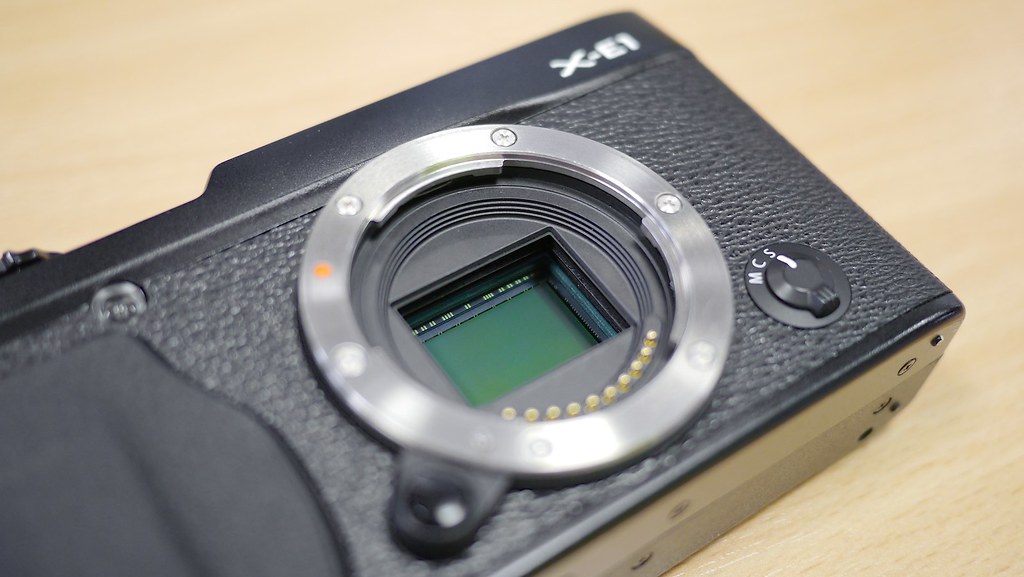 Photo by Kārlis Dambrāns
Back in the day, instead of sensors it was photosensitive film. The film would vary in size and sensitivity, and would either be black and white or color. The film, unlike the sensor, had to be developed in order to get an image, otherwise that information would be stuck inside.
How It Works
- The light hits the front element of the lens,
- Then passes through the lens
- And it's focused on the medium in order to be able to expose it.
Most lenses have internal elements that can be moved by the user to change the focus or the zoom. The amount of light going through the lens is dictated by the lens construction and the aperture blades built inside the lens, which can be controlled by the user in order to limit the light entering the lens and affecting the depth of field.
But before that, before the shutter is released, the light is bounced from a mirror towards a prism that sits above the medium (film or sensor) in order for the user to be able to preview the image before releasing the shutter.
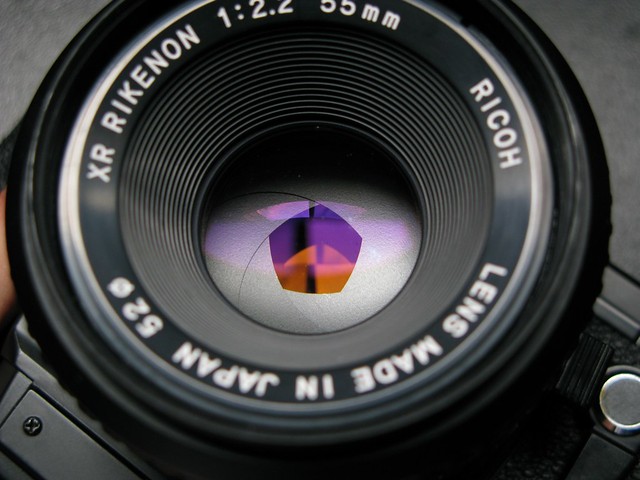 Photo by Nayu Kim
The shutter is a mechanism covering the medium. Since the medium is sensitive to light it has to be kept in complete darkness before every exposure.
Every exposure results in a picture, in whatever form it might be. That is why the user has control over the time while the shutter is open. The longer the shutter is open, the more light hits the medium.
The medium has different sensitivities, measured in ISO or ASA for sensors and film, respectively.
The sensor, depending on its design and construction can have different ISO values, which start from 100 (usually native) and go upwards to half a million, and often it can be reduced to restrict light as well.
Film, on the other hand, is built with fixed ASA value (sensitivity) and in order to change the sensitivity, you’ll have to get a different film. The ASA and ISO numbers are closely related, meaning they will have the same exposure for the same amount of light if the ASA and ISO are the same.
With the sensors the light received is converted to electrical impulses which then are interpreted by the processors in order to create the image. There are two options:
- Get the whole RAW data in a RAW file (this means everything that the sensor had, dumped in a file left for you to process)
- Or get a slightly processed .jpeg image.
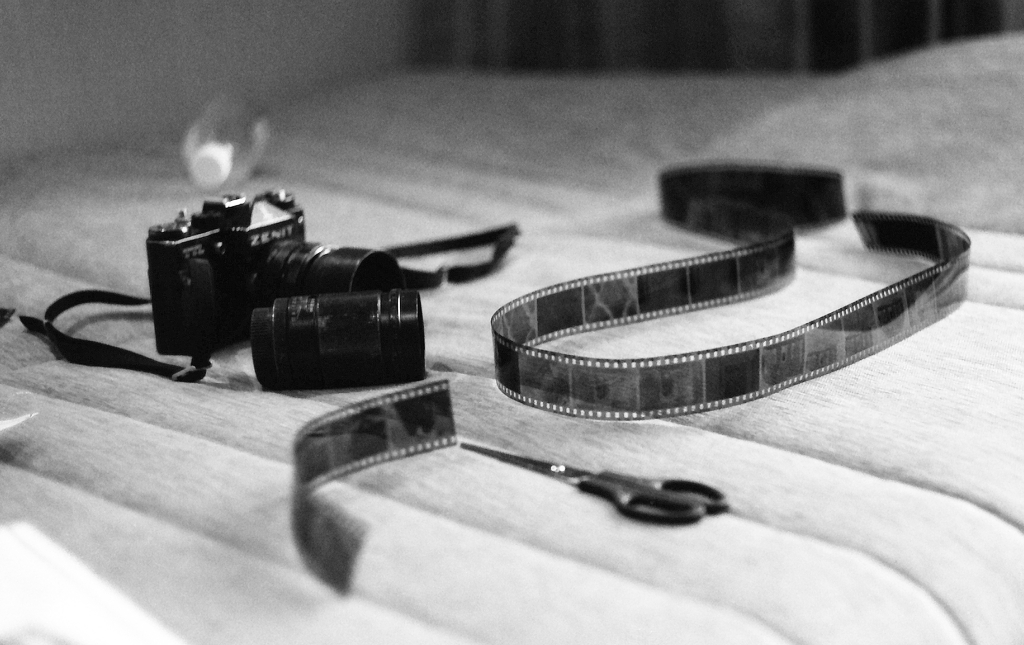 Photo by Vladimir Fedotov
Film. on the other hand, once exposed it needs to be kept in а dark container until it is developed in a dark room with the proper chemicals until it reaches a stable form of negative or а positive.
To be transferred on paper it either needs to be scanned digitally and then printed in regular fashion, or it needs to have the picture projected onto a photosensitive paper which later needs to be passed through several chemicals in order to be in a stable form.
In order to really get to grips with the concept of “light”, and how to use it in your photography, we can recommend an excellent resource for “Understanding Light” so that you can become a great photographer. The guys at Photzy really know their stuff and this is an excellent place to get started!
Summary
Now that you know how a camera operates, you’ll appreciate every picture more, or at least I hope you will. With smartphones, the only difference is that the shutter and viewfinder are electronic, meaning that the sensor works all the time in order for you to have a preview, and it simulates a shutter curtain electronically.
Everything else is the same. Тhe process of how light becomes a photograph is actually really complex but technology today makes it look so simple, thus often it is taken for granted.
Further Resources
- Understanding Aperture Is Important for Any Photographer. Read Why… by Dzvonko Petrovski
- What to Expect from a Cropped Sensor and a Full Frame Sensor by Sheen Watkins
- Always Have A Camera With You – Here’s A Great Reason Why by Federico Alegria


