Periscope: Yet another social media tool to learn. And this one wants you to be the star of the show! Being in front of the camera isn’t something a lot of photographers find fun.
No problem, no need to broadcast yourself.
You can just enjoy the live feeds and training from your favorite scoper if you’d rather. Or, you can work your way into it as you watch and learn what others are doing.
Read on and let me help you get Periscope installed and exploring in no time.
What Is Periscope?
Periscope is Twitter’s live streaming app that lets you create your own broadcast or watch the broadcasts of other users. There are more and more scopers every day. So let’s get started and get you set up so you don’t fall behind.
Getting Setup for the Fun
First off, download the Periscope app from the Apple Store or Google Play store depending on your device. Once the download is finished, install it.
Once Periscope is installed, you can read the long-winded sales page or you can just go ahead and X out of it. Then tap open to get to Periscope’s splash screen.
Read or just page through the following four screens and tap Get Started at the bottom.
You’ll be asked to sign in with either Twitter or a phone number. Use your Twitter account to take advantage of Twitter integration so you can tie in with all of your followers and those that you follow.
If you don’t have a Twitter account, now would be a good time to go set one up. You’re going to be asked to do so anyway.
Make Good Use of Your One Chance
Next up is to create a Periscope username. This is your chance to set your name as you want it to show rather than how some program is going to force you to show it.
You don’t have to use your Twitter handle, so grab your real name now. Capitalize the words you use so they show easily in the chat sessions.
Your Windows into Periscope
Once you’ve signed in and authorized the app, you’ll be taken to the Watch screen. This is your home page. Reading across the screen, these are the icons:
• Watch – your home page
• Globe – Worldwide broadcasts
• People – Where you follow scopes
• Camera – For your broadcast
The icons are in different spots in iOS and Android:
iOS — the icons are along the bottom
Android — the icons are along the top except for the Broadcast button which is on the lower right.
Let Everyone Know Who You Are
Before you do anything else, get your profile completed. At a minimum, set up your screen name, your photo and your bio. To get to Profile Settings, tap the People icon.
Next, tap the Profile icon in the upper right, then tap the pencil icon in the upper right to edit.
While you’re in your Profile Settings, you can view and make changes to:
• Your followers
• Who you’re following
• Who you’ve blocked
• How many broadcasts you’ve done
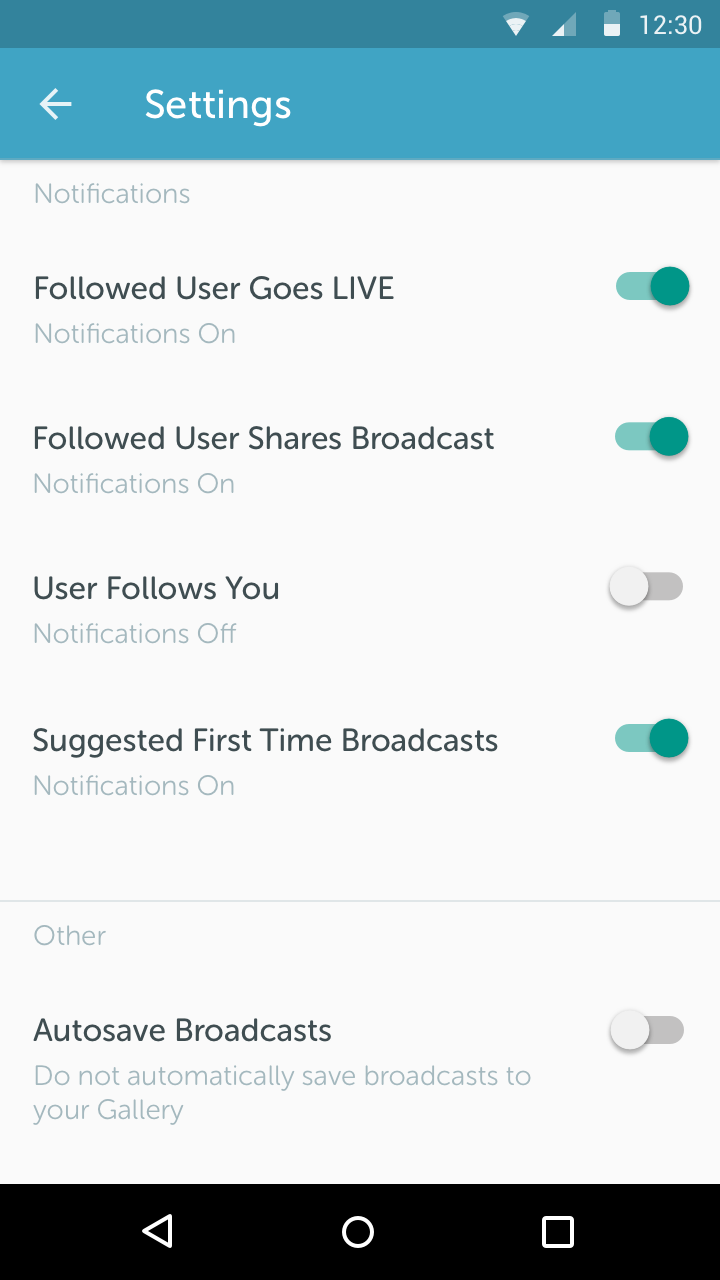
Here’s a tip. While in your profile, click on Settings and click on Notification Sound. By default, it’s set to sound and vibrate. If you’re following a lot of scopers, your phone will be vibrating and whistling at you quite a bit. You can’t pick and choose though. If you silence notifications, you silence them all.
Time to Follow and Watch
Now for some fun. Let’s go look for people to follow and watch.
Choose the People icon and you have 3 options:
• People you’re following on Twitter who have Periscope accounts
• Most Loved
• Search
If anyone you follow on Twitter is on Periscope, they will show up here. You can follow their Periscope account here.
The Most Loved users are the ones that get the most hearts. Think of hearts as applause. It’s a way of showing appreciation for the scope.
Down in the lower right-hand corner you’ll see the magnifying glass signifying Search. Click on that to search for any other Twitter users who are also on Periscope. You can also search by keyword.
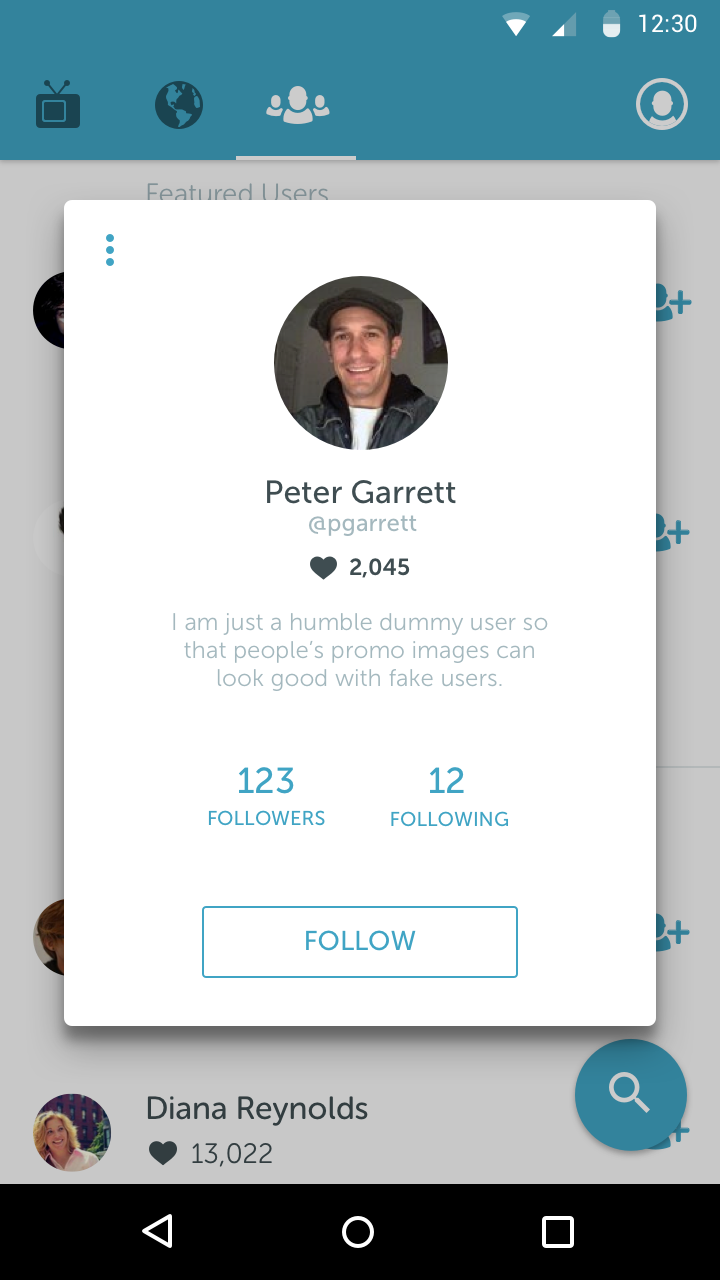
Find someone you like? Click the blue plus sign on the right to follow. You’ll be notified by Periscope when they begin to broadcast. Tap on the bio. If there are any scopes done in the last 24 hours, you can tap on recent and view them.
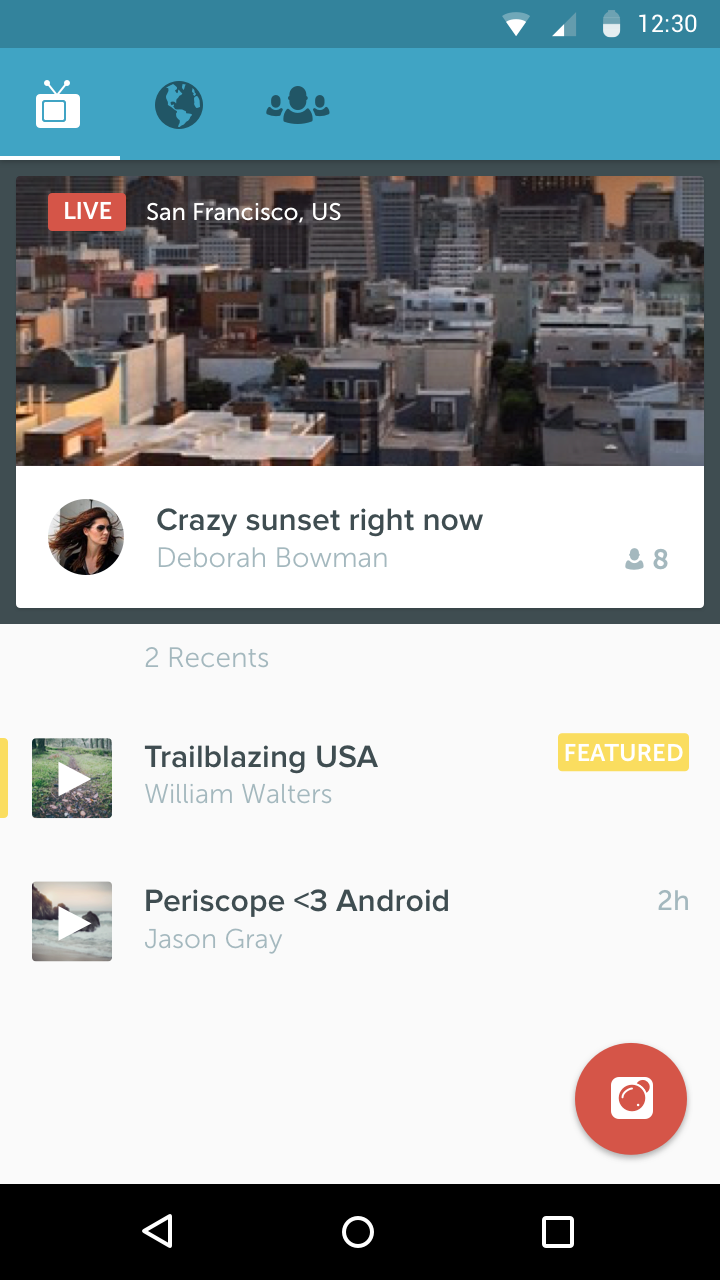
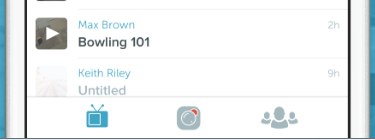
Tap the Watch icon. Your home page shows you:
• If any of the people you’re following are live broadcasting
• Any Featured Users – broadcasters picked by the Periscope team
• If there are any replays available from the people you’re following
Click on one of the selections to bring the scope up for viewing.
Tapping the Globe icon shows you Periscope users in different countries. Click on one of the red circles to bring up a list of active broadcasts.
Let’s Get Interactive
One of the great things about Periscope is that you can interact with the broadcaster. There is a chat function so you can post questions and comments.
Want to show your approval of the show or something the presenter said? Tapping on the screen will start a flow of hearts. Think of it as applause. You can tap as much as you want, but 500 is all that will register from you.
The heart colors are assigned to each person listening in. If the particular broadcast has garnered a lot of viewers, you’ll see the colors being used multiple times.
Ready for the Spotlight?
If you’re ready to go to the big show yourself, it’s very easy to do. The red camera button is at the lower right-hand corner of both the Watch screen and the Globe screen. Tap it to get to the broadcast setup screen. But hold up a second before you take the leap.
Before you hit the Big Red Button
Here are a few things to prep before you hit the big button.
• Broadcast settings:
Are you going Public or Private? The settings are on the top for both iOS and Android. Public is the default so there isn’t a separate Private setting for iOS. Selecting and deselecting toggles the two.
If you select Private it will only broadcast to followers you choose. This is a good way to get some practice before going Public.
• Broadcast title:
Make it short and descriptive. You might want to generate curiosity but don’t be obscure about the theme. Viewers won’t click and watch.
• Broadcast location:
Choosing to show your location isn't required but if you’re broadcasting a location based event, you might want to share it. Now others can find it via location or keywords.
• Allow everyone to chat or just the users you follow:
As a way to restrict the trolls, you might find Block works better on a case by case basis while letting more people join in the conversation. Tap a comment and the Block selection is shown.
• You can also share the scope to Twitter. If the broadcast is private, the link won't be active. Turn off sharing if your scope is private to keep it out of the feed of the uninvited.
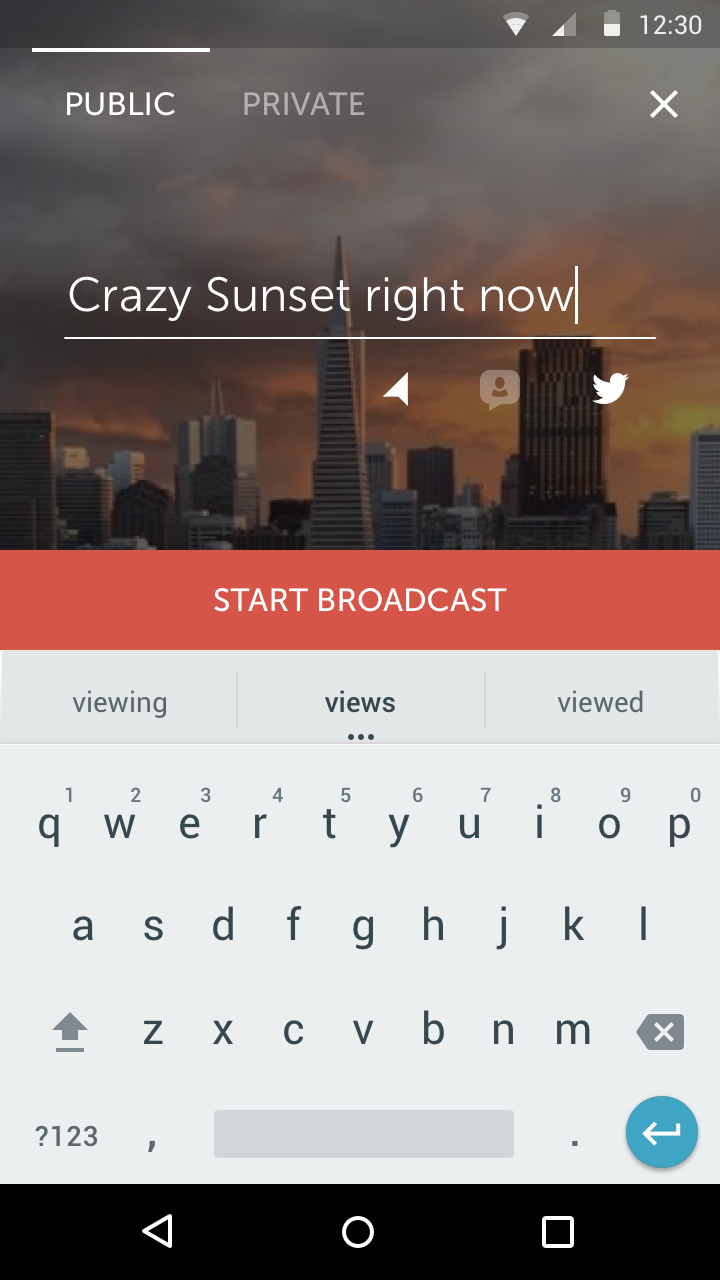
Now You’re Ready to Hit the Button
See that big red rectangular button? Be aware that when you tap this one, you’re broadcasting immediately. Make sure that you’re prepped and ready to go before you punch it. Don’t be one of those that are fumbling around wondering if Periscope is broadcasting. It is.
Which also means being aware of which lens is being used.
Broadcasts default to the rear facing camera. To switch to the front facing lens so that you’re on screen, start the broadcast and double-tap the screen. This introduces a second or so of lag and jiggles.
Here’s a tip: Point the camera lens at an attractive opening view, photo or graphic before starting the broadcast and switching lenses. This opening shot will also be the thumbnail for your broadcast in the Watch screen.
Being able to use either lens makes this a great way to show your surroundings and what’s happening in real time. If anything unexpected happens, you can easily make it a part of your scope.
Plus, if you’re not that crazy about being on screen, you can plan around it and use the rear facing lens most or all of the time. You don’t need to be on screen if you’ve got something of interest to show.
Now, hit it and start talking!

A Few More Tips Please
• Keep in mind the data and battery limits of your viewer’s devices when deciding on length of your scope. Keep it short if you can.
• Avoid shooting in horizontal mode. The buttons and comments don’t shift. Sideways floating comments are pretty hard to follow.
• Keep your head in the upper portion of the screen so the comments can be read easily. They tend to float up into the face if you’re centered on the screen.
• Look at and speak directly to the lens. This creates one of the big draws of Periscope, the live and close contact between viewers and broadcasters.
• Make the ending smooth with a few parting words, reply to any last comments and sign off.
When you're done, swipe down and click Stop Broadcast to end the broadcast. Broadcasts are automatically saved for 24 hours and are available immediately.
You can save your scope to your phone. Be aware of data limits and storage on your phone.
Having another social media tool to get up to speed on is a pain. If you're late to the game, like starting a blog, you're already behind.
But you can get in early, get started and take advantage of the possibilities of Periscope now.
Nervous in front of the camera or mic? You don't need to do any broadcasting yourself. Start following your favorites if they broadcast, then explore other users.
There's a lot to watch and learn. Best of all, you can interact with a live person and get your answers now.
Then later, who knows? We might be looking up your scope in the future.


