Polarising filters are an important addition to anyone’s kit bag. They can reduce reflections, increase saturation and add punch to bright sunlit scenes. They work by filtering the light into one plane using two separate polarising elements, one of which rotates. When light reflects off a surface, it scatters in multiple directions. When you turn the front element of a polariser, it filters those multiple directions out leaving only the light in one plane and hence reducing or eliminating reflections. As great as they are, polarisers can be tricky to use. Today we are going to take a look at some common mistakes that you might make when using a polariser.
Buying Cheap Polarisers Can Backfire
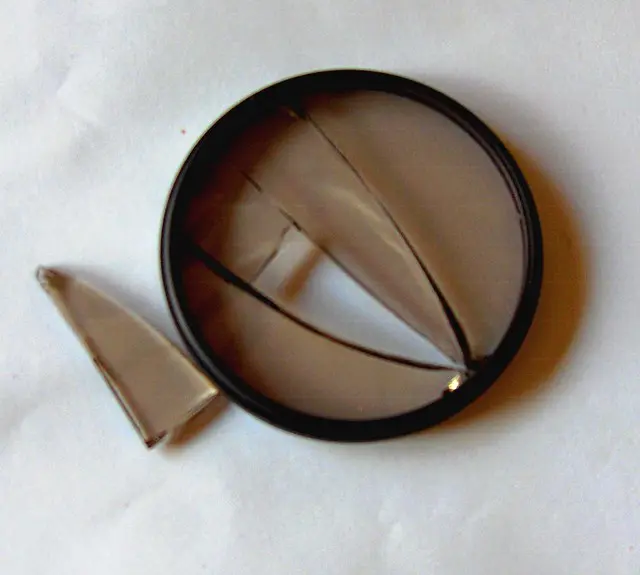
Yes, polarisers are expensive, but there is a reason for that. They use two high quality polarising lenses sandwiched together in a rotating ring. There are cheap versions out there but the chances are that the optical glass will be of a much lower grade and they will be mechanically less well engineered. Lower quality glass will lead to color casts, internal reflections and possibly uneven light distribution. Less well made filters can easily fall apart in use.

Cheaper filters can break more easily, by John Haslam
Buying Multiple Polarisers Can Be a Waste
Unless you are using the filter on an ultra wide lens (which also causes problems we will discuss later in the article) the chances are you can use one polariser to fit all your lenses. Buy the filter to fit your largest filter thread then invest in relatively cheap step down rings to allow the polariser to fit other lenses. Look for ultra thin step down rings as these will help eliminate the possibility of vignetting.
Ignore the 90 Degree Rule At Your Peril
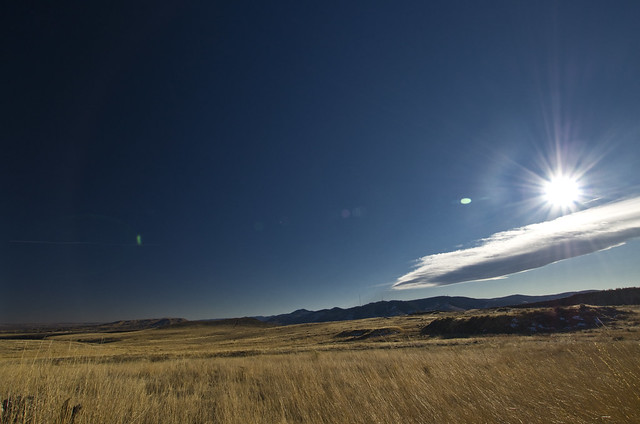
The fact is that polarisers work best, in any situation when they are at 90 degrees to the sun. So if you shooting a lake and want to reduce reflections, you need to compose your shot so that the sun is directly to your left or right. As you move away from 90 degrees the polariser becomes increasingly less effective, when it is at 0 or 180 degrees to the camera it is effectively useless.

Polarizers work best at 90 degrees to the sun by Grant Bishop
Forgetting the Exposure Compensation
Perhaps this is the wrong way to describe it, but the fact is a polariser will eliminate up to two stops of light reaching your sensor. If you are shooting in an auto mode the camera will compensate for this automatically but often you may forget this. A classic example might be when shooting a subject on aperture priority. The extra compensation needed for the filter may reduce the shutter speed to a point where camera shake is a definite possibility. Alternatively you may have set the camera to give a good depth of field and find the auto mode has opened that aperture.
Using Wide Angle Lenses
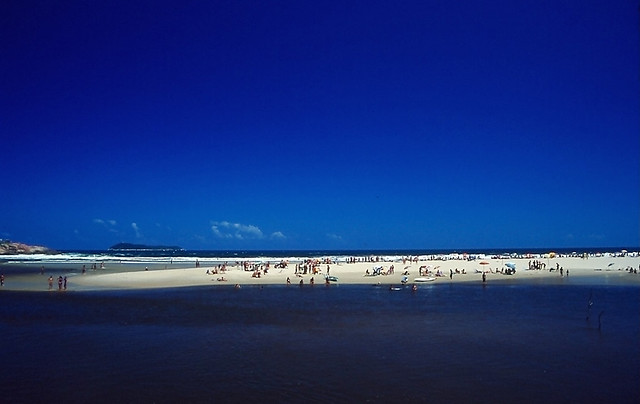
Wide angles can bring out the best and worst in a polariser. One major issue occurs when shooting a large area of blue sky with a polarising filter. Because that sky covers a significantly wide field of view, there will be major parts of it where the light falling is not at 90 degrees to the camera. This can lead to a very uneven looking sky, going from dark blue through to a pale normal looking blue. Furthermore, the effect of a wide angle with polariser can make a blue sky go almost black and unnatural looking.

Ultra wide lenses and polarizers often do not play well together, by Fabio Ikezaki
Trying to Reduce Reflections on Metal
Whilst polarisers are brilliant at reducing or eliminating reflections in glass or water, they do not work at all on metallic surfaces. There is no real way to eliminate reflections from metal other than to reposition yourself
Stacking Filters Can Be Tricky
A polariser is filter best used alone. If you have a UV or Skylight filter on your lens, remove it before adding a polariser. Whilst stacking can work with NDs and Grads, it can lead to problems with a polariser such as strange color and more importantly vignetting.
Polarisers are brilliant bits of kit to own and use. Understanding some of the potential issues you might encounter with one, will help reduce your frustration in getting your shots to look good. Spend some time exploring the problems listed above the next time you shot with the polariser on, it will help prime you to avoid them in the future.


2 Comments
thanks for the article on polarising filters learnt something that i did not now i am just starting on my journey of DSLR camera and have had some realy nice shots and of course some diststers more of them . But like everything we learn by are mistakes i love what i can do in manual mode and always look forward to going out to shoot something every day well i have taken up your time i will leave with one last thing i am saving to go to venice as i so want to photograph this city i will only be able to go for 2 days as i am on unemployment.
thanks again yours A.Edgar
The best bit of advice I was given when I first got a polarising filter was to turn it to the darkest effect and then turn it back 90 degrees. Might not give the best effect but as a beginner it got me heading in the right direction. Still inclined to swing it to the darkest and then swing to preferred effect.