Have you ever opened your RAW files to see that they lack contrast and saturation? This happens due to the fact that the camera doesn't apply any settings to the photo. On the contrary, it just packs all the data that the sensor captured into one file for you to deal with, later on. In fact, by shooting RAW, you collect a lot more digital information compared to JPG which is very useful when it comes time to edit in Photoshop or Lightroom for pulling out the details that exist in the file. So let's look how you might go about developing your RAW images with Lightroom.
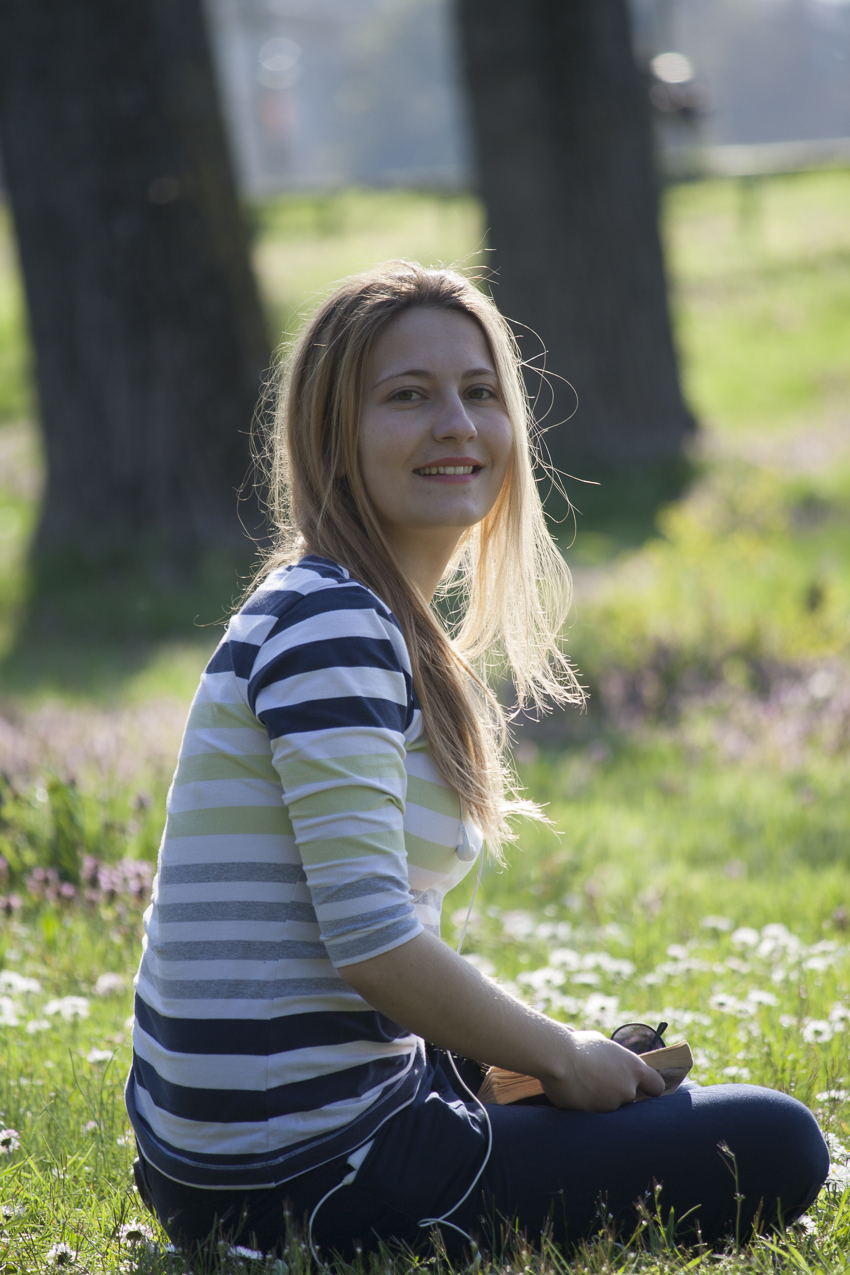
When you start doing more extensive edits, you’ll see that shooting RAW is actually a good thing. It's good because it gives you much more flexibility in terms of dynamic range and adjusting the finer details, and improved picture-quality, overall.
Let's begin!
Let's assume that you have already imported the image and uploaded it to Lightroom. Once you have done that, select the “Develop” module in the top-right part of the screen.
Lens Corrections
You’ll want to make correction for your lens before you do anything, since it automatically adjusts for distortion, vignetting, and loss of exposure. If you put this step off until much later, you will have to adjust every setting all over again, to compensate.
Lens Distortion and Vignetting
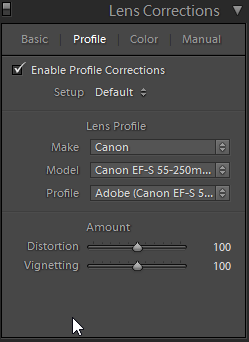
To correct any lens distortions, tick “Enable Profile Corrections”. If nothing happens, select the Profile tab in the “Lens Correction” box, and while “Enable Profile Corrections” is still selected, choose the make of your lens, and it should find the rest of the information automatically.
I had this issue with the 18-55 mm kit lens since it was a rather aged model, and Lightroom didn't have a profile for that exact lens, but it did have the profile for the IS version (which is basically the same optical quality), and that worked just fine.
Perspective Control
In this box, you can set the “Upright” setting to “Auto” to correct the perspective and level the image, if possible. In most cases, it works perfectly. You don’t have to do this if you don’t want to, but it does prove quite useful for landscape and architecture shots.
Histogram and Exposure
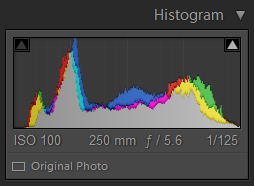
Before you do anything else, take a glance at your histogram because all of the exposure information is found right there. If the histogram leans more to the left, that means the photo is underexposed, and if it is leaning more to the right, then the opposite is true: The image is overexposed.
Use the Exposure slider to compensate in order to avoid having empty areas on the histogram. Of course, you should check the image itself for verification that it looks good.
Leave the Contrast slider as it is. We'll come back to this later.
Highlights and Shadows
Next, the Highlights and Shadows sliders are used to recover the details in those parts of the picture, essentially pushing the dynamic range of the RAW file to the maximum. The value of the Highlights slider should be decreased until you start seeing artifacts in the highlights (for example, areas that are blown-out start to appear gray, or present lots of artifacts or deformed light). In this case, I was able to reach -100 since the only blown areas were the hair and the flowers below.
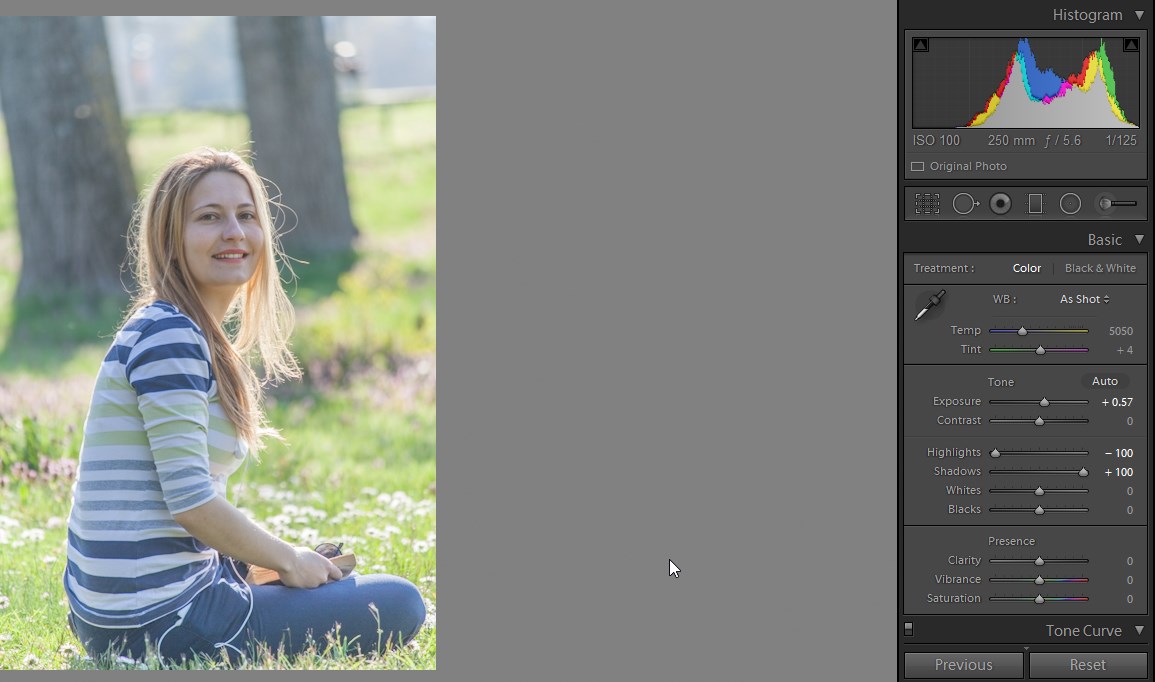
With the Shadows slider, the opposite is accomplished. Recovering the shadows means that you move the slider to the right, increasing its value until just before the point where the picture looks weird. Bear in mind that the contrast, being basically ruined, is of no consequence now, because we will address that later. Since most of the image is in the mid-tones, I've increased the shadows to +100. Keep in mind that recovering the shadows introduces quite a bit of noise, because most of the noise is found in the shadows. This is due to the fact that there is less light in shadows, and thus less signal.
Most of the time, you will use values of around +/- 50. This particular image allowed me the freedom to move the sliders with greater range, but that is not always the case.
Blacks and Whites
Now, Whites and Blacks sliders are essentially altering just the white and black points of the image. Unlike the Shadows and Highlights sliders, here you will move the sliders in the opposite directions, meaning that the Whites slider will go to the right side and the Blacks to the left side.
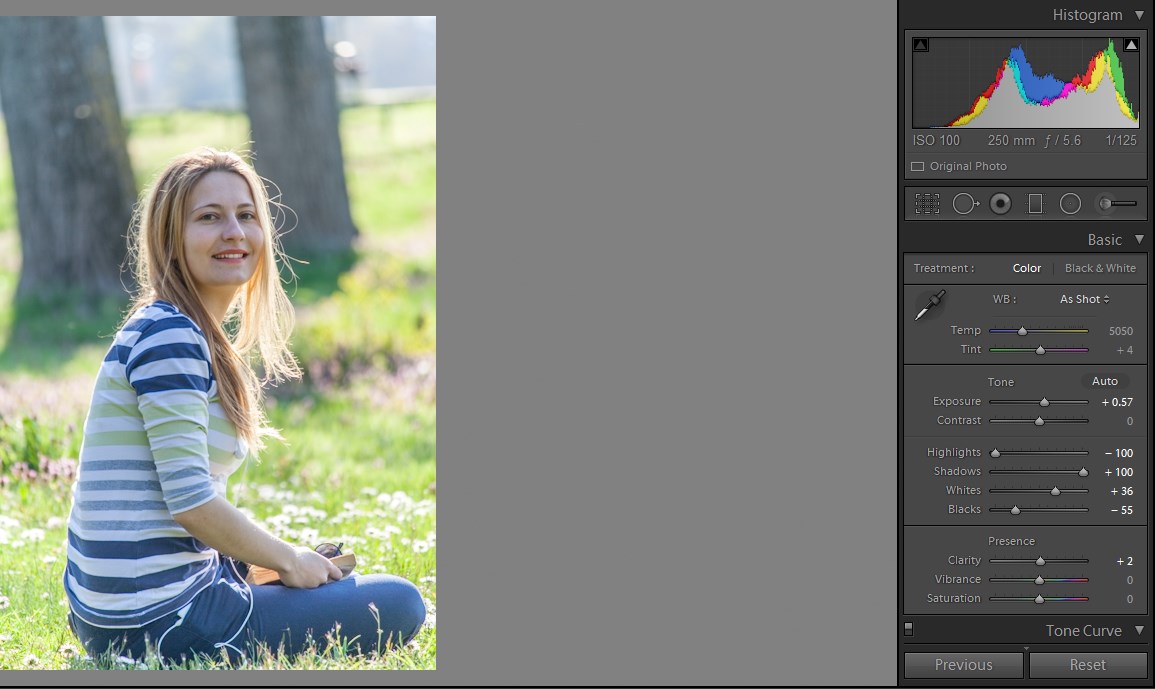
The difference is that this time you will be holding the “Alt” key while doing this. This will enable you to see a mask which will show the areas in the picture which are clipping (this means that it will show the areas that are completely white or black, depending on which slider you are tweaking), thus enabling you to reach correct levels without the worry of clipping.
Once you see such areas showing up on the mask, stop and reduce the value just before it starts to do so. Then, look at the image (let go of the “Alt” key) and do a visual assessment. If necessary, reduce the values even further.
You can use the Tone Curve to fine-tune the aspects in the image that we just discussed, since it pretty much has the same function.
Clarity
Clarity has an effect on an image that lies somewhere between contrast and sharpening. You need to be careful with this one because it can easily break an image, if overdone. I prefer to apply 10-15% on high-contrast images, and a tad more on lower contrast images. Keep in mind that it does amplify noise, basically by sharpening it.
Vibrance and Saturation
Each of these factors is a whole unique story in itself. Even though both options affect the color, the way they affect it is completely different. Saturation is a brute force, increasing all color values equally, and easily gets out of control.
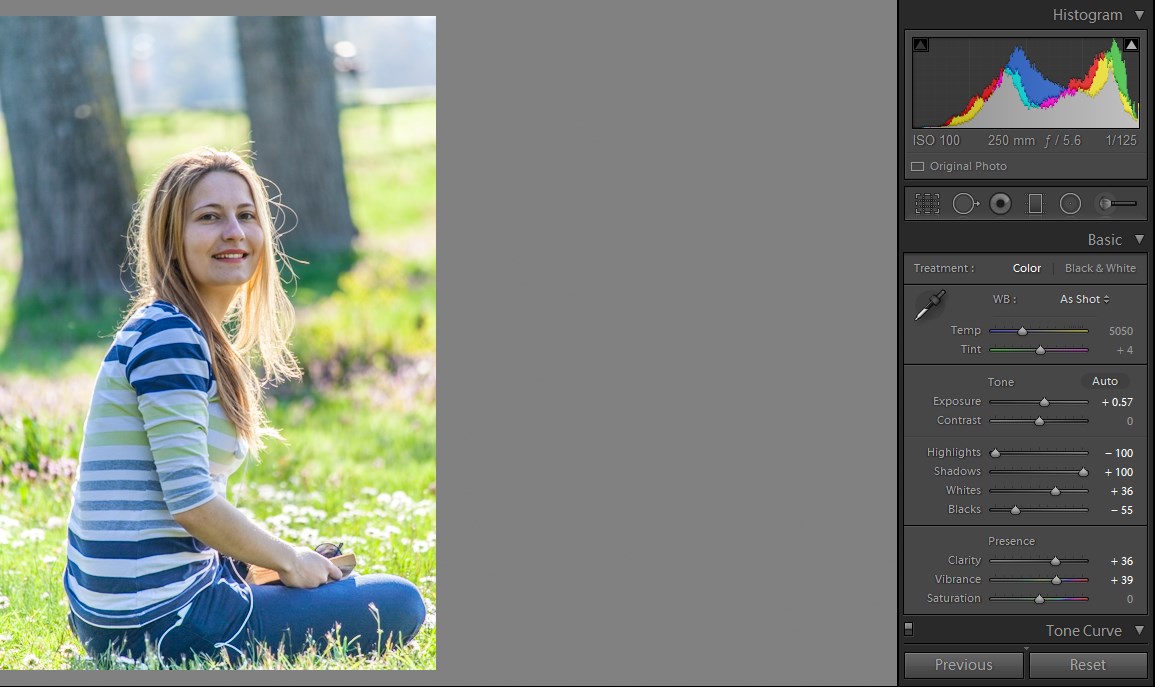
Vibrance, on the other hand, acts like color-recovery tool. It detects colors that are saturated enough, and affects the muted colors more in order to provide a more uniform result.
I usually use Vibrance instead of Saturation since it is more controlled and just works better, for me.
White Balance
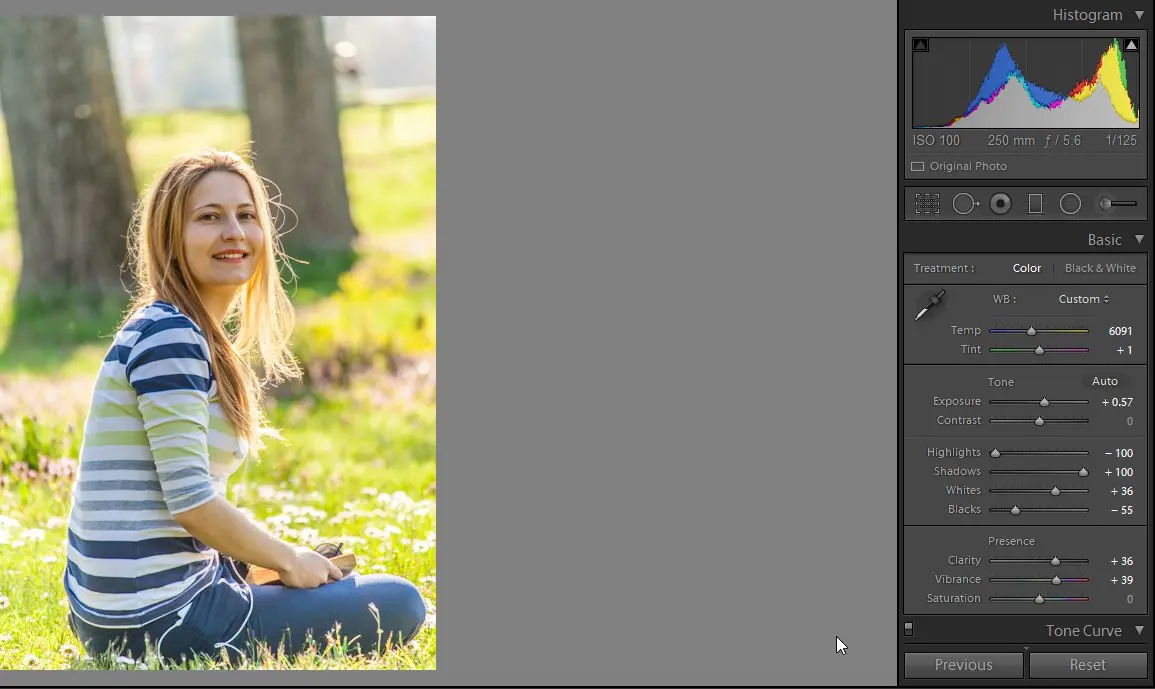
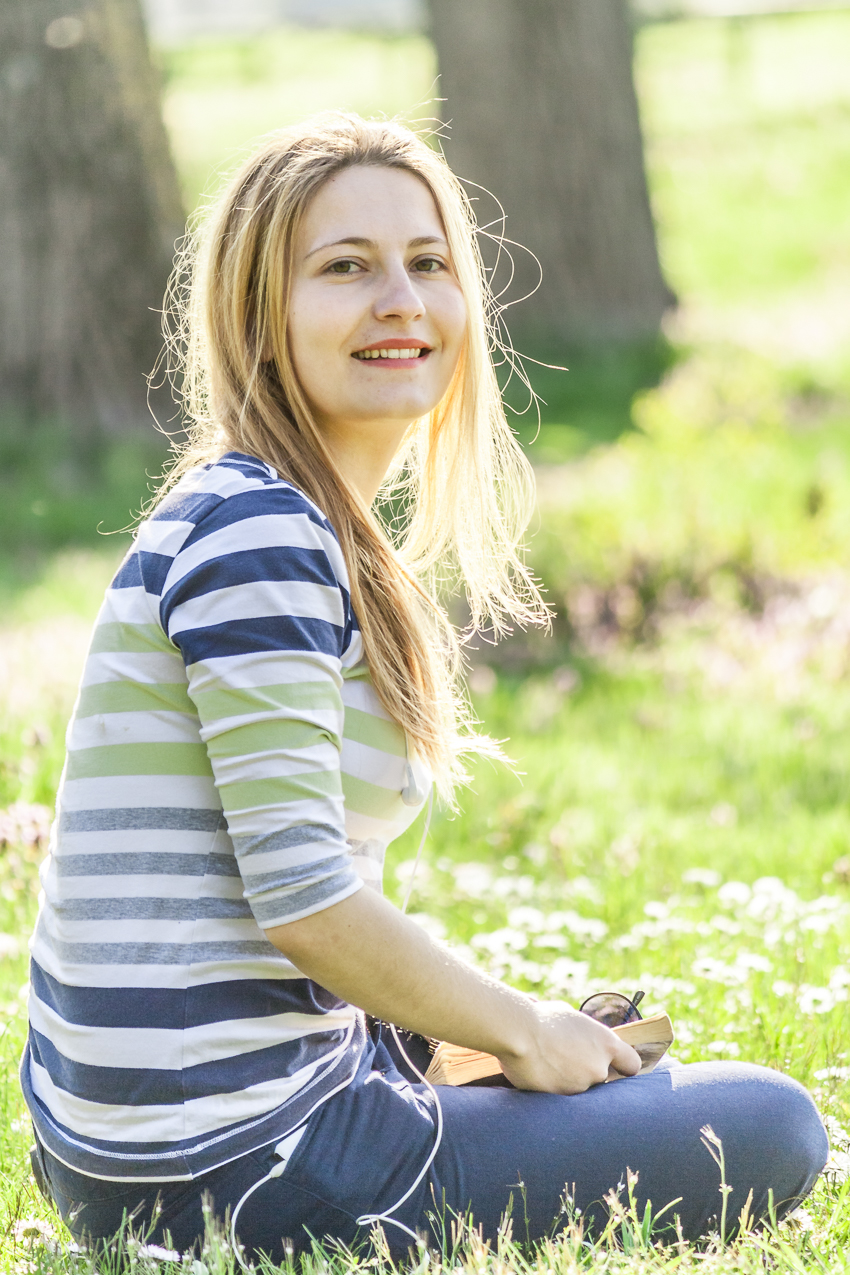
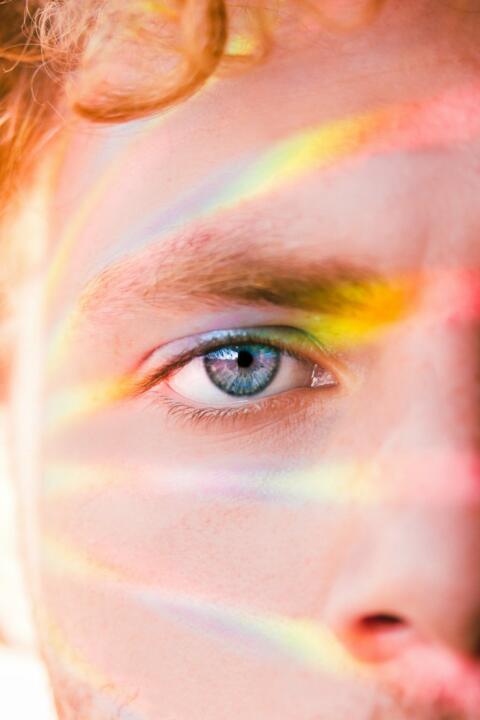
The best way to properly use the white balance is to select the white balance sampler tool and pick an area which you recognize to be neutral (white, gray, or black), like the white parts between the stripes on the model shown here.
HSL (Hue, Saturation, and Luminance)
Though these options are a bit more advanced, this doesn't mean that they are beyond your understanding, at this point. In this section you can affect the Hue, Saturation, and Luminance of each color channel, separately. The neat thing about this feature is the ability to affect the colors directly by using the tool that is hidden in the small circle in the top-left region of the box. Click on that, and then drag it to a place on the image that you want to adjust. Depending on which tab you have chosen in the panel, the dragging motion will do exactly that. For example, if you have selected the Hue tab, the tool will adjust only the hue, and the same goes for saturation and luminance, respectively.
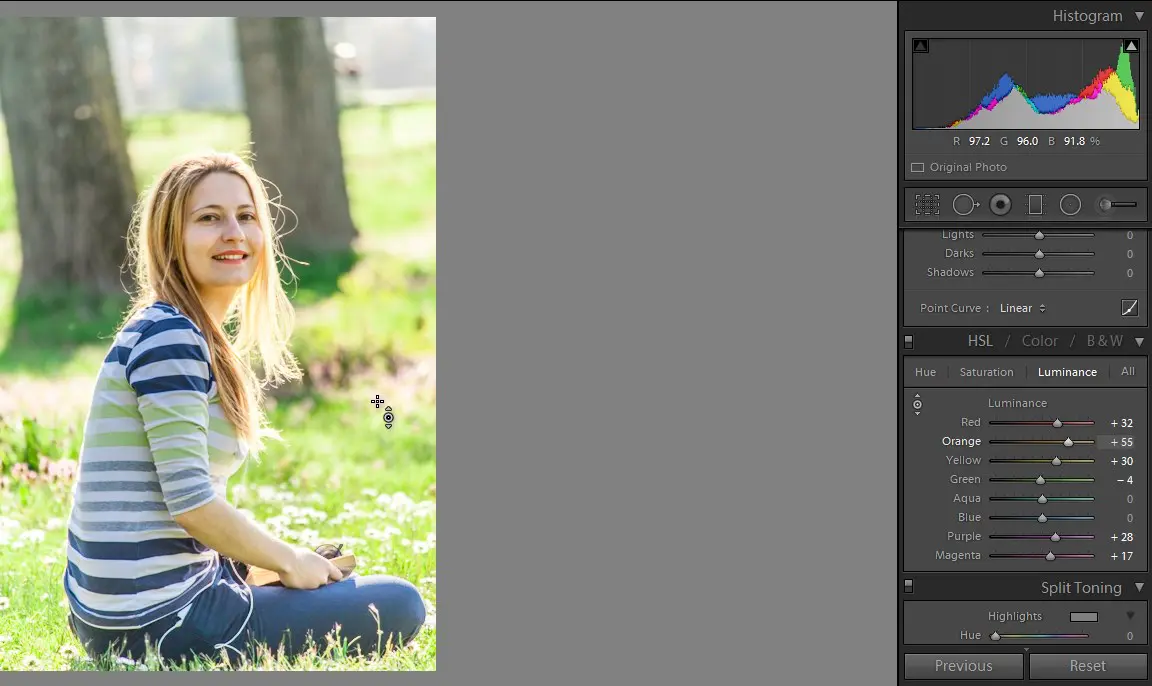
In my picture, I didn't like the fact that the grass was a tad on the yellow side, so I used the Hue tab with the tool to push the grass back towards the green side. On the Luminance tab I adjusted the reds and oranges to be brighter (effectively replacing the fact that I didn’t have a light reflector at the time to fill the light), and did the same with the blues and aquas in order to make the clothes less distracting.

Sharpening
Lightroom has quite an advanced sharpening tool. It may not measure up to really advanced tools, but it still does an impressive job. Depending on the image, I tend to push the Amount slider to around 70-100, while getting the radius down to around 0.6 – 0.7. I don’t touch the Detail slider since it just increases the amount of details it sharpens, which does include most of the noise at around 40 on the setting, therefore 25 is just fine.
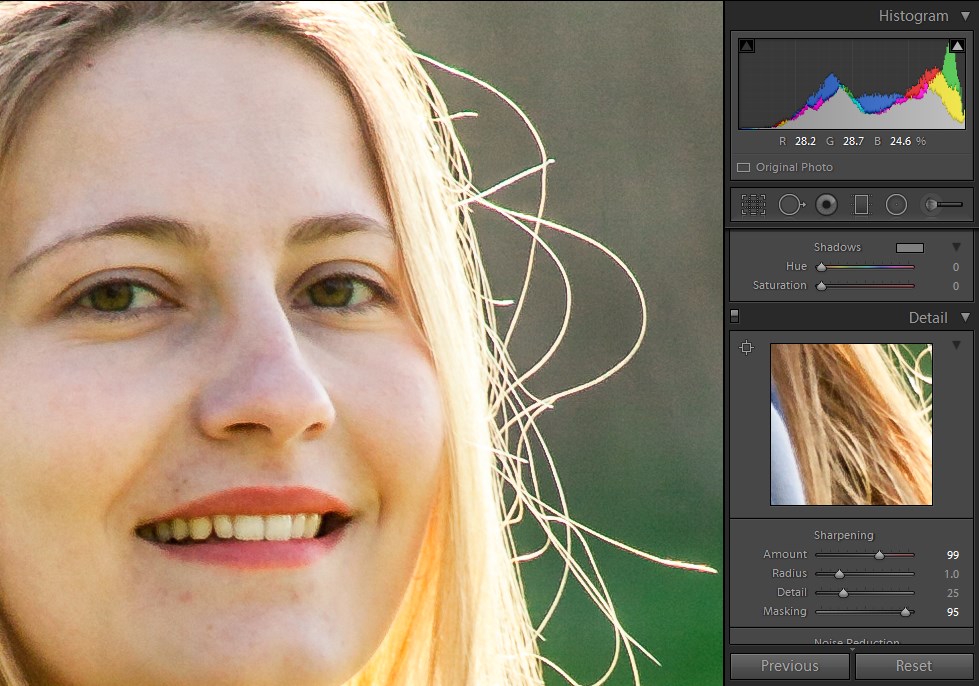
Masking works in pretty much the same manner as the “Unsharp Mask” in Photoshop. It affects the areas where the sharpening takes place. This setting is greater than 90 on most of my pictures since I prefer to sharpen the edges more, and Lightroom does a bad job at sharpening textures. You can see the mask if you hold the “Alt” key while moving this slider. Black parts of the mask mean that those areas aren't affected by the sharpening, and white indicates the opposite.
Noise
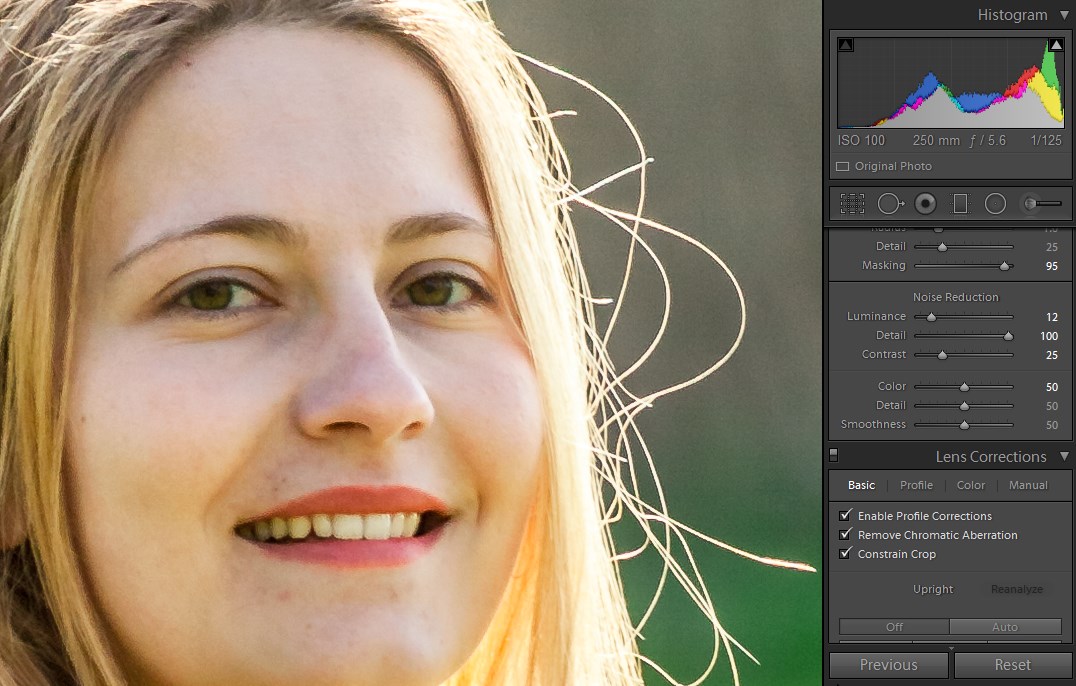
Luminance Noise-Reduction is safe to use to around 20-25 of the slider setting. If you push it further, you risk losing detail and making the textures mushy. On the other hand, Color Noise can be safely pushed towards 50 (which I usually do), and smoothness can easily go to 100, since it basically evens out blotchy color-degradation at high ISO settings.
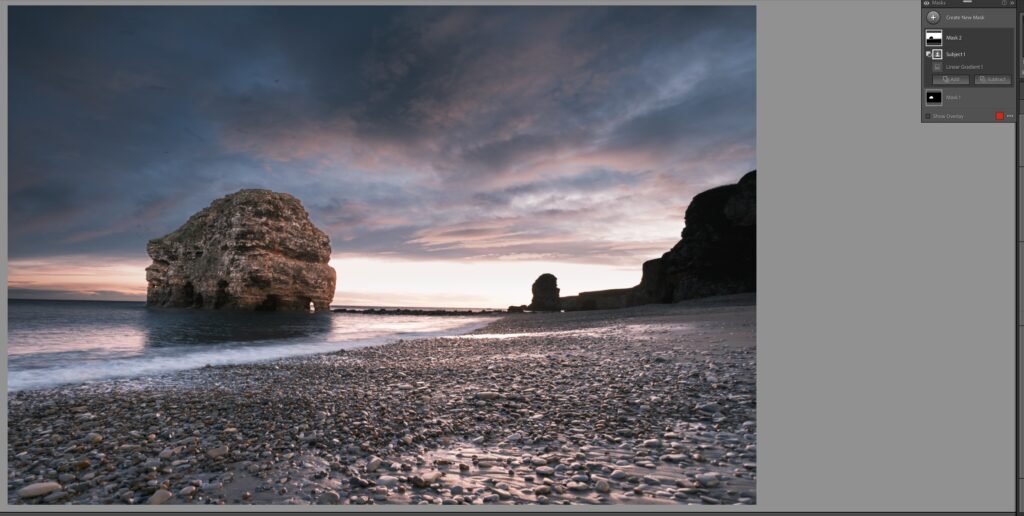
There are three filter types you can choose from: Adjustment Brush, Graduated Filter, and Radial Filter. What they do is allow you to selectively apply most of the settings mentioned before in a similar manner. They all use the RAW information, and they all use a mask to determine where the changes have effect.
Adjustment Brush
This filter lets you brush the mask on using the option of auto-masking. Auto-masking (if selected) avoids high-contrasting edges, making it easier for you to mask around fine details (like building edges or hair). You can reveal the mask by pressing the “O” key.
Radial and Graduated Filter
What these have in common is that they work similar to the gradient tool in Photoshop. The only difference is that the Graduated Filter acts as a regular gradient, while the Radial Filter acts as a radial gradient. Applying these is a bit different, now that you have total control in gradient-application in both cases, using control points which are easily adjusted.
All the filters can be used together, and they will overlay (stack) their effects if used one on top of another.
The way these filters could be used to their full potential will be explained in a future article.
Final Steps
After you are done with the editing in Lightroom, you can continue moving on to more complex edits and retouches in Photoshop by right-clicking and choosing: Edit In -> “Adobe Photoshop.”
If you think that your image has reached the final-product stage in Lightroom, then you can export it by right-clicking and selecting: Export -> Export “…” In the dialog box, all of the features are self-explanatory. You can choose the destination, whether the image(s) will be resized, whether the images will have a file-size limit, watermark, and so forth. Once you are satisfied with the settings, hit Export and you are done!


12 Comments
I use lightroom very extensively, but learned several new things about it. This is an article that I will be coming back to.
The comment that if the histogram is leans to the left the picture is underexposed and if it leans to the right the picture is overexposed is overly simplified. Of course if depends on a subject. If you take a picture of a snowy field and the histogram is not shifted to the right you are going to have grey snow. If you take a picture of a night scene and the histogram is shifted left you will turn night into dusk or even day time.
The key is the tonal range of a scene should be accurately reflected in the histogram. On a average scene with a large range of tones the histogram should cover the entire range. But for scenes that reflect a narrow tonal range the histogram should reflect that range.
Is there a way to set up the lens correction when importing files from the camera so that this does not need to be done for each individual photo?
I save mine as a preset (create a *my presets tab) and then just apply during import.
You can just apply the setting for the first image and then select and sync the rest…of course if you’re shooting with different lens separate the images by lens first.
When I got to the whites and blacks part, I was thinking that if you clear the mask entirely so there are no small dots or anything showing, then you are essentially eliminating anything truly white or black from the image. When I left some small areas clipped, the image had more pop.
Did I totally miss it somewhere, or did you forget to talk about adjusting the contrast? Or was this part of the discussion on clarity?
Jason, funny you mention that because that’s what I was thinking as well. According to an article by someone else, both impact midtones, BUT the Contrast slider will increase the contrast of the entire photo. The Clarity slider only increases the contrast in the midtones.
Jason, that’s a good observation. Hopefully Dzvonko will add some detail about the Contrast slider. What I’ve read elsewhere is the the Contrast slider will impact the contrast of the entire image, while the Clarity slider only impacts the contrast within the mid-tone range. Not sure if that’s true…
Excellent! My editing prowess just took a leap forward – thank you.
It would have been interesting to compare the finished version with the jpg straight out of the camera – given the performance of some in-camera conversion these days, post-production on RAW files could well be a waste of time.
That’s a big call.