In photography, if you do everything ‘by the book’ and lack some experience, you’d think that selective focus is what makes the eye focus on the subject, and that light is used to make everything look nice and beautiful.
While that is partially true, both light and focus play the exact opposite roles as well. Beginner photographers often don’t realize that light is everything. Light is beauty, light is focus, and light by itself can make or break a photo.
The key towards a captivating photograph is to understand each guiding element of the photograph: when it is used, how, and to combine that with the light as a guiding element as well. Light is everything, not just the factor that makes everything look pretty.
Light And Selective Focus Working Together
When you use selective focus to emphasize a certain subject, you try to get the foreground and background as blurry as possible in order to point out what the viewer needs to see among the elements in the photograph. That is a proper way to do it.
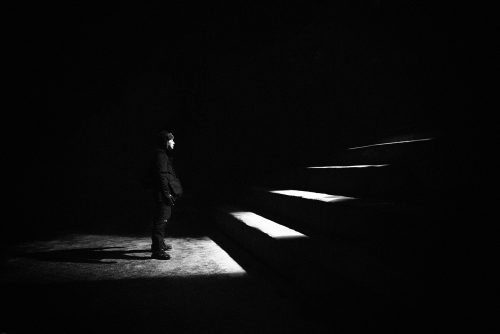
However, if the brightest part of the picture is placed elsewhere, it will deter the eye from the subject in focus and constantly force it to take a glance towards the brightest part of the image.

When the brightest part of the image is different from the subject (sunset portraits per se) you need to make the subject at least as bright as the brightest part (if it is not clipping). Of course, in theory they should be equal, but in reality, you can only try to make them as close as possible.
Additionally, keep in mind that the bright surface, which can be even brighter than the subject, needs to be smaller than the subject itself, to avoid attracting the eye so much.
Using both of these in combination will ensure you a proper shot.
Understanding Light is an essential part of Photography and in particular making your photos look “Great” rather than “Ok”. As there's a great deal to learn with Light, we have a great Guide specifically for you called “Fantastic Fundamental Light Skills” to really take your photography knowledge and skills to the next level.
Light And Guiding Lines
If you have composed the shot to have guiding lines, but the light is falling in the wrong direction you have a conflict yet again. The whole idea is to have every eye guiding element in the photo working in harmony. The light itself, guiding lines, depth of field and so on – all of them.
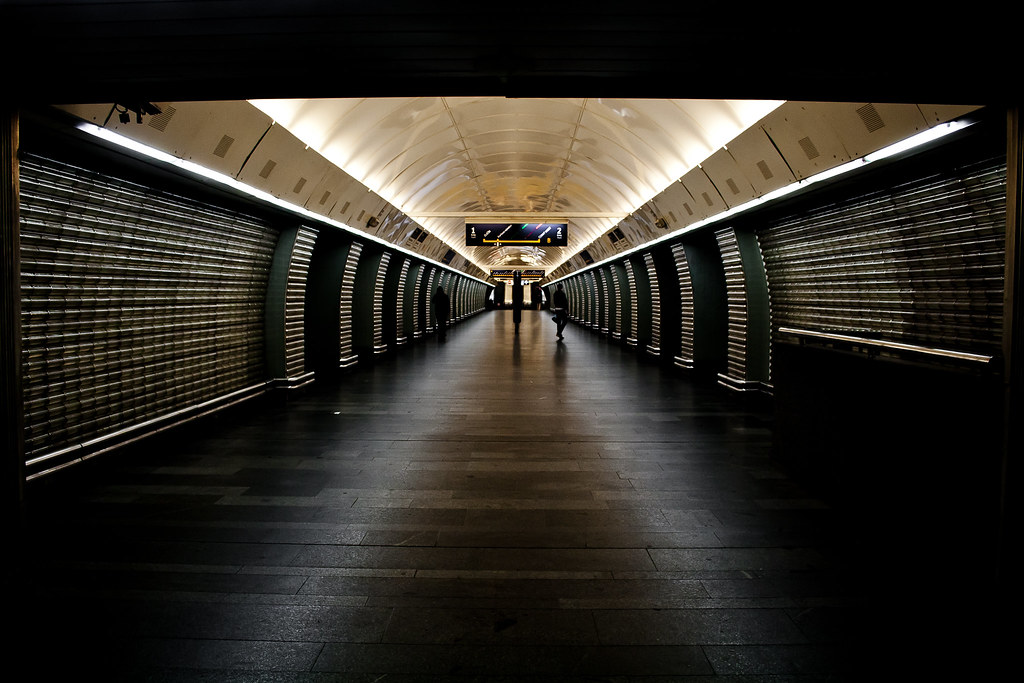 Photo by Hernán Piñera
If the light is flat, you can only use the depth of field and the guiding lines to guide the eye towards the area of the photo you want the viewer to spend most of the time. However, if the light isn’t flat, you should really pay close attention to it. It has to guide the eye as well. Otherwise, the eye will just bounce back and forth between the guiding lines and the brightest/darkest points.
Additional Light Guidance
In scenarios where there aren’t any guiding lines, or other elements to guide the eye (except one or two general ones), you can use the light itself as a guiding line/element. For example, in architecture you can point out a certain point in the space by utilizing light streaks entering from windows.
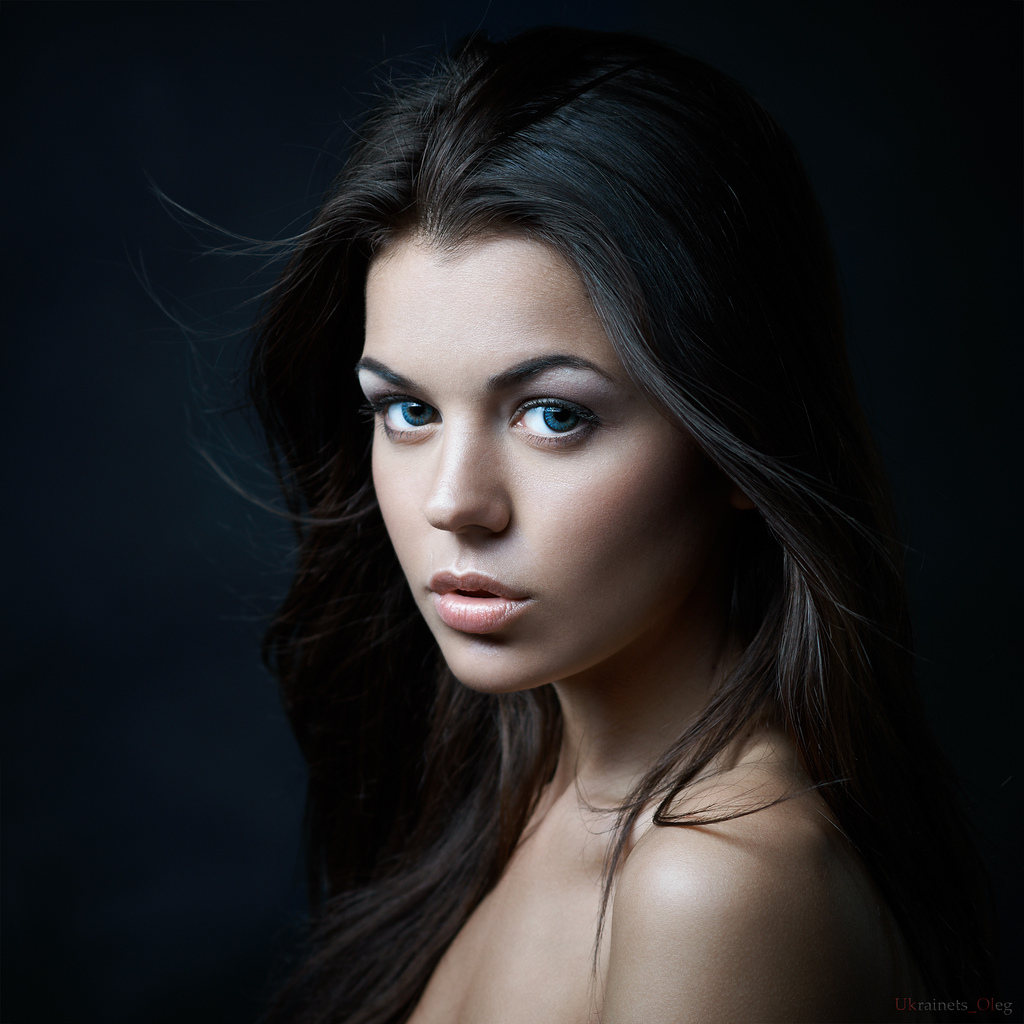
In portraiture, you can lighten up the background close to the portrait slightly using a smooth gradient, in order to bring out the portrait away from the background and make it pop right in the attention of the viewer. Doing a vignette manually afterwards is not the same.
General landscape photos, which don’t utilize guiding lines as the main element of eye guidance, will benefit quite a lot from nice and neat light, meaning that most of the light will be situated in one area of the picture (for example sunsets or sunrises with the sun in the frame).
That will act as a point of interest and since the light will spread out from there, it will generate the necessary element for guiding the eye throughout the frame.
Additionally, you can combine light with the rules of composition as well (rule of thirds, golden ratio and so forth). By placing the brightest part of the image in the appropriate space (no matter whether it is a portrait or a nature shot), you can guide the eye towards the subject/point of interest as well.
But, before you do that, you'll need to study the rules of composition and the way we people scan images with our eyes.
Summary
Be smart about the light. Utilize it properly and in synergy with the other elements – that is the only way to achieve captivating photographs. Study the light from successful photographers, and notice how they combine the elements together in order to attract more of the viewer's attention on the photograph.
Additionally, you can break down the image into segments, and if possible even draw and sketch over it (you can do this in Photoshop) to understand the way the different elements interact with each other.
“Fantastic Fundamental Light Skills” goes beyond what we have discussed in this article and will take your understanding of light to the next level. Check it out.
Further Resources
- What Can Billiards Teach You About Light & Photography? By Kent DuFault
- 6 Creative Ways To Use And Modify Ambient Light By Dzvonko Petrovski
- How to Get Stunning Portraits With One Light By Jason D. Little

