
In the previous article, we discussed the way one light reflector for better portraiture. In this article, however, we will tackle the usage of two reflectors.
Note that these are slightly more advanced techniques which will require somebody to assist since you only have two hands, but it is nothing so complicated that you can’t master with a day or two of practice.
The whole idea is to simulate the three point light setup with reflectors. Although there are many variations on how to do it, we will cover the most commonly used which should be enough for you to be able to derive other variations from them.
Learning more advanced techniques when it comes to controlling and manipulating light is really going to boost your portraiture skillset and this eBook from Photzy “Understanding Light” will guide you through these techniques.
Simulating Key Light And Fill Light
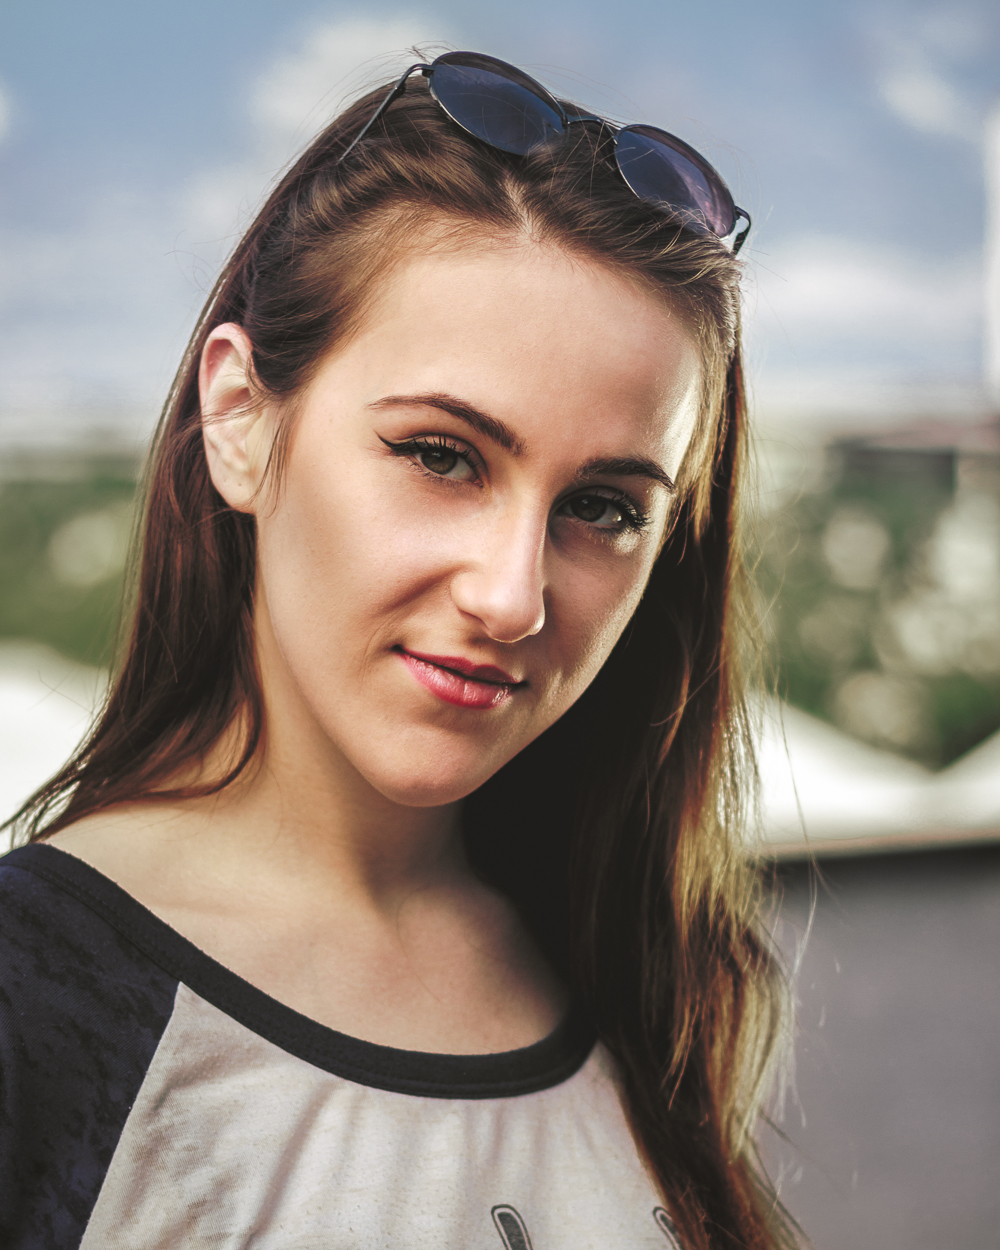
This setup utilizes two reflectors, the first one creates fill light, the other creates key light. For the purposes of explanation, we will assume that the sun hits the left side of the model.
The reflector A (a transparent one) is positioned on the left side to soften the direct sunlight. The reflector B, set to a reflective surface, is positioned on the right side of the model; bouncing light from the sun on the side which isn’t lit by the sun directly, it effectively creates key light.
Reflector A blocks quite a good amount of light from the sun, as well as softening it immensely, which is just what you’d expect from a fill light since it is always indirect.
Even though the other side will now be slightly brighter, or sometimes equally bright as the side of reflector A, reflector B is here to make a contrast, thus to create the depth on the image.
If it is too close, it will be too bright, since it directs the sun without much loss of intensity; therefore it is better for it to be positioned a tad further from the model. Since Reflector B is in the role of key light, you have two options here:
- You can either use the silver side to bounce the same color of light back to the subject,
- Or you can use the gold side to reflect warmer light back to the subject, thus creating color contrast as well.
This is entirely up to you and your creative process.
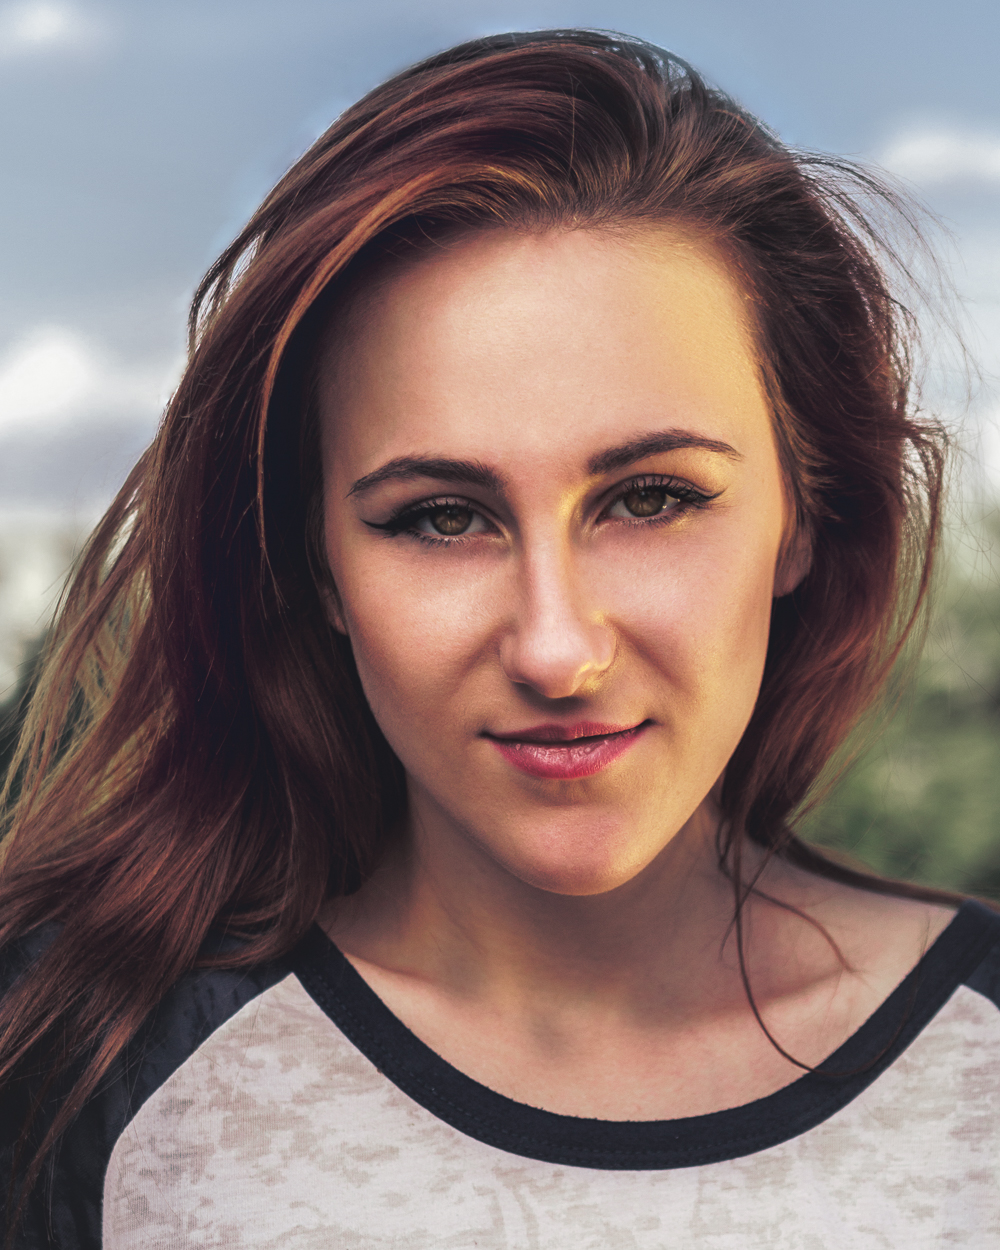
The purpose of this setup is to avoid having sun in the frame, and yet be able to take flattering portraits on a bright sunny day. Quite good for having the subject slightly brighter than the background.
Simulating Key Light, Fill Light And Rim Light
When the sun is beginning to set, the intensity of the light reduces, and the angle makes the light softer in general. We can utilize that softness to play the role of a key light, by using the transparent side to block some of it in order to add depth (basically removing light and softening it at the same time, effectively making fill light where the sun hits the model the most).
The second reflector is used to bounce some light back in order to create a rim light.
Let us assume here that the sun is setting a bit, and there are some light clouds around it. This in itself will still create some soft shadows, but the image will be flat since there will be no difference in the light on the subject due to the angle.
Again, Reflector A is the transparent one, Reflector B is the reflective one.
This time, the sun hits the model almost dead center, offset slightly to the left. Reflector A is positioned in such way to block some of the light on the right side, so there isn’t a pitch black side, but simulate as if the right side was dark and then filled with bounced light.
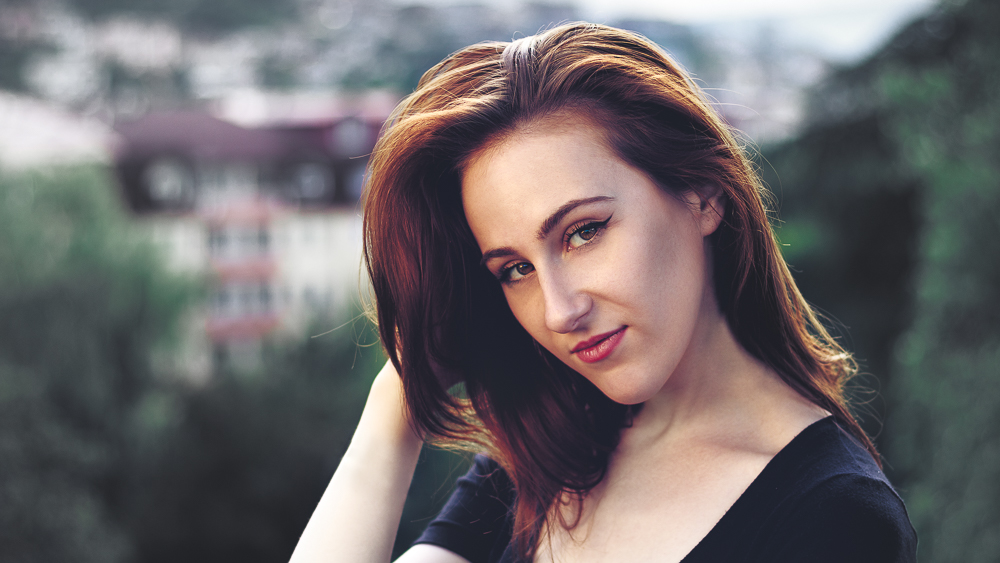
On the opposite side of the model, the sun is bare, no modifications, thus it is the key light here. Reflector B is set to something like 90 degrees relative to the model, on the far left.
The role is to add rim light in order to separate the model from the background. Since the sun is setting and it is not strong and direct enough to have tons of light for us to bounce, Reflector B should be brought as close as possible to the model.
Don’t be afraid to have Reflector B spill some light on the model – it will add more depth. Also, try experimenting with the golden side too as it can simulate sunset.
Summary
These may sound quite complicated at first, but aren’t that hard to pull off once you get started. The results can be quite amazing given that you are using just the sun as your light source.
Analyze the graphs, test out your light reflectors a few times and you’ll see the difference they make in your photography.
Learning more advanced techniques when it comes to controlling and manipulating light is really going to boost your portraiture skillset and this eBook from Photzy “Understanding Light” will guide you through these techniques.
Further Resources
- The Versatile, Affordable 5-in-1 Reflector Kit by Jason D. Little
- Capturing the Beauty of Natural Light at Any Time of Day by Chris Garrett
- 5 Simple Tips for Photographing Tattooed Models by Dzvonko Petrovski


