In one of my first years as a pro photographer, way back in the days of film, I was on an editorial shoot following a day in the life of a student nurse. During that day we visited a retirement home where the student nurse was helping treat a woman with Alzheimer’s disease. The woman was friendly and chatty. There were photographs on her walls with neatly typed out captions listing the people in the photographs. Then she asked if we were in any of the photos. A staff member from the home explained that many of the patients with dementia had difficulty forming new memories and recognizing people but they could sometimes remember snippets of the past. Having the photos handy not only gave the patient a way of making conversation but also helped her feel connected to the life she lived before the dementia set in.

Photo by Aaron Geis
Film and prints are physical things that can be put in a box in the closet and brought out to pass from one generation to the next. I love digital technology but I have a deep concern that many people will lose the photographic record of their lives to the obscurity of ones and zeros. Many of us will have a box full of floppy disks, zipdrives, CDs, DVDs and old hard drives that have photographic files on them that are difficult to access with current technology. I’ve been careful to transfer my favorite photos from one system to the next but there is also the further challenge of being able to find the meaningful photos amongst the thousands of files.
Enter Adobe Lightrooom
Luckily programs like Adobe Lightroom make the task of archiving photos much easier than it used to be. Even so, the wide range of options can be bewildering. One of the students in my Advanced Photoshop class asked me how I archive my images. I explained that I’m personally very nervous about data loss after having a portable hard drive fail resulting in lost photos so I like to have my photos in at least three places at all times. The discussion that followed revealed that most of the students had all of their photos from the course (this was the last term) on a single portable hard drive except for maybe a few that they had shared on Facebook. So we took a break from practicing masking techniques to go through my archiving system.
Afterwards the students told me it was very helpful to see a specific workflow. Importing files was covered on the first day of the Lightroom course and all of the various possibilities were covered with the expectation that they would find their own solution for long-term storage. Sometime shortly thereafter I changed my teaching technique. I decided that it’s better to show my workflow all the way through at least once and then return to cover each step in greater detail with an explanation of the various options and choices.
The Workflow Recipe Changes With Time
It’s a little like making salsa. If you gave a novice cook a pile of ingredients and asked them to make some salsa they would probably start chopping tomatoes, onions and garlic but then become a bit unsure what to do next. The lime might be feeling nervous. My advice would be to add splash of cider vinegar, a dash of Tabasco and a dash of Cholula. Yes, the lime gets it. Then add a teaspoon of brown sugar to bring out the sweetness of the tomatoes.
The next time that cook makes salsa they may not have Cholula sauce and down the road they may have made so many changes that it becomes their own signature salsa, with the same core ingredients but with major differences as well. My goal with this series of workflow tutorials is to walk the reader through my recipe for starting with image files and producing finished photographs. It’s not the only recipe and you will probably come up with your own version but I believe it makes sense to start with one distinct possibility and make adjustments from that point.
Getting Familiar With Lightroom Catalogs
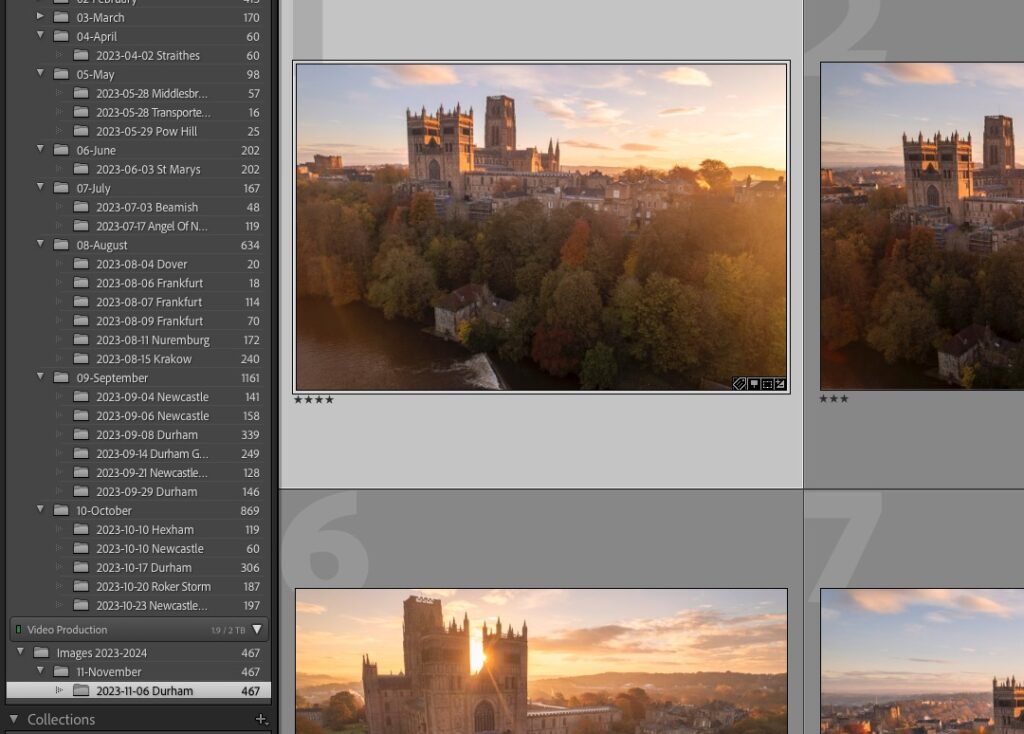
I use Lightroom to organize my photos into catalogs. As a professional photographer I find it best to start a new catalog for each shoot and I also have catalogs for my personal photographs named for the event or trip – i.e. Cornwall 2014. If all of your photographs are personal then you may prefer to work from one master catalog, you can create separate catalogs at any time if you decide to alter your system.
1. Creating a New Catalog
The option for creating a new catalog is found under the ‘File’ menu. When you select ‘New Catalog’ you are presented with a dialog box prompting you to select where you would like the new catalog to be stored. It’s important to carefully consider what the best name for a set of photographs would be. Try to imagine what you would think of as a search term if you wanted to retrieve the photos in 20 years time. I name the folder that will hold the Lightroom Catalog with those searchable terms and I keep my all of my Lightroom Catalogs in the a master folder named ‘Photos’ and within a subfolder named ‘Lightroom Catalogs’.
It’s important to remember that the Lightroom Catalog is really just an index to a set of photographs. The actual image files are what you really want to protect. I strongly recommend keeping all of your photos in a master folder for all images. My master folder is named ‘Photos’ but I use it for my video files as well.
If you had image files in various folders scattered around your hard drive it would be easy to loose track of some and forget to move them when you update your computer or hard drive. Once you have created a new Lightroom Catalog you are prompted to import some images.
2. Importing to Lightroom the Right Way
I use Lightroom to import images from the CF cards used by my camera. If I have several cards filled from a day of shooting I will use a card reader but if I’m just importing a few photos I use a USB cord to connect my camera directly. Lightroom processes move from left to right and the left hand panel of the import dialog box is a list of devices that are available to import ‘From’. If you are just starting to use Lightroom you may first select images that you already have on a hard drive.
In the top center of the import dialog you could select the ‘Add’ option but I would recommend using ‘Copy’ and creating new folders to organize your photos. In the central panel of thumbnails I will sometimes deselect images that clearly haven’t worked out or were on the CF card from a previous shoot. When importing new photos from the CF cards I also use the ‘Copy’ option so that the images will remain on the CF card until I am confident that the transfer has gone smoothly.
Whenever possible I leave the original images on the CF cards until the photos have been fully processed and the final selections have been uploaded to an online storage facility before formatting the cards.
3. File Handling – Making Multiple Copies of Your Files
With Lightroom you can import your photos to two hard drives at the same time. I use a Thermaltake dual hard drive docking station to make redundant copies of all of my images. The docking station holds two 3.5-inch SATA drives and connects to the computer with a single USB 3.0 connection.
With two high-quality hard drives in the docking station I can save to both drives at the same time by selecting the ‘Make a Second Copy To’ check box on the ‘File Handling’ panel in Lightroom. The further options in the ‘File Handling’ panel allow you to select how you want to handle previews, I am happy with ‘Minimal’ and I also check the ‘Don’t Import Suspected Duplicates’ box.
4. File Renaming – Assigning Custom Name to Your Files
The next panel down on the right hand side of the import dialog box gives you the option of renaming your files on import.
Select ‘Custom Name + Sequence’ and add the same keywords that you used for naming the Lightroom Catalog.
Then click the check box to leave the extensions ‘As-Is’.
5. ‘Apply During Import' – Using Presets
At the time of importing I also use the ‘Apply During Import’ option to process my images using one of my presets with the ‘Develop Settings’ option.
Creating your own presets will be covered in another tutorial but until then you could try one of the presets that Lightroom has preloaded. The Lightroom Preset titled ‘Tone Curve Medium + Contrast’ will add a bit of punch to your photos.
Processing your photos in this way is non-destructive so you can go back and rework the photos at any point without harming your image files. I will often tweak the settings for individual photos but I find it quite useful to process the entire shoot to add some contrast as a starting point.
6. Add Metadata
In the Metadata field I select the Metadata Preset I created with my copyright and contact information. You can create your own preset by selecting the ‘Create New’ option from the dropdown menu for Metadata.
How many fields you fill in depends on how you intend to use your images. At a minimum I would recommend that you fill in the ‘Copyright’ fields with your name (you can add the © by holding the option key down and typing ‘G’ on a Mac or on a PC by holding down ‘Alt’ and typing ‘0169’) and the copyright status – either copyrighted or public domain.
7. Add Keywords
Then I add the keywords I’ve used to name the folders and files plus any additional keywords that would make the images easier to locate in the future. It is also possible to add keywords to specific images later but I usually try to add a few more to the entire batch at the time of importing.
8. Select Destination
Following the same convention that I used for the ‘Second Copy’ option I select the ‘Image Files’ folder within the ‘Photos’ folder on the other of the two hard drives in the Thermaltake dual drive dock. I check the ‘Into Subfolder’ box and enter the keywords for the image set one last time.
10. Import
Now click the button labeled ‘Import’ to add the photos to the Lightroom Catalog while also copying them to the two hard drives.


