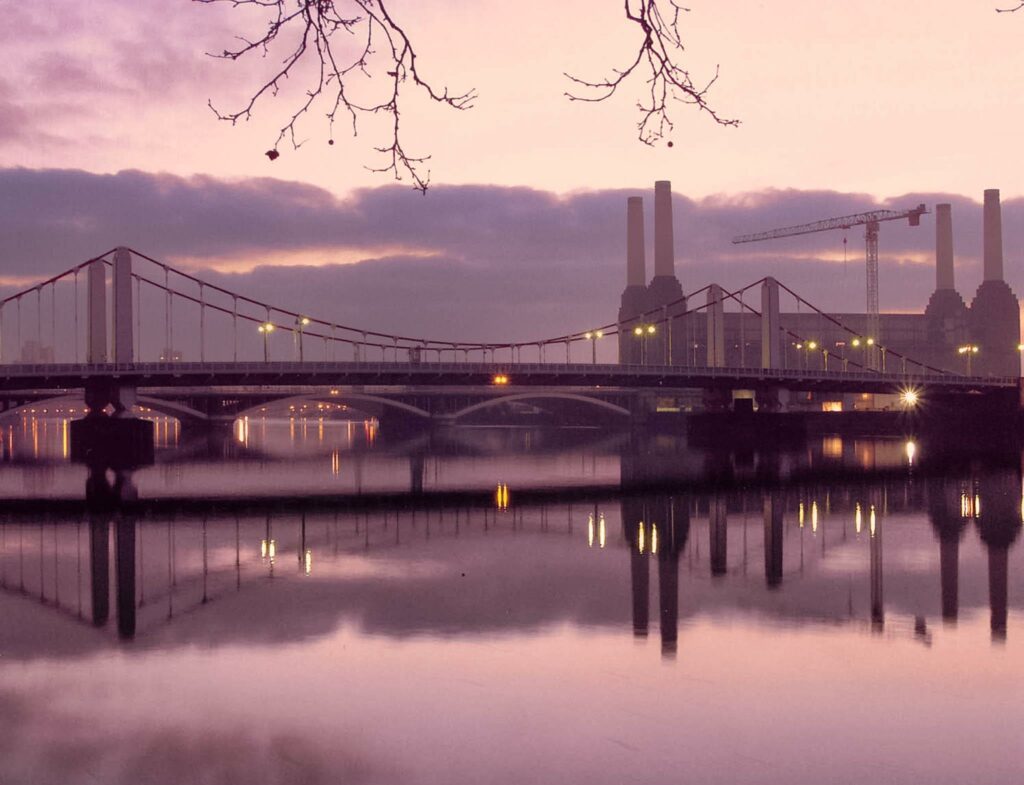
Long exposure photography is so captivating because it can completely alter our visual perception of things we see on a regular basis but, perhaps, don’t pay special attention to.
With long exposure photography, moving vehicles become light trails, waterfalls transform into sheets of silk and people morph into gliding phantasms.
Long exposure photography is fun but it’s also challenging. There are plenty of potential mistakes to be made and, as with most things, the best way to recognize and learn from mistakes is by doing.
However, having awareness of some of the challenges that lie ahead can help mitigate at least a few of those mistakes.
Keep reading to learn about 4 common long exposure photography mistakes and how you can avoid them.
1. Using The Minimum Aperture
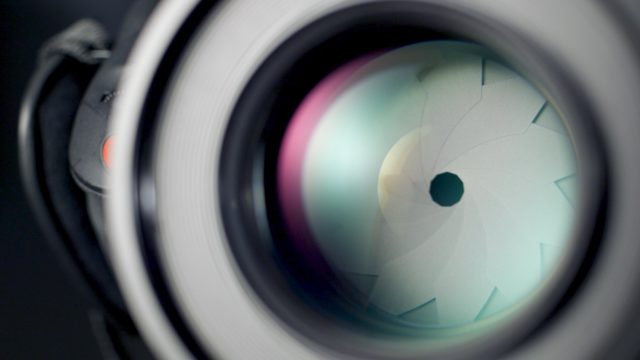
Long exposure photography revolves around using extended shutter speeds. One way to achieve longer shutter speeds is to decrease the amount of light entering a lens; one way to decrease the light is to use a small aperture.
But it’s typically not a good idea to use the smallest aperture on your lens. Many lenses can stop down to f/22 which, in theory, would be an ideal way of getting a longer shutter time.
In reality, you should avoid using the minimum aperture due to the fact that diffraction tends to kick in at that point. Lens diffraction is an optical effect that diminishes apparent sharpness and overall resolution.
Instead, find your lens’ sweet spot — usually between f/8 and f/11 — where you’ll get maximum sharpness and still have adequate depth of field.
2. Using Poor Quality Filters
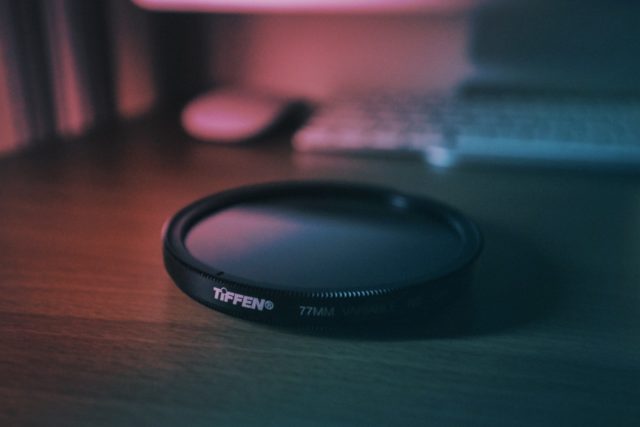
Another method of extending the shutter speed is to use a neutral density filter. An ND filter offers a significant reduction in light (depending on the strength of the filter) without affecting the color of the scene.
That is unless you use a poor quality filter, which can cause unwanted color shifts. You’ll end up spending quite a bit of time in post-production trying to fix things and you may not get your photo perfectly corrected.
The way to avoid this is simply to purchase a high-quality ND filter. In fact, this is true of any filter you intend to use. Any time you place an additional piece of glass in front of your lens you should be using one made of top grade materials.
The better the filter, the less you lose in image quality.
3. Using Dirty Filters
If this seems like a painfully simple mistake, it is. But it’s one that’s also painfully common, so it’s worth mentioning. Keep your filters clean.
A dirty filter can most certainly muck up an otherwise great shot.
After you remove a filter from your lens, and before putting it away, give it a good cleaning. It won’t take long — blow off any dust and grit, wipe away smudges and fingerprints and you’re done.
Your filter will be ready for action the next time you need it.

4. Using Built-In Image Stabilization
In an effort to make handholding a camera in low light more feasible, manufacturers have implemented image stabilizing mechanisms — either in lens or in camera.
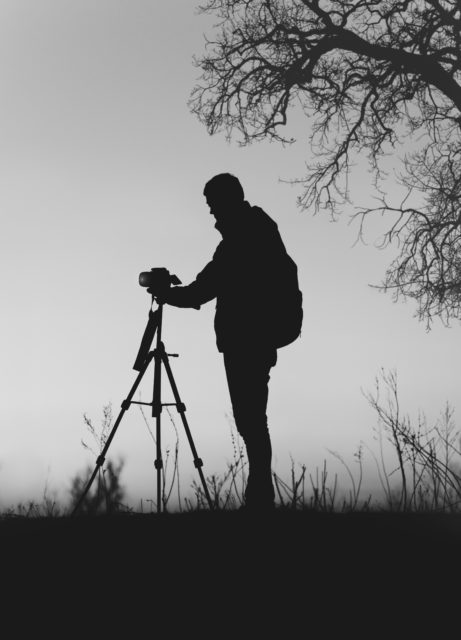
This sort of image stabilization, however, has its limits and isn’t going to be effective for very long shutter speeds. For long exposure photography, nothing beats a tripod.
In fact, when you are using a tripod, you should disable any sort of electronic/inbuilt stabilization features in your camera or lens. Using image stabilization, ironically, has the potential to cause some shake while your camera is mounted to a tripod.
Conclusion
Long exposure photography is fun and exciting, but it presents a number of challenges that must be overcome before you see any real success. Fortunately, the mistakes are as simple to correct as they are to make.
While the mistakes outlined here don’t represent all the obstacles you can encounter with long exposure photography, they are among the most common. But as you hopefully gleaned from reading, these mistakes are easily avoided.
With these basic challenges addressed, you should feel empowered to move forward with giving long exposure photography a try.


1 Comment
great post – especially for beginners like me. advice like this has helped me get some pretty good shots, and I’d have never figured this out on my own. At one time or another I’ve made most of the mistakes you mentioned, and they tend to add up and wreck your image. thanks for posting.