Before the wonders of digital photography, using black and white was a choice that photographers made before capturing a photograph. Nowadays, that choice happens in post-production, after the image is downloaded from the camera.
Today we’ll talk briefly about the steps you need to execute to make a black-and-white conversion for pretty much any portrait, regardless of your RAW developing software.
Why Black And White?

Before getting into the really technical stuff, there is a valid question we need to answer before clicking or pressing some keyboard shortcuts. What's the purpose of converting an image (in this case, a portrait) into black and white in the first place?
There are several possible answers:
- It delivers fewer distractions when telling a story or communication a message.
- Monochrome gives a timeless feeling due to the absence of color.
- It is more generous when it comes to punching up the contrast.
- Black and white is so forgiving that it might save an odd-looking color photograph.
However you answer those questions, it is important that you always have a clear understanding of why you are doing what you are doing. That is part of the beautiful practice called “Conceptualization“.
White Balance

First thing's first: let's start by assuming you are developing a RAW file because a well-planned portrait deserves to be crafted with all the available information from your camera.
White balance is one of the definitive steps in any developing workflow because it allows adequate tone separation. This will help you a lot when you’re converting a regular color portrait into a stunning black-and-white image.
The logic to follow when balancing the overall temperature of a photograph is to locate a spot in the image that is white (or very close to white) and even things out using that small portion of the image. This can be easily performed the eye-dropper tool – you just need to select it from the white balance panel and click on the white spot on the photograph.
Certain tones tend to overlap when the temperature hasn't been evened out, and they can give you a lot of trouble if you darken or brighten them. I have tried to correct the brightness in a blue tone and skin tones getting affected as well because the overall temperature has been yellowed out.
Try to make a black-and-white conversion without correcting the white balance, then do it after correcting it. You'll notice a great difference when dealing with the adjacent tones.
Using Clarity Correctly

This is a tool that deserves to be mentioned because there are a lot of misconceptions about it and people are using it harshly in their portraits. Clarity must be understood like this: it enhances the contrast between light and dark tones. It gives the illusion of sharpness, but it’s not a real sharpening tool. The best way to achieve sharpness is by focusing correctly in the camera.
When applying clarity, you need to be aware of the results and stop pushing it to the point where you start to see funny or unreal results.
The abuse of this tool gives a sort of HDR look that just doesn't feel right in portraits; it works only on the borders of tones and enhances skin spots and wrinkles as well.
It’s okay to use it in portraits, but you need to be extremely cautious to avoid unpleasant results.
Avoid Auto Mixtures
After balancing the temperature of your photograph to get closer to what you saw with your eyes (that's right, the whole purpose of white balance is to get closer to the overall temperature of reality) you can convert into black and white.
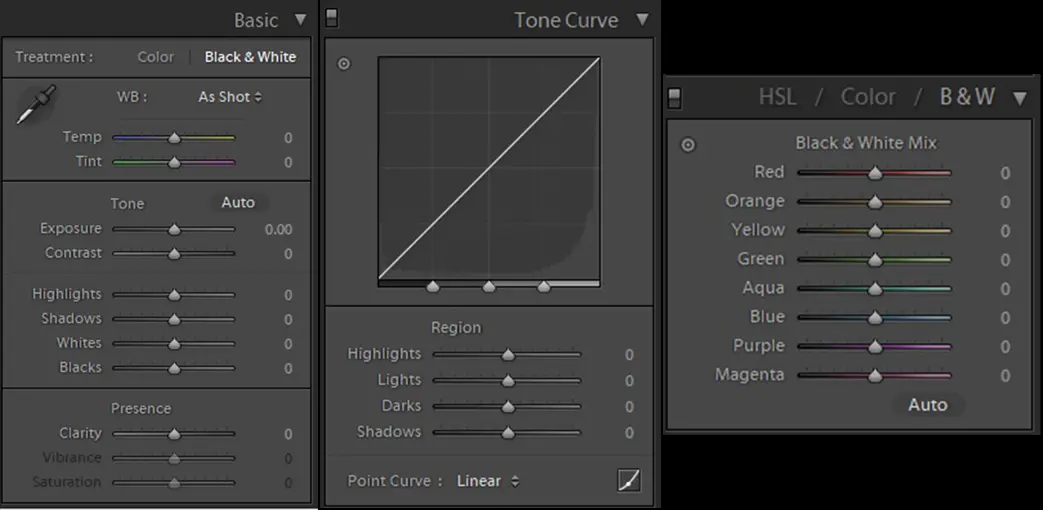
The best way to achieve this in Lightroom is by hitting keyboard shortcut “V”. But before that, you should make sure your software isn't giving you a preset mixture.
When converting to black and white in Lightroom, there is a default auto-mixture that should be disabled. In previous versions of Lightroom, this was achieved by clicking on Edit > Preferences > Presets and deselecting “Apply auto mix when first converting to black and white”.
In newer versions of Lightroom, it is done via the HSL menu.
The only reason why you should avoid auto black-and-white mixtures is because every case is different, every photograph has a different light setting, and also because all skin is different. Hence the decision to start from scratch, with all values set to zero.
It’s All About The Skin

Every skin type is a different world, and you should be aware of that before converting a black-and-white portrait. And you should know how to handle each skin type. This is the main reason why you should always balance the image’s temperature, as we stated above.
Skin tones are among the strongest colors when it comes to memory. This means that we are so familiar with skin tones that we expect them to look in a certain way each time. Therefore, we can easily spot a funny-looking skin tone without any problem – and by “we”, I'm not talking just about photographers, but pretty much every human being.
From pale Caucasian to extremely dark skin tones, you need to be extremely careful with the reds, oranges, yellows – and in some cases, the greens – when doing a black-and-white conversion.
These are the color channels that will help you achieve great-looking tones in your black-and-white portraits.
Please let us know in the comments section about any doubts or experiences you've had when converting a portrait into black-and-white from a color version.


