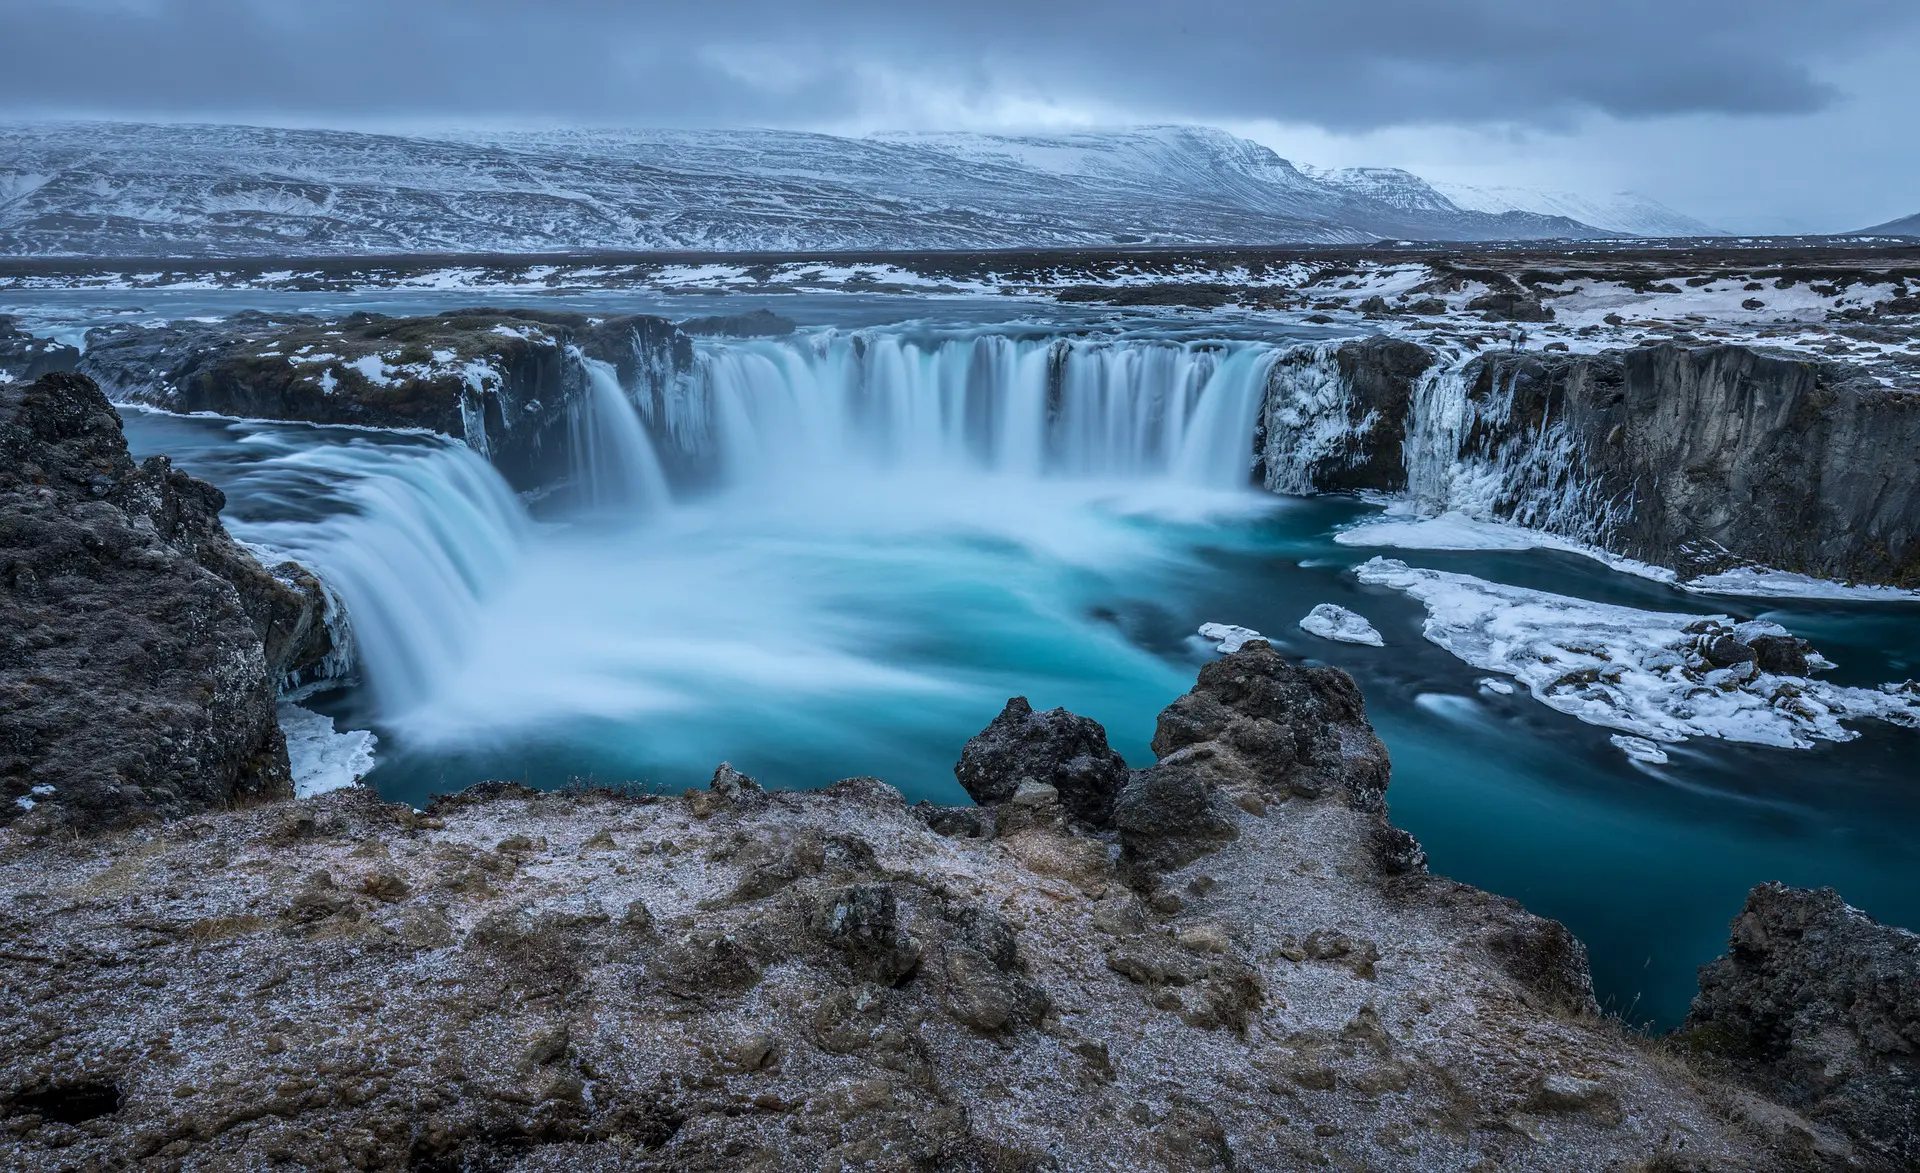
Have you ever noticed how silky and dreamy water and clouds look in certain photographs? If the answer is yes, we bet that you are curious about how those stunning looks are achieved.
Even though when they seem to be unreal and out of this world, those effects on the water and clouds are almost entirely achieved inside the camera, and today we are going to introduce you to the heart and soul of that kind of imagery, Long Exposure Photography.
I remember the hideous pictures I was creating right after I began to understand how light behaves and how aperture controls the amount of light that went through my camera.
The reason I was taking funny looking photographs was that I thought that with just a regular tripod and with the slowest aperture value in my lenses I was going to capture beautiful, dreamy photographs, but I couldn't have been more wrong.
Don't get me wrong, adequate exposure values and tripods are absolutely necessary of course, and especially tripods because of the sturdiness they provide for keeping our cameras nice and steady.
But there are some tools that make those dreamy photographs reachable via very slow and long exposures, those bad boys are best known as ND Filters, and they can reduce the amount of light that passes through almost to the point that you can't see anymore through the camera.

So Here Are 6 Quick Tips To Capturing Dreamy Long Exposure Photos
- Pick your location – look for moving elements (waves, waterfalls, rivers, fog, clouds etc) contrasted with static elements to anchor your image and tell a story
- Don't forget composition – look for interesting foregrounds, framing, compose your image being mindful of the rule of thirds.
- Get yourself a neutral density (ND) filter to get the shutter speed slow enough. Look at getting 1, 2, and 3 stop ND filters first – you can always stack filters as well
- The blue hour or golden hour is a great time to shoot
- Use the lowest ISO possible and aperture between f8 and f11 for sharper noise-free images. Always shoot RAW
- Take it slow – time to experiment with shutter speed. Different speeds will capture different amounts of movement in the image and remember many of the very best, ethereal long exposures shots use shutter speeds running into several minutes.
A Bit More On ND Filters And Exposure
Understanding how ND filters work and how much they can reduce light passing through a lens may seem pretty easy on paper, but the images don't always result as expected.
A lot of getting the image you want will be through experimenting with different shutter speeds. Of course, this is part of the fun!
With filters attached, it can be really hard to gauge what the correct exposure will be. And of course, there is an app for that. LExp (Long Exposure Calculators) for IOS and ND Filter Calculator for Android are just a couple, but there are many around that will help you with exposure.
If you are more “old school”, the following chart will help you calculate your current applied settings for normal light situations into the language of long-exposure photography:

Slow paced long exposure is a wonderful meditative form of photography because it allows you to be out there with yourself, it is almost like fishing in a calm lake all by yourself.
If you'd like to learn more about long exposure photography, check out The Complete Guide To Long Exposure Photography over at Photzy


1 Comment
Thank you for providing this overview! I am curious, why do you suggest to use an aperture between f8-f11? I have always read/was taught to use f22 for the sharpest images? I understand that there is a “sweet spot” on every lens but what is the difference between a f10 and a f22?