Getting a sharp image is often regarded as one of the more desirable traits of a landscape photograph. And while there are perfectly legitimate reasons that you might like a softer look in some landscape images, getting those tac sharp ones is a skill that every landscape photographer should have in their arsenal. So today we are going to look at several of the considerations that should run through your mind when your goal is to get a sharp landscape shot.
I put these tips together while reading through Kent Dufault's excellent guide to landscape photography which is well worth a look if you want to take your skills in this area even further.
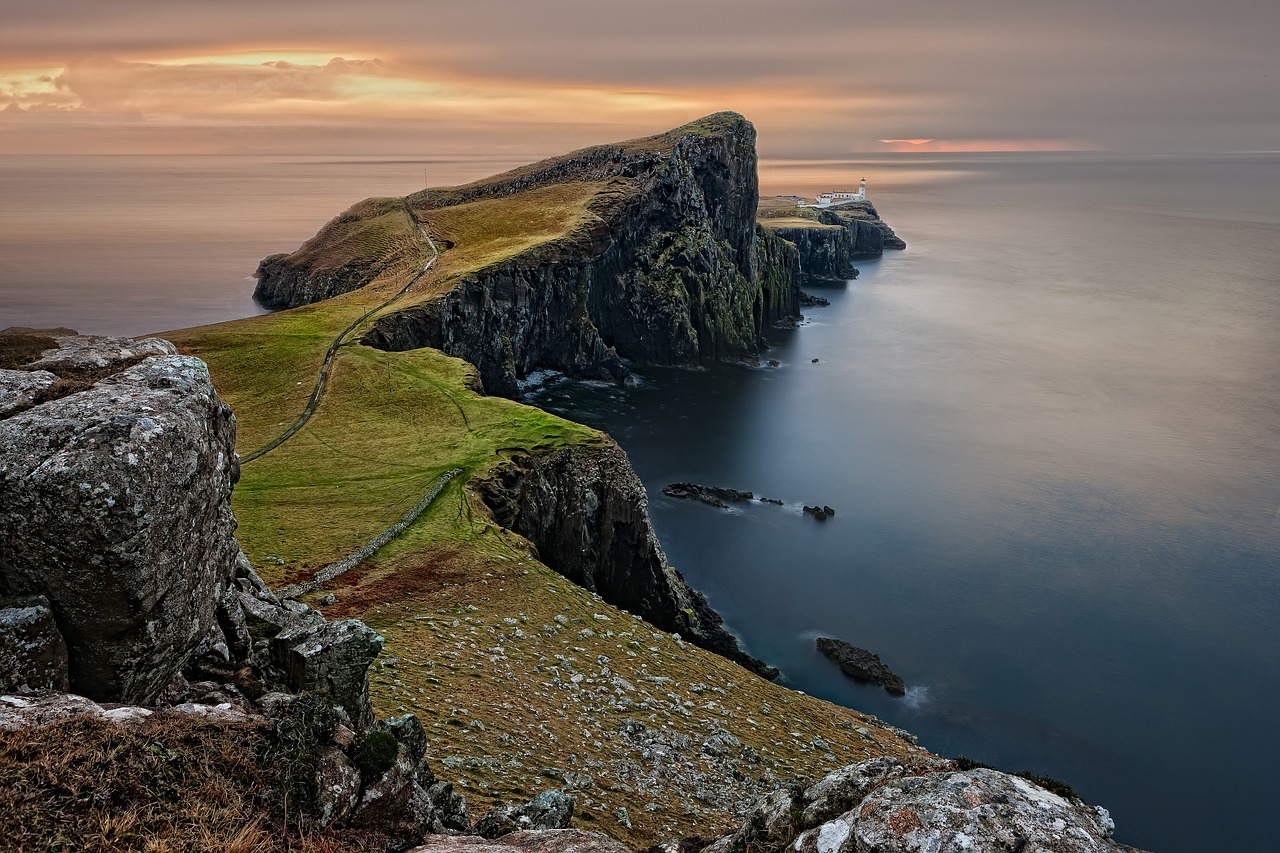
Any one of these tips will lead to sharper landscapes, but when you start stacking them together, then you get some great results. So take one or do them all!
Find Your Lens' Sweet Spot for Sharper Images
It is tempting to think that a narrow aperture will give you the sharpest images in landscape photography because theoretically as much as possible is in focus due to a deep depth of field. The reality is a little different and a little more complicated.
Every lens has a “sweet spot” that produces the sharpest images for that particular lens. This means you need to do a little research about the lens you are using. Other than experimentation on your own, it's usually best to do a quick Google search for your lens model number and the keywords “sweet spot” – for example, Nikon 70-100 f2.8 sweet spot. Quite often you will find the lens' sweet spot being discussed in forums. This is especially prevalent among landscape photographers, which is quite helpful!
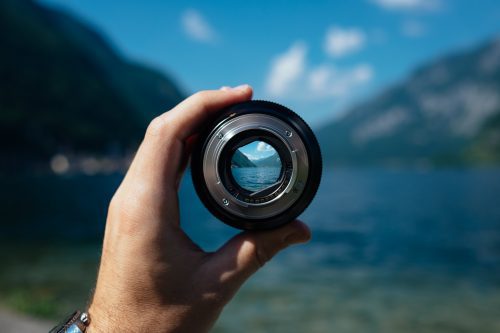
Focus 1/3 of the Way Into the Scene
Learning techniques to focus well is probably a bit more complicated than you might think, however there are a few old chestnuts that will serve you well.
For landscape photographers, focusing roughly a third of the way into the scene will usually give you the best results. This approximates hyperfocal distance which is a more complicated way of finding the perfect place to focus.
Note: Don't focus to infinity as this can make your shots soft.
Learn Hyperfocal Distance
Now, this is a brief into to calculating hyperfocal distance, but if you want a more comprehensive overview, then have a look at our article on the subject which, coincidentally, applies specifically to landscape photographers.
The short of it is this:

That might be a little complicated, but it is worthwhile for a landscape photographer to learn it and apply it. Approximating it with the 1/3 advice above is great for starters and often enough to get those sharp shots, but hyperfocal distance calculations are for when you want to be absolutely precise. Of course, you can always grab an iPhone app to make it easier.
How Using Live View Can Give You More Precise Focus
Most modern digital cameras allow you to use “live view” whereby you can see the scene you are shooting on the camera's LCD screen.
This gives us an opportunity for tac sharp focussing.
Simply focus your scene as you normally would. Then zoom in on the element you focus on. Readjust your focus using the zoomed LCD image!
That's it. It really allows for much more precise focussing.
Mirror Lockup
One of the sources of camera movement when you are trying to keep a steady camera is when the shutter release is releases, the mirror slaps and slightly vibrates the camera. This can lead to slightly less sharp images than you might desire.
The solution to this is relatively simple.
In your camera's settings will be a “mirror lockup” option which stops this from happening. It is different for every camera, but it's there so make sure you go through your camera's menu or look it up online or in the manual. This is a very common thing to know on your camera for landscape photographers.
Note: If you are using live view, your camera is already in mirror lockup mode.
Get a Sturdy Tripod
This one should be obvious! But not all tripods are created equal.
In general terms, the heavier and bulkier a tripod is, then the sturdier it will be for stabilising your camera. If your tripod is a little light, then you can always weight it down by hanging your bag (or a bag of rocks or sand) from it – most have a hook for this.
Another possible concern is to get a tripod that does not have a center column which can be another source of movement.
These days, tripods by Really Right Stuff seems to be very popular with landscape photographers, but the classic Manfrotto tripods are always hard to beat too.
Get a Remote Shutter Release
You can get a remote shutter release off Ebay for under $10 and they are well worth it for landscape photographers.
The key here is that a remote shutter release allows you to take the shot without touching the camera which can lead to camera shake.
It's an easy win for sharper shots so grab one. If you don't want to spend the money, then at least use delayed shutter release which most digital cameras have.
Use Low ISO
The classic advice for landscape photographers to use a low ISO setting is useful in getting sharper images.
Basically, you want to get any distracting image noise as removed as possibles so that means an ISO somewhere between 64 and 400 (preferably as close to 64 as possible) on digital cameras.
Electronic First Curtain Shutter
EFCS is something that is often talked about in terms of how it can reduce shutter noise. But one of its unheralded traits is that it can also reduce shutter vibration which is one of the big causes of unsharp images in landscape photography.
Now, setting up EFCS differs depending on the camera you have – and all of the manufacturers seem to have done it in different ways, so again, read your manual! It's worth it!
Summary
Sharpness in your images is something you need to know about as a landscape photographer. Let's quickly recap:
- Know your lens' sweet spot
- Focus 1/3 into your scene
- Learn hyperfocal distance focussing
- Use Live View
- Use Mirror Lockup
- Get a good tripod
- Use remote shutter release
- Use a low ISO
- Use EFCS
As mentioned earlier, Kent Dufault's guide to landscape photography will take things a lot further than an article like this is capable of, so be sure to check it out.



3 Comments
Excellent advice! Thanks so much for posting this information!
Good advice, thanks for sharing
Really sown to earth advice, which we all often overlook in the heat of the moment. Well done