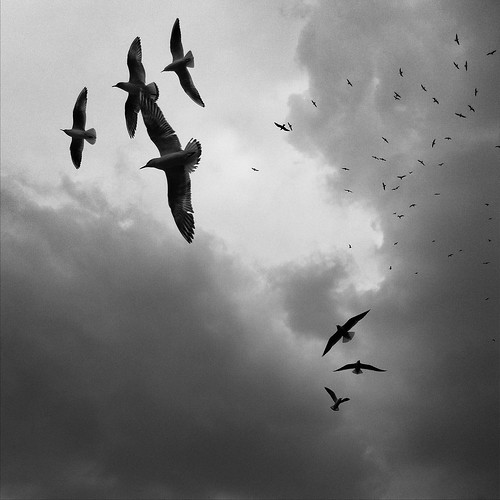
Can you really get great shots on an iPhone?
That depends on how you define “great,” and there’s sure to be generational, educational, and experiential factors that cloud one’s idea of greatness. Furthermore, iPhoneography is often a divisive issue, with steadfast supporters and vigorous detractors occupying each end of the continuum. This all just serves to point to the subjectivity inherent in this discussion.
In the realm of mobile devices, the iPhone camera is generally well regarded but it’s hardly the god among mortals it was once considered. That doesn’t really matter, though. We all understand that, in the right hands, any camera is a good camera (or a good enough camera). So since the iPhone is, at the very least, a very capable camera, perhaps we should be talking about what iPhoneographers can do to maximize their camera’s potential.
It probably won’t settle any arguments about whether iPhone shots are great, but you can at least feel good about getting shots that live up to your own expectations.
- Use Both Hands. The iPhone doesn’t feature any sort of image stabilization, so to minimize the chances of getting blurry shots you should probably hold it with two hands. You don’t get to choose the shutter speed, so despite the phone being thin, light, and generally comfortable to hold, you still need to make sure it’s as stable as possible.

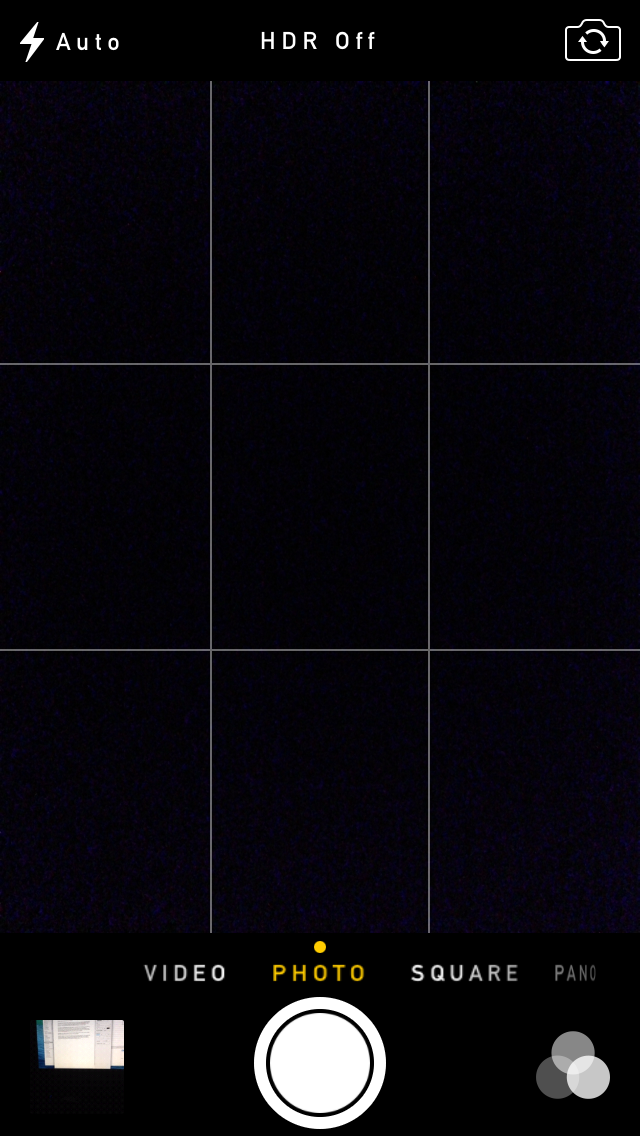
- Use the HDR Feature. This is somewhat related to the tip above because the iPhone’s HDR feature works by quickly taking three captures of your subject at different exposures and combining them for one ostensibly better defined image. But it’s pointless if your camera is moving.
- Zoom with Your Feet. While the “zoom with your feet” advice comes with a number of caveats for DSLR/prime lens users, it’s really the only way to go for iPhoneographers; that slider at the bottom of the screen is nothing short of useless. Use it and people’s immediate reaction to your shot will be something along the lines of, “Oh, how unfortunate, you used the onscreen zoom….” If you want to zoom in on something and retain good image quality, just get closer to your subject.
- Shoot in Good Lighting. Cell phone cameras typically have tiny sensors that don’t excel in low light conditions — the iPhone is no exception. It is by no means impossible to get an acceptable night/low light shot, but numerous factors will have to converge perfectly and you will need to use flawless technique. You simply aren’t going to get DSLR-like levels of high ISO performance out of your iPhone, so your best bet is to always shoot in the best light possible.
- Use the Composition Grid. The fact that the iPhone gives you the option to turn on grid lines should be a hint that composition matters even when you’re shooting with a mobile device. An interesting and balanced composition is an important element of any photo, regardless of the camera with which it was made. The grid lines are there to help. Use them.
- Use AE/AF Lock. Well, you have to know that feature is there in the first place, and many iPhone users don’t. It serves the very same purpose as the AE/AF lock on a DSLR. Just tap on the part of the screen that corresponds to the part of the subject you want to focus on, hold until the box that appears bounces twice, and you have now locked in focus and exposure. This can be helpful in tricky lighting situations such as when you encounter backlighting; you can focus on/expose for your subject alone and not worry about the background.

- Go Easy on the Filters. Or don’t don’t use them at all. When it comes to things like Instagram filters, some people despise them and others use them on every single image that comes out of their phone — which is one of the reasons some people despise them. If you're really trying to make a case for the legitimacy of iPhoneography, Instagramizing (Instagramifying?) everything isn't going to help the cause.
- Bring in Outside Help. You can definitely make do with the iPhone's built-in camera functions, but if you want more control and flexibility, there are a rang of apps you can download to make your overall iPhoneography experience a more robust one. For a powerful yet user friendly photo editing app, try Snapseed. If you're looking for features like image stabilization, independent focus and exposure control, a horizontal level, and scene modes, give Camera+ a try.
So there you have it; take these tips, add them to any tips of your own, and go out there and represent for all the great iPhone photographers of the world.


4 Comments
I just printed this out and shall slip it into my grandson’s Ipod Christmas gift card.
Try 645 pro mk II
In my opinion the best app actually for iphone
Greetz
Which app are you in favor of?
Procamera and for editing enlight. used to be a photoshop/lightroom user with my canon dslr. now packed away. only iphone plus. have won awards in dslr milleu and no one was any wiser 🙂