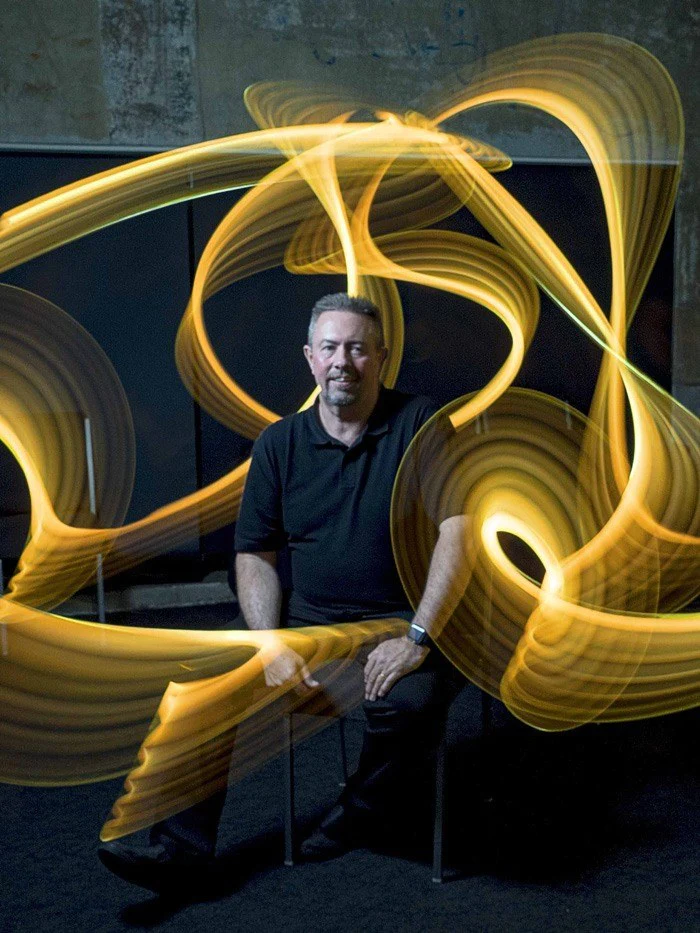
David Chesterfield is a light specialist. His amazing light orbs, steel wool photography, light painting, astrophotography, and water drop photography is all out of this world.
It is definitely worthwhile following David on Instagram to see his visually stunning work
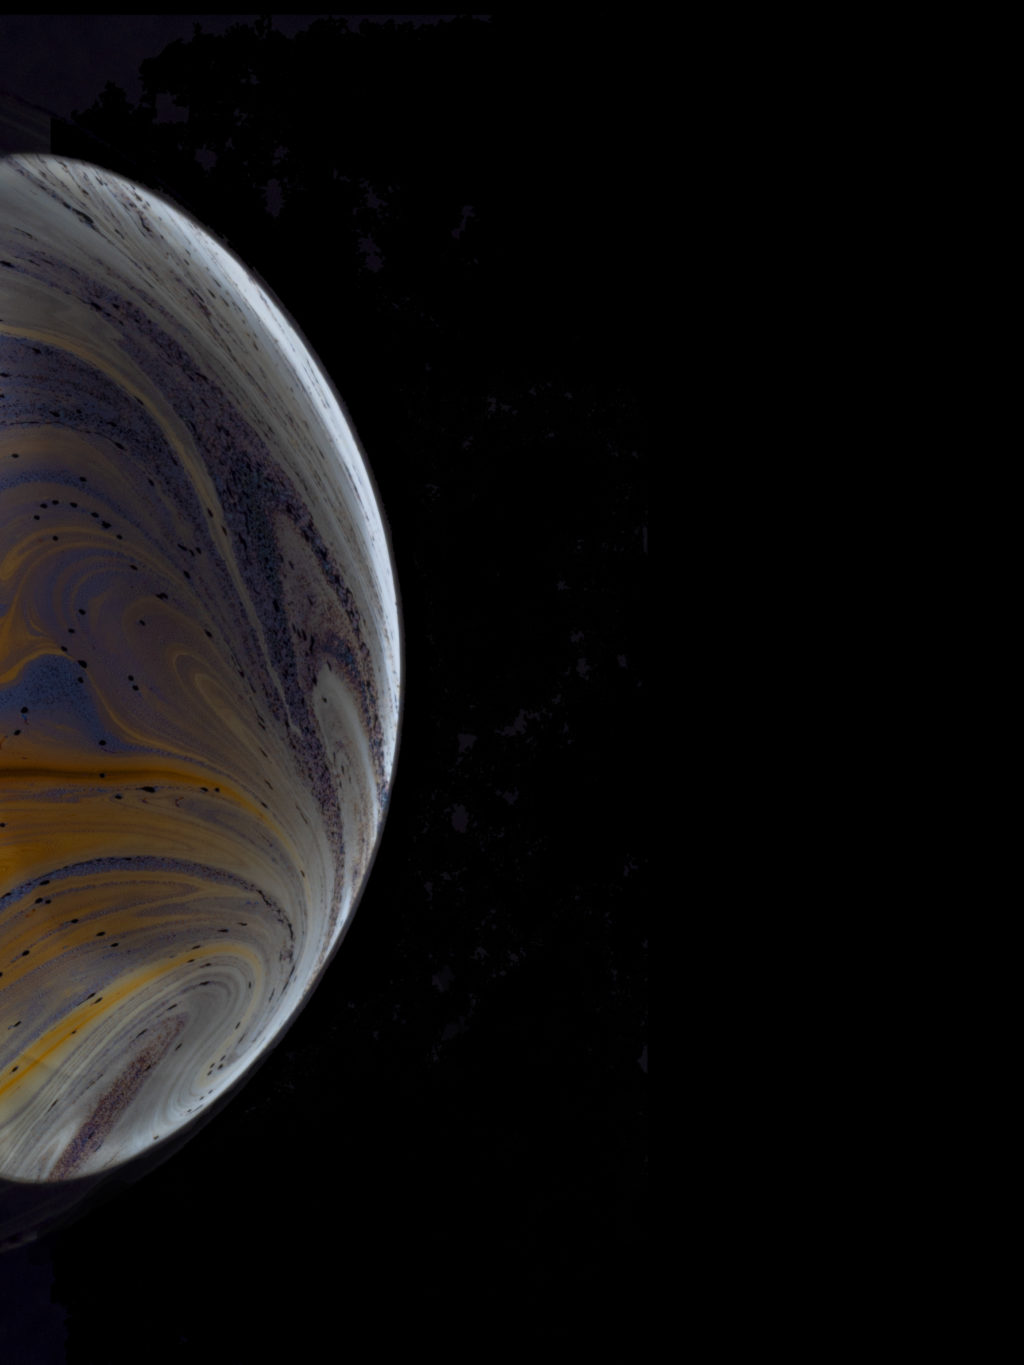
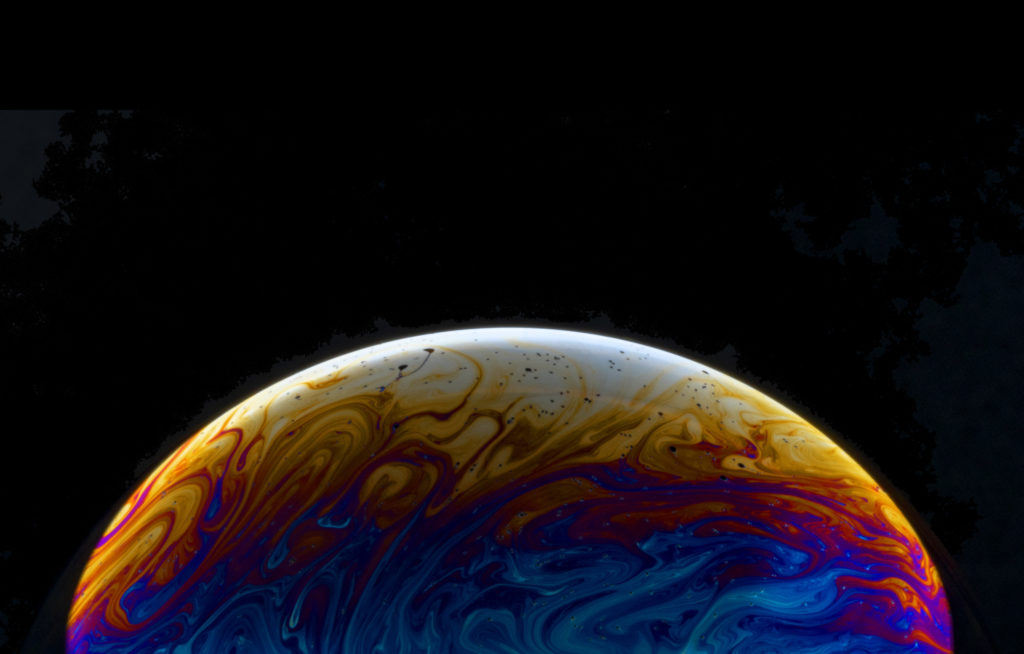
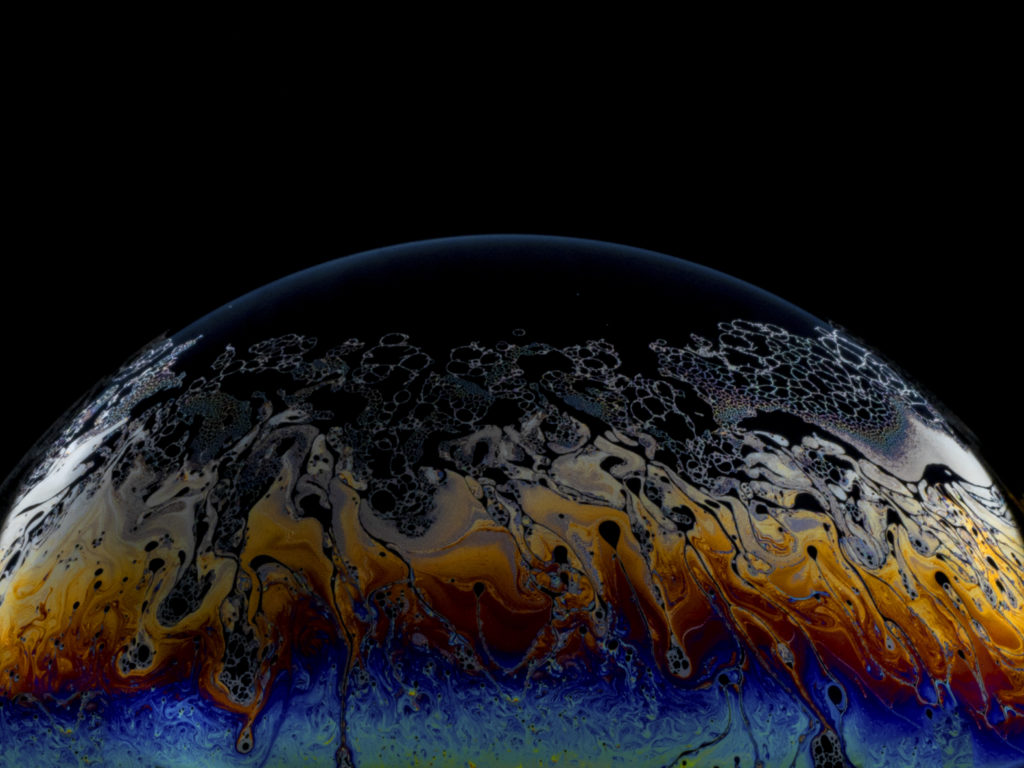
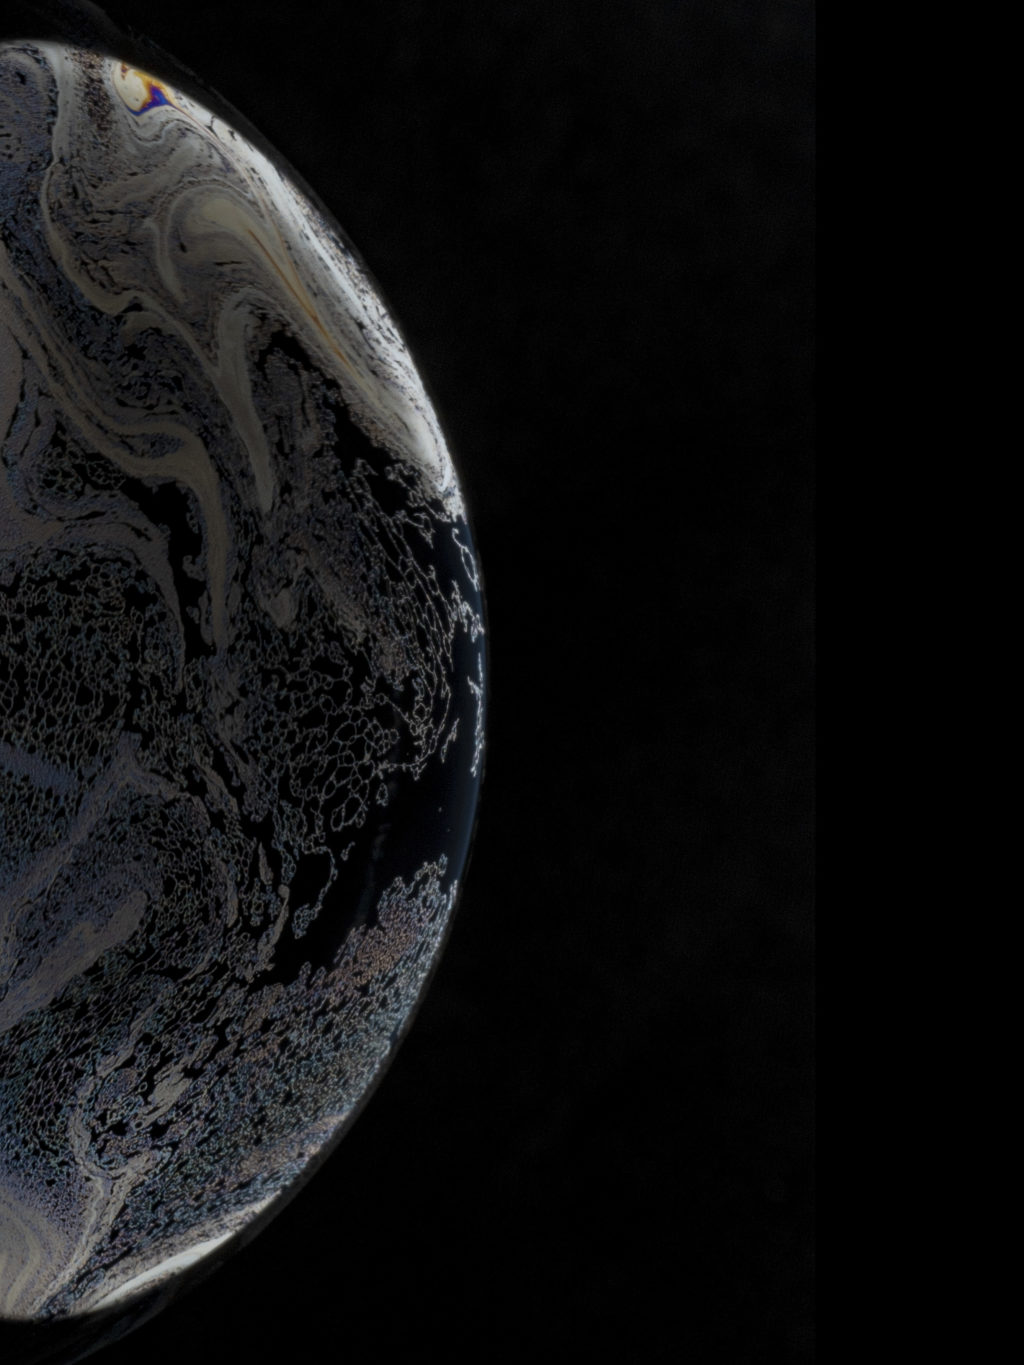
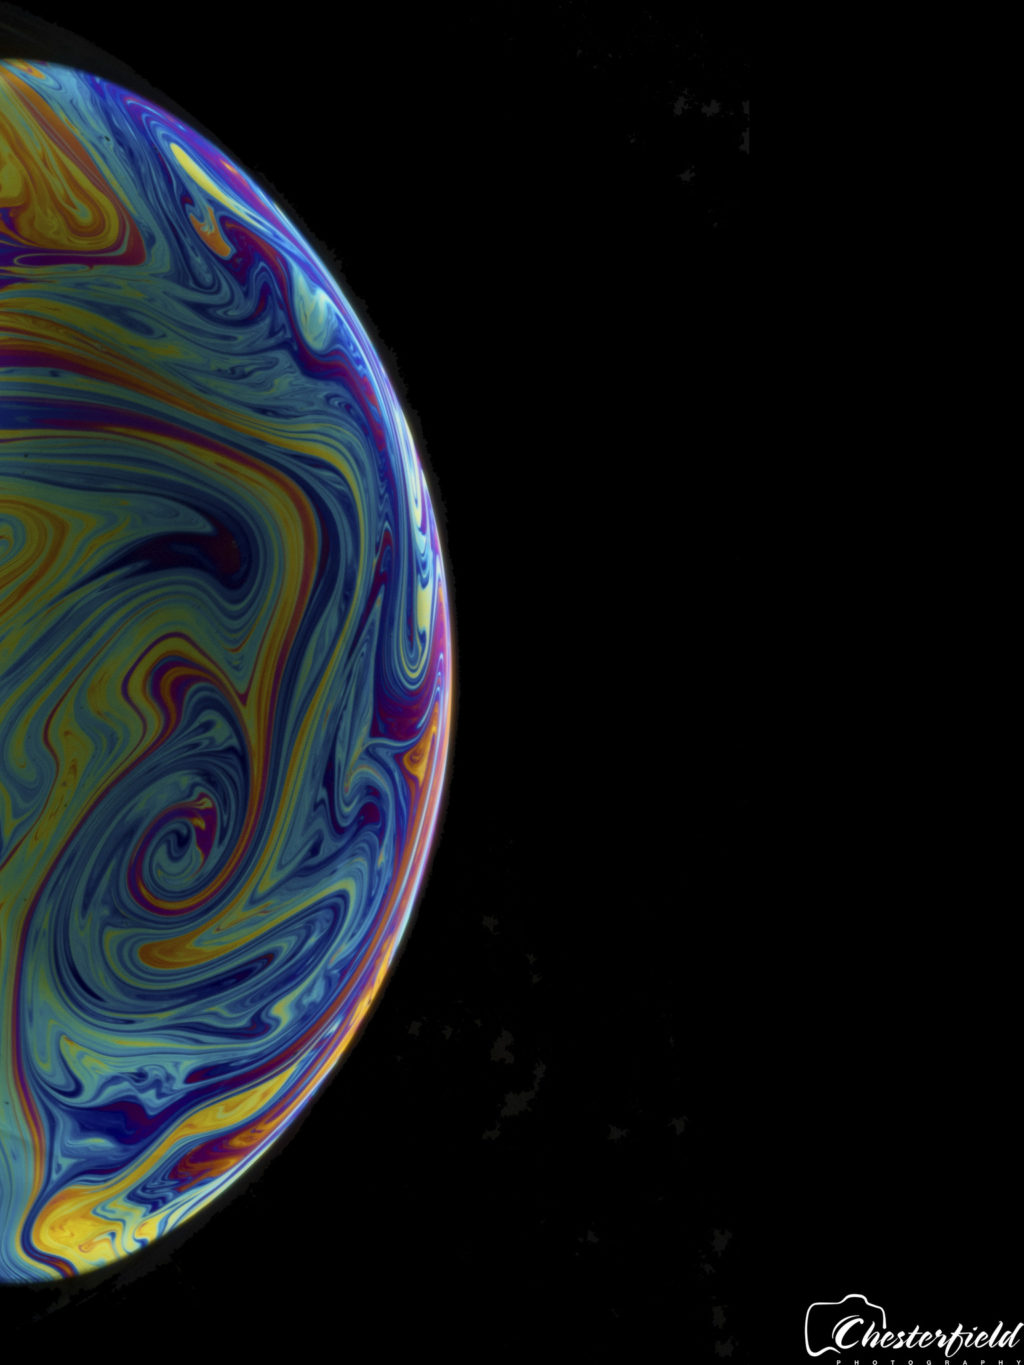
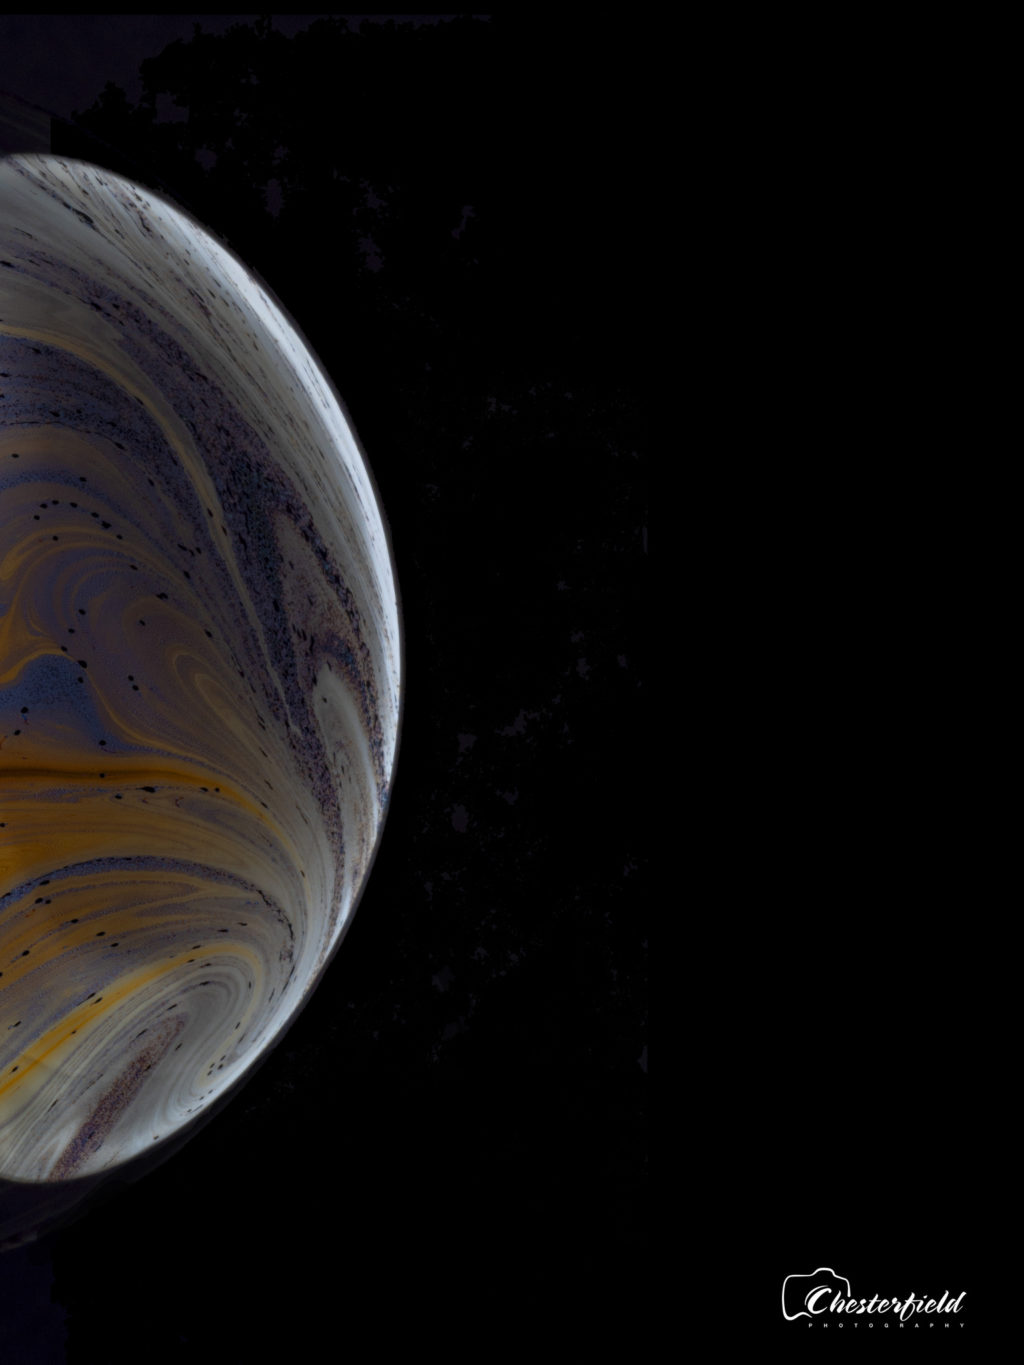
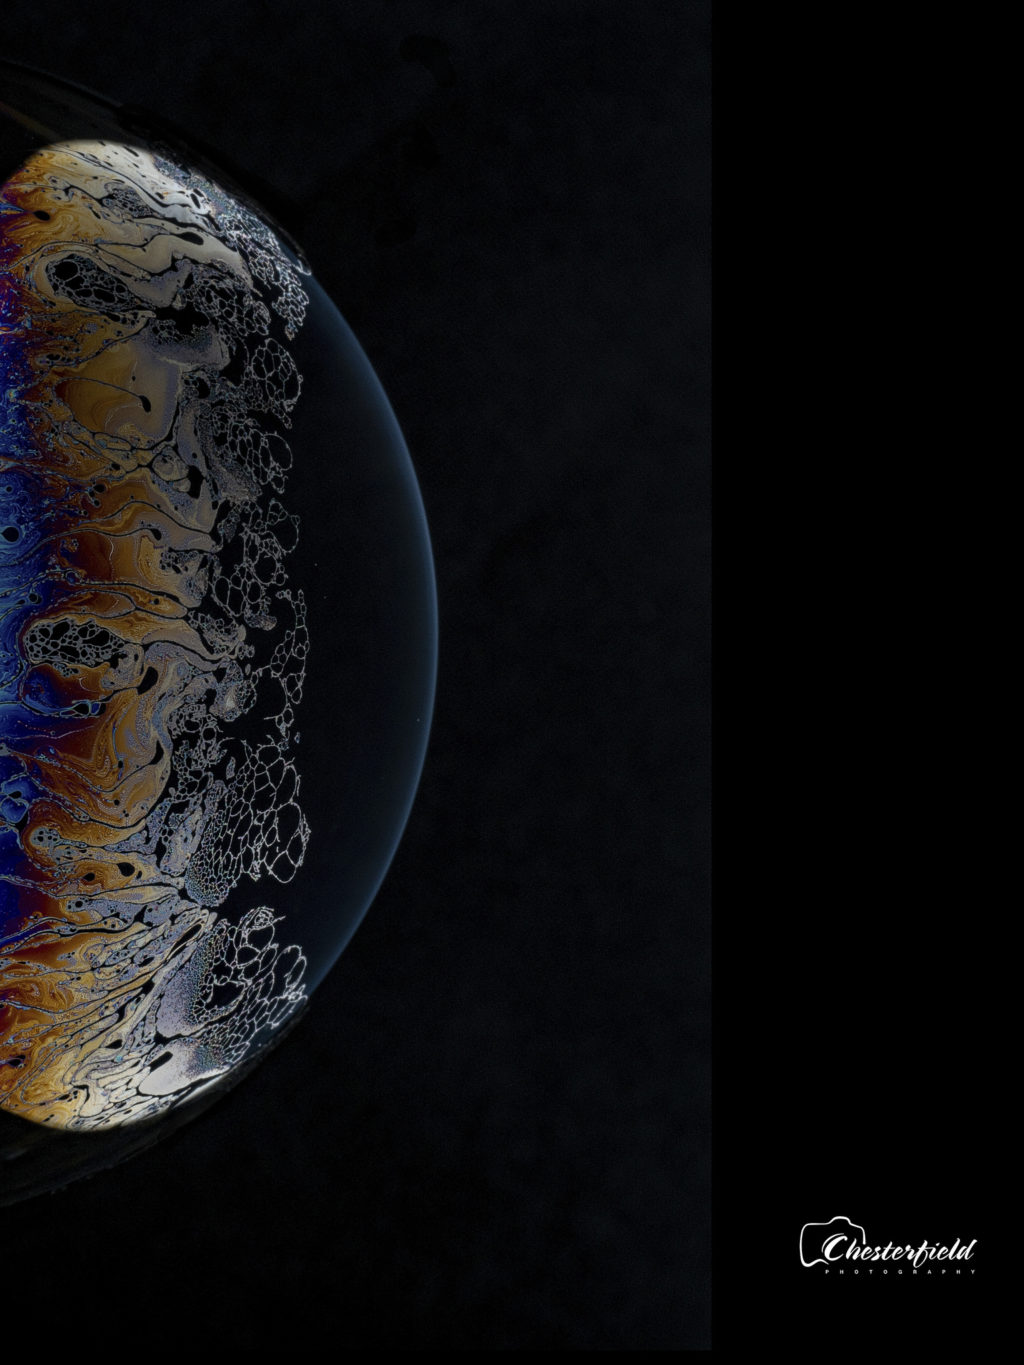
What was intriguing was a recent post in the Light Stalking forum where David shared some of his latest amazing images. Planets made from soap bubbles.
Here David explains how he achieved these otherworldly images and how you can too.

On a recent wet weekend where cloud cover took away my plans for an Astrophotography session, I decided to make my own “planets” with soap. Well, with soap bubbles to be more precise.
It took me three attempts with different lighting setups before I got the results I wanted, but in the end, the time and effort were well worth it.
How To Photograph The Otherworldly Beauty Of Soap Film
Equipment Required To Create Your Own Planets
Camera – any camera that allows full manual control, and has a port to allow a shutter release to be plugged in – I'm using my Olympus OM-D EM5II
Lens – if using a DSL or mirrorless camera a macro lens is ideal, but failing that a lens long enough to allow you to fill the frame with your bubble is all you need.
Tripod – due to the nature of bubble film images a tripod is essential.
Shutter Release – I generally use the MIOPS Mobile as it allows me to be away from the camera and still be able to trigger it as and when I want. Because I am working in the dark, the soft glow from my phone screen helps me navigate the setup.
Receptacle – I use an egg cup that I fill with water. I have sprayed the egg cup with matte black paint, and blow a bubble onto the water surface using a drinking straw.
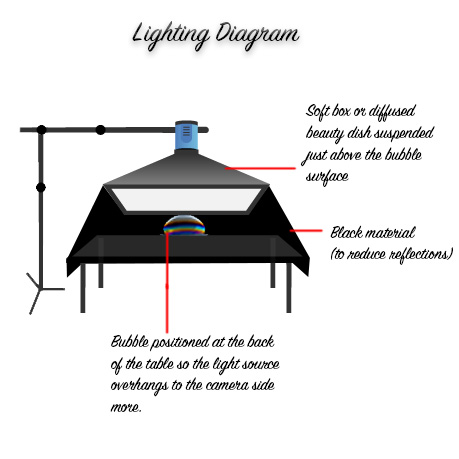
Light Source and Stand – You need a very soft light, without reflections to get the best images. As we know, the closer the light source to the subject, the softer the light. I use a large beauty dish attached to a studio monobloc strobe. This is placed on a boom arm and suspended about 1cm above the bubble. I drape a black, non-woven cloth around the beauty dish to create a dark “tent” and remove reflections as much as possible. A gap at the front allows me to point the camera at the subject and create some airflow. As an alternative, you could use a speedlight and a softbox to get the same result
Flashlight – optional, but I used this to light up the scene between images as it is generally dark inside the tent. It also allows you to see the evolution of the bubble so you can time your images accordingly.
Bubble Mix – I use commercial bubble mix available in toy stores and department stores. I add about a tablespoon of glycerine and stir well, then leave this sit overnight for maximum effect. You can make your own and there is plenty of information on the internet if you wish to go down this path.
Straw – a drinking straw is used to blow the bubble.
Camera Settings
- Manual Focus – I turn on the modeling lamp and focus on the front rim of the egg-cup
- Aperture – F/22 works well, and with my light setup on lowest output, this gives me a good exposure at ISO 100
- Shutter Speed – Choose a sync speed that matches the strobe/trigger you are using (1/100 in my case)
Now the fun, if somewhat fiddly, bit
Move the light out of the way, and blow a bubble to the correct size for what you want to achieve. Move the light back into position – I have mine set so that the bubble is towards the back of the tent, and the beauty dish overlaps my lens. It is worth taking a few test shots now to ensure you have correct focus and exposure.
I use a flashlight or the modeling light on my strobe to watch for when the colors begin to appear – then blow gently on the bubble and start taking images.
Shoot until the bubble bursts and then repeat.
Post-Processing Your Soapy Planets
My post-processing workflow is fairly straightforward – open each image in Camera raw and press ‘Auto’ adjust exposure, highlights and black sliders to my liking.
Open in Photoshop and sharpen. That’s it!
Experiment and have fun!
Here Are Some More Strange Planets That Are Out Of This World
About the Author
David Chesterfield is a photographer specializing in light painting and water drop photography. His photos and articles have appeared in a number of books and magazines, as well as online. David is currently a MIOPS brand ambassador. He works out of Brisbane, Australia
You can see more of David’s visually creative work here:
- Flickr: https://www.flickr.com/photos/david-chesterfield/
- Instagram: https://www.instagram.com/dchester1001/
- Facebook photography page: https://www.facebook.com/DavidChesterfieldPhotography/

3 Comments
Very interesting David, Thanks!
Hi David, some great photos here, really interesting article. I tried photographing bubbles a couple of years ago, I’ve got an Ebook called ‘Trick Photography and Special Effects’ by Evan Sharboneau that I was using. Anyway, when the long dull days of winter come, I’ll give it another go, now that you’ve inspired me.
David you are gifted. These are brilliant. I am not sure I have the patience for this but I might try it myself.