Believe me, no one wants their photos to look just…weird. Which unfortunately is what many HDR images look like, but not all, thankfully.
Before heading out and bracketing your exposures full steam ahead, it's important to layout what the foundations of HDR photography are and to understand some of these HDR photography tips.
HDR imaging is a process where the photographer takes multiple exposures of the same image with different exposure values (a range of bracketed images) and blends them together.
Most of the time, it is three exposures (one underexposed, one correctly exposed and one overexposed) or five exposures (two underexposed, one correctly exposed and two overexposed). These are then merged using software to create the final photograph.
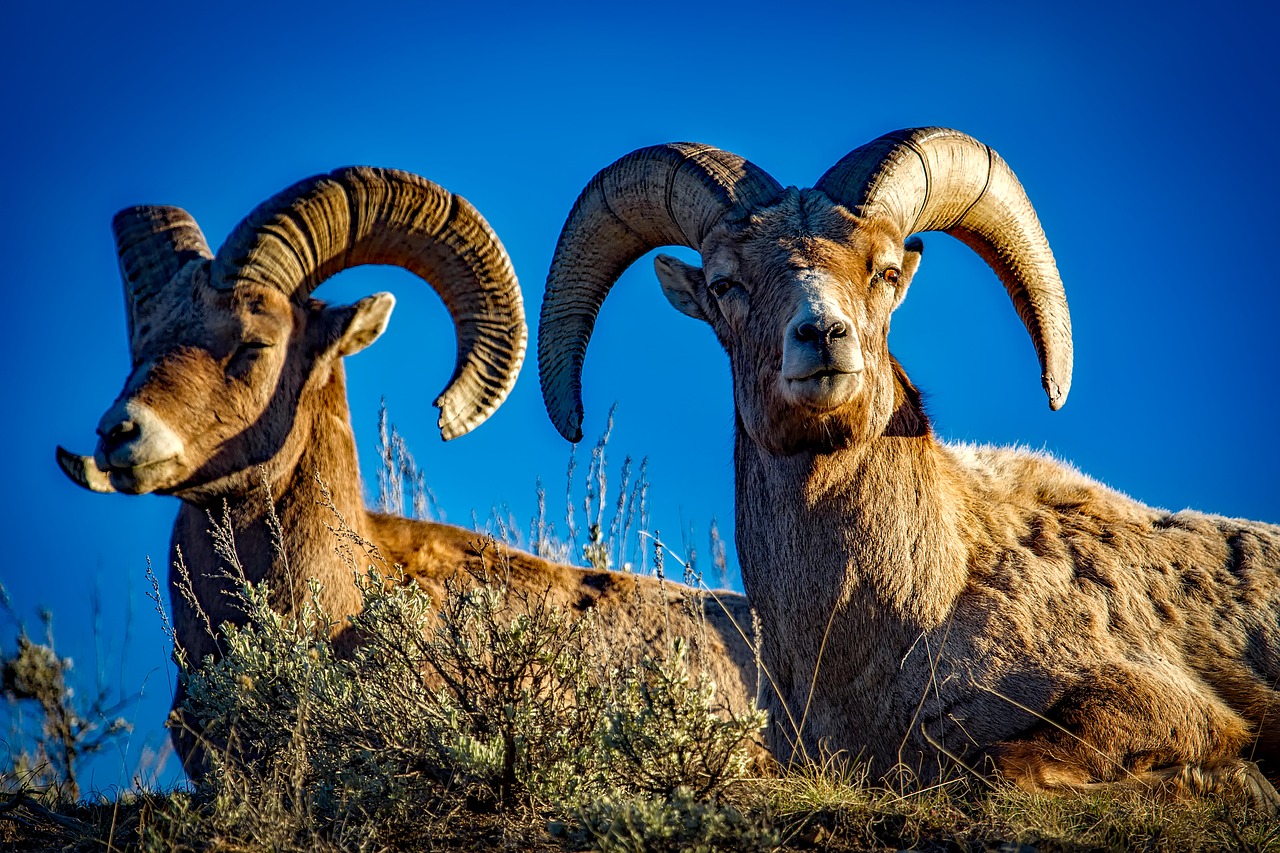
Why Use HDR Imaging?
The word HDR – High Dynamic Range, itself is self-explanatory. In order to get that greater dynamic (exposure) range of light and colors, very close to what the photographer or the human eye sees, one should go for the HDR technique. Make sense?
Sometimes HDR images can be recreated if you shoot RAW on a camera with a (very) good sensor – technology is getting there, but we're not seeing perfect HDR images straight from our digital cameras just yet.
More often than not, this attempt fails (even with a long exposure) and the “single exposure” shot lacks the whole dynamic range of light and colors; shadows may be very underexposed or highlights may be completely blown out!
This is when HDR comes in handy and when processed properly, an HDR image should have shadows exposed correctly, mid tones and correctly exposed highlights.
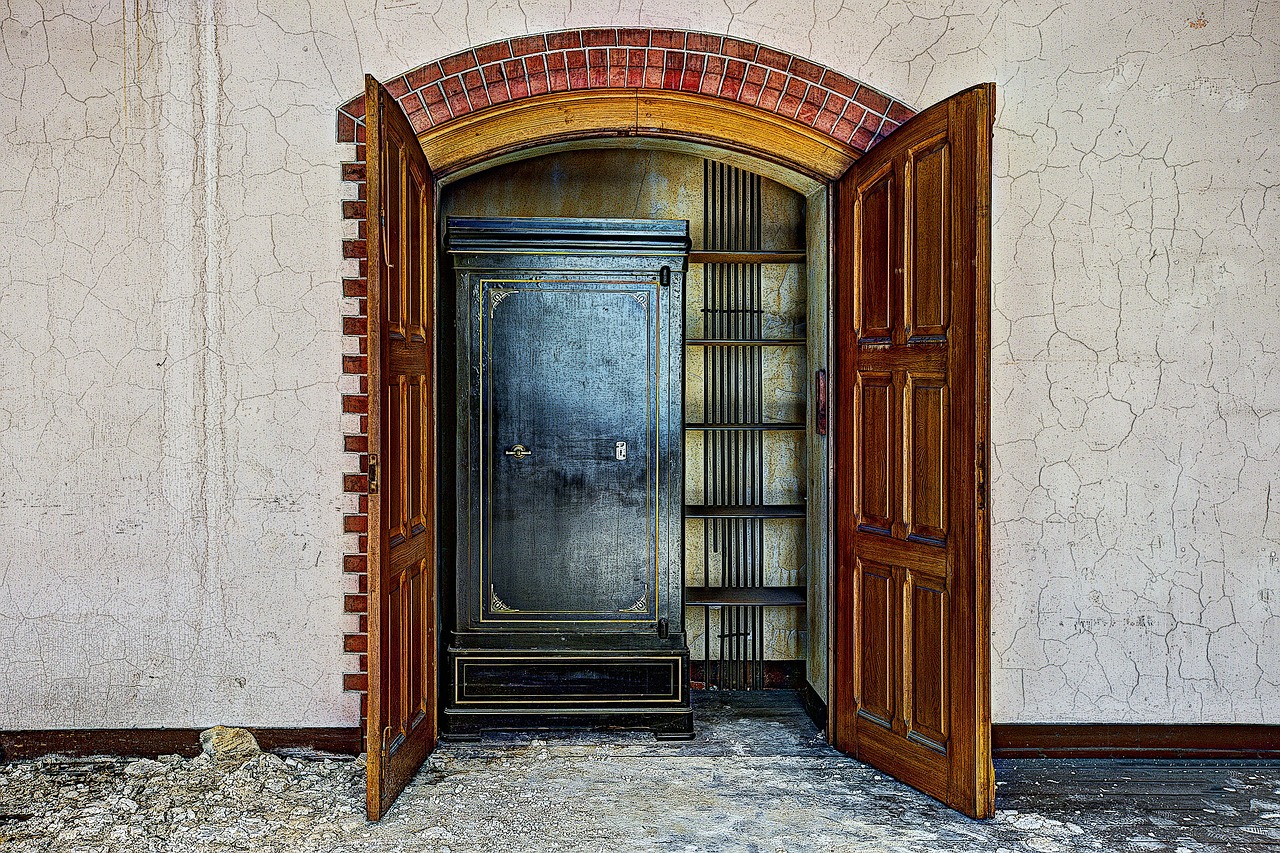
Let's Get You Some Straightforward HDR Photography Tips
1. Do Not forget to Take the Tripod!
Carrying your tripod is not just an option, but a necessity when it comes to HDR imaging since you will be taking a few shots of the same frame with different exposures and combining them.
The slightest of camera movements can cause ghosting or blurry areas in the image.
Although software these days is clever enough to compensate for these movements (somewhat), getting it right in the first place will always be the best practice. You also may lose out on part of the images when handheld shots are merged/aligned.
It's also worth noting, shots with a longer shutter speed will without a doubt definitely require a tripod – no discussion there, anyway.
You certainly don't want to miss out on a moment that you wished to capture, do you; just because you forgot your tripod?
2. What Camera Settings to Use
As a rule, always aim to shoot RAW – whether it is for HDR or otherwise.
Use the same aperture values for all the shots in the series. Matrix evaluation metering will be the best for landscapes and internal architecture images – these are the types of images that are most commonly considered for HDR.
Shoot in steps of 2 EV if you are doing three brackets (-2, 0, +2) or 1 EV step if you are doing five brackets (-2, -1, 0, +1, +2).
Do not wait for too long between shots of the same scene, especially if it is a sunrise, sunset or there are moving clouds, winds or other moving elements.
Best is to use the Auto Exposure Bracketing function as it helps to take pictures quickly without having to touch the camera.
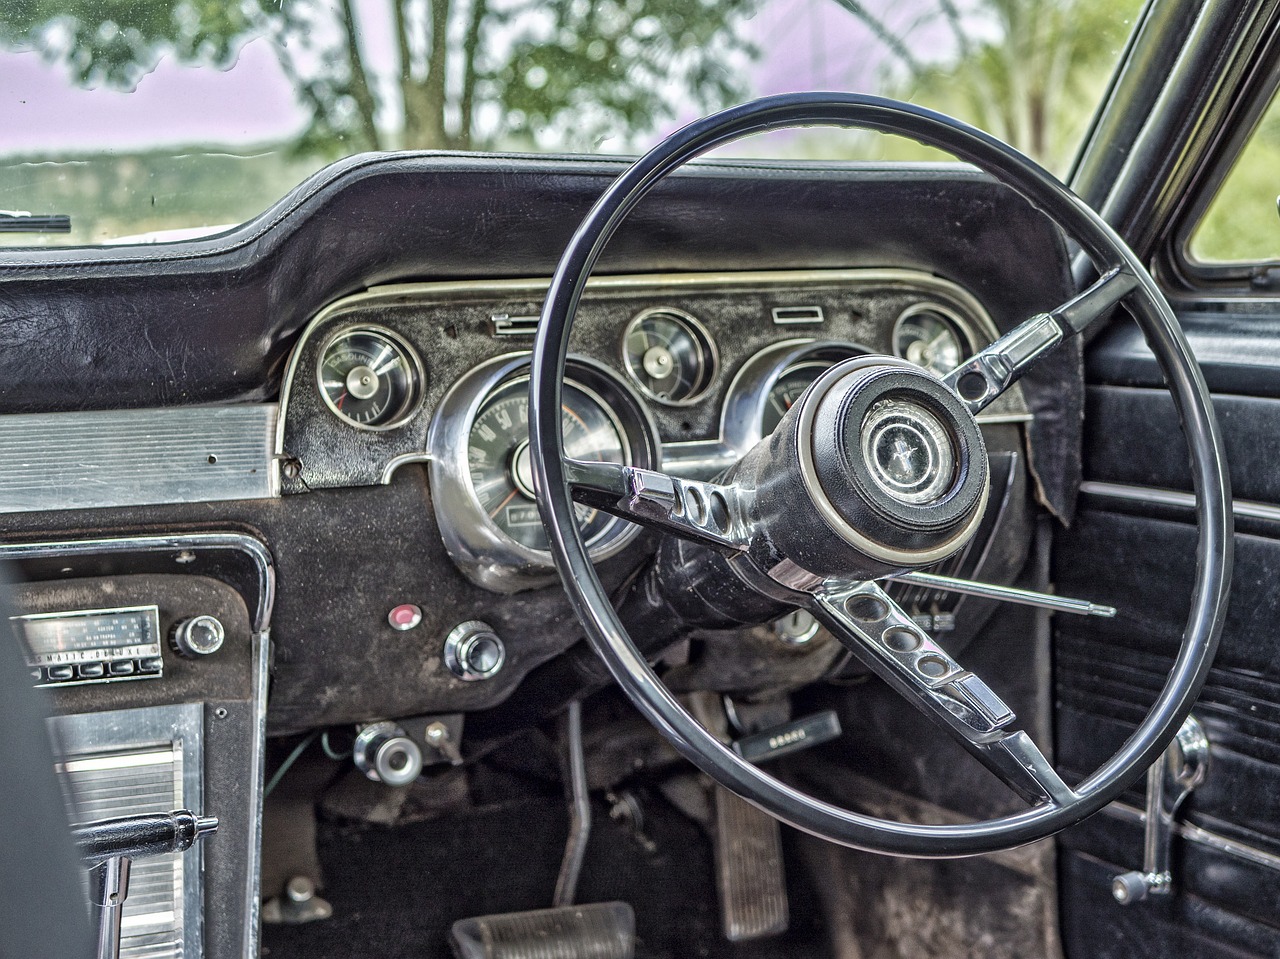
3. Fine-Tune the Settings in Your Software
Once you've captured the images and merged them together using the tool of your choice, make sure that you fine-tune the settings to create a powerful image.
One piece of simple advice would be this: Don't just apply a preset and be done with it.
For example, work with the strength, luminosity and gamma sliders as they can have a huge effect on your images. Do NOT apply the same settings to all images as each image requires its own settings to look better.
4. Do NOT Overdo the Images
Some photographers get all so excited about the whole HDR process that sometimes over process the image. This can make your photos a REAL turn-off, believe me!
An image that should look powerful and natural becomes a distracting, oversaturated and over processed resulting in a photo screaming for some TLC.
Another tip, avoid pulling the sliders to the extreme, especially the saturation slider. Instead, drag them around the mid-areas focussing one two or three main features making a good photo look better.
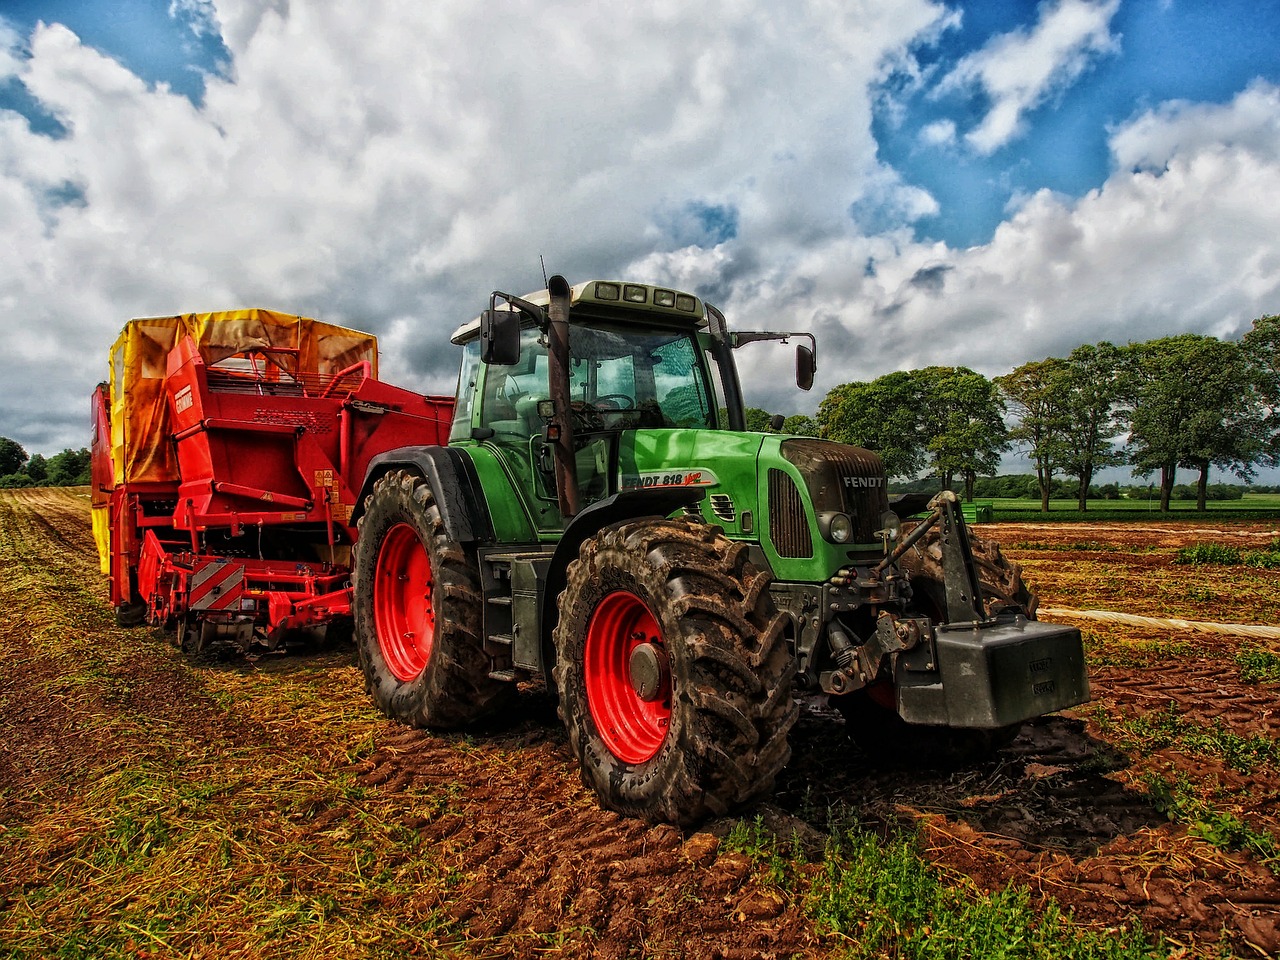
8 QUICK TIPS
- For any type of photography, always shoot RAW whenever possible.
- Try different perspectives. Take advantage of clouds and thunderstorms to create amazing patterns in the sky using HDR process.
- Make sure that images are perfectly aligned and the best blending option used. Use the masking tool to your advantage and benefit to mask out problematic areas and replace the same area with similar areas from a better image, most probably the normal exposure one.
- Always recreate the original image. Keep the shadows, highlights and mid-tones the same way as it was when you saw it. For example, if the sky was bright in the original image, keep it bright when processing the HDR, applying the same rule to mid tones and shadows. This makes the image look realistic.
- As far as possible, try and shoot images that have still elements in them. Avoid anything that has a rapid movement.
- HDR works well with scenes that have a higher contrast between the darks and the lights.
- Experiment and play around with photographing and post-processing. Create your own style, but make sure that it is realistic (unless a surrealistic image is your style).
- Try your best to use the lowest ISO possible to eliminate any noise.
So, what did you think? Plenty of tips there to get you started churning out some fantastic HDR images of your own! If you've got any further quick tips please drop a quick comment below.
Further Resources
- Is It Time For Your HDRs To Be Wowing Audiences? by Jimmy McIntyre
- How to Do HDR Photography – Gear and Process by Dzvonko Petrovski
- 32-bit HDR In Lightroom: The Easiest And Quickest Way To Create Natural HDR Photographs by Yaopey
- How to Create A Realistic HDR Panorama by Dzvonko Petrovski

2 Comments
Hi Dahlia
Thanks as usual for a succinct article that I will go off and try and keep trying.
One statement that you might clear up some confusion to me. You wrote –
“One piece of simple advice would be this: Don’t just apply a preset and be done with it. For example, work with the strength, luminosity and gamma sliders as they can have a huge effect on your images.”
Do you mean to look at each of my three images and get them looking ok then merge?
Cheers
Hi Graeme, sorry for the late response.
You can make basic adjustments before merging the images. The preset is applied to an image or a final image and hence the sliders need to be adjusted on the final image after applying the preset. Hope this helps.
Thank you.