I still remember the first time I nailed a correct balanced exposure just by eye in my old DSLR camera. I was at a local graveyard celebrating the Day of the Dead with my parents, and as we were walking to our car, I saw this lonely road (which was very odd due to the holiday) and I took a photo by exposing with my eyes at first, without looking through the viewfinder.
After making the adjustments, I took my camera to my eye, and I saw that the exposure metering was at the very center. The photo is completely dull and without any meaning of course, but being able to expose without looking through the viewfinder was a milestone for me.
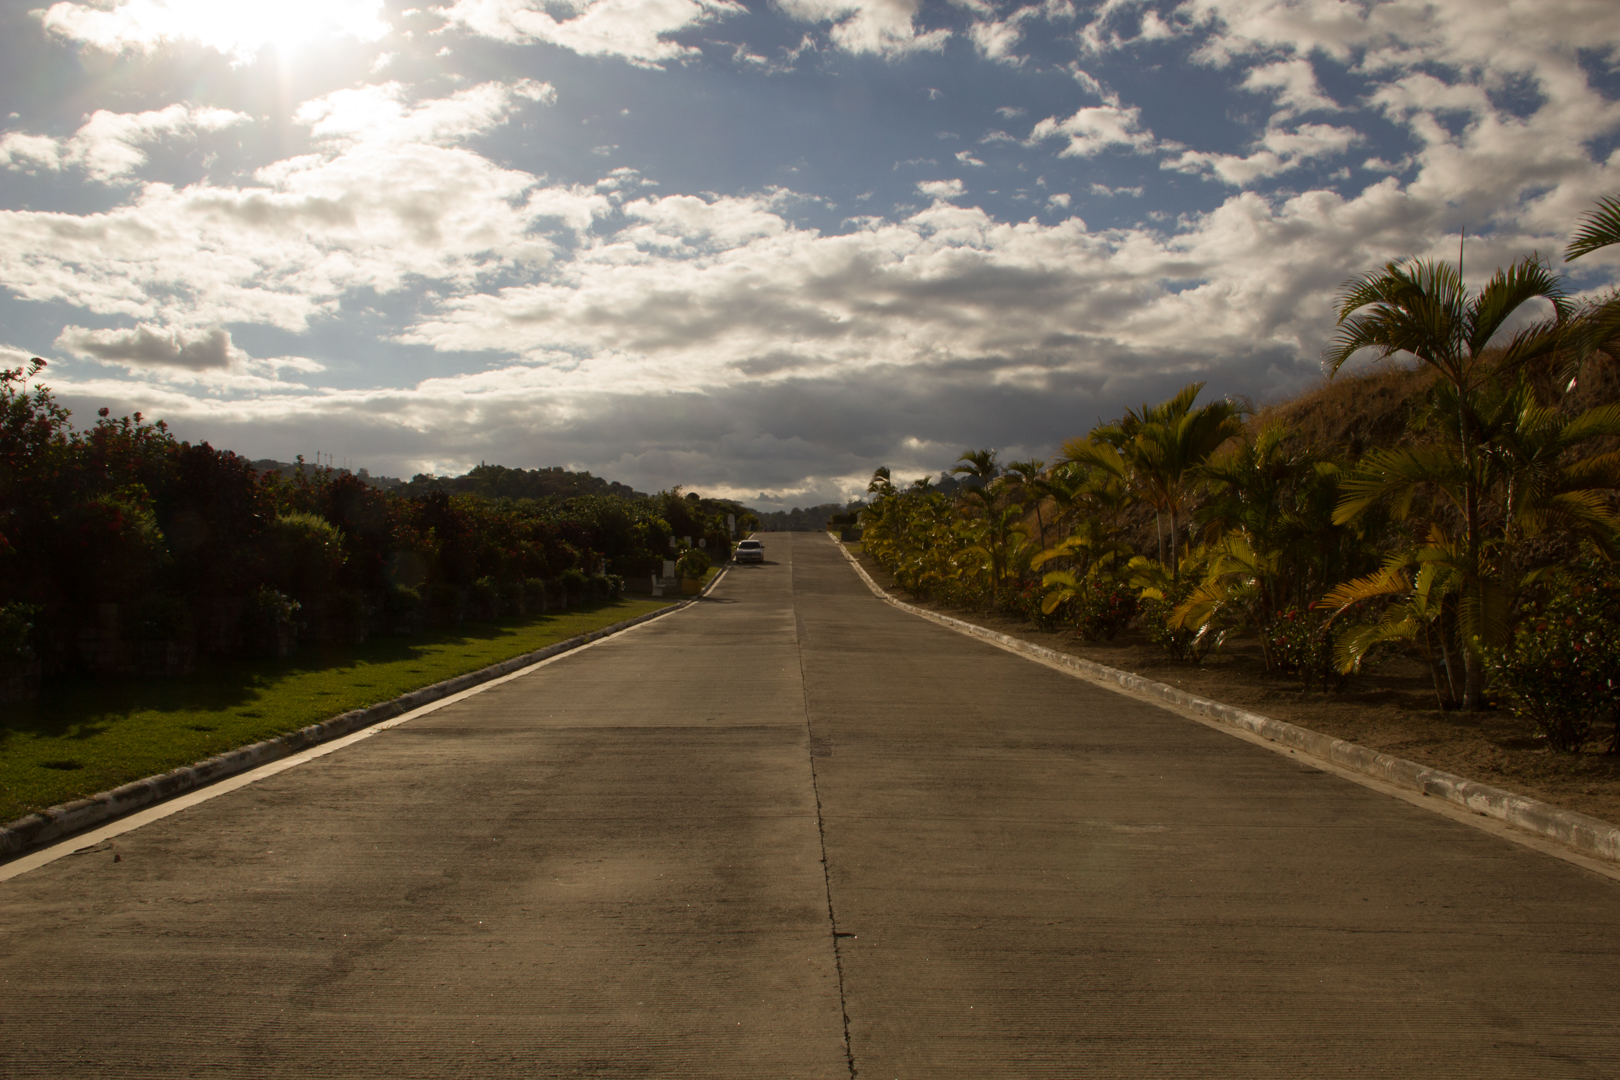
The settings were:
- ISO 100
- f/18
- 1/200
- 18mm
After achieving that perfect metering, I became pretty much obsessed with reading light by eye instead of doing it through the viewfinder. I don't know if it was an ego boost or what, but it truly made me understand light better.
In time, I fell deeply in love with street photography, so I found myself no longer taking photos like one above.
Understanding Light
Understanding light requires practice and practice and more practice, so why bother doing that when you can easily stick to the safe zone of always metering through the viewfinder?
Well, ultimately you can gain some precious seconds. Moments on the street happen so fast, that anything you can do in order to speed things up, is really important. And while my experience is based in street photography, of course, this skill also applies if you are shooting animals or say, children.
To help you with this, there are a couple of very standing lighting conditions that you'll encounter – Bright and Sunny and, what I like to call, Cozy Shadows
Now, these are the average exposure setting for these conditions, which you can use as a baseline:
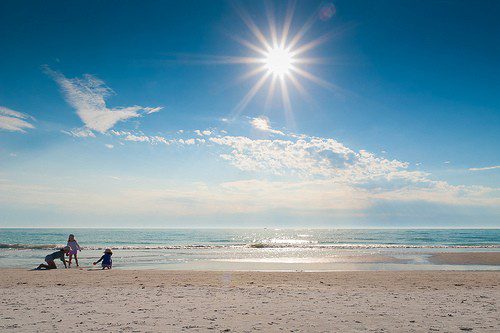
What Is A Common Setting For – Bright And Sunny Conditions
- ISO 100
- f/16
- 1/125
This setting is so common it is called the “sunny sixteen” rule – and, you know what, it works!
If there happens to be a lot of movement in your scene, then you are going to need a faster shutter speed. If that is the case, you may want to experiment with…
- ISO 100
- f/11
- 1/250
or:
- ISO 100
- f/8
- 1/500
As always this is an experiment and it all will depend on what you want to achieve.

So What About A Common Setting For Cozy Shadows.
Let's say for example that you enter a lovely coffee shop with low light, then you could achieve some decent results by kicking your ISO setting to 800 (don't be afraid, cameras these days are pretty good performers on higher ISOs) and using the following values:
- f/5.6
- 1/125
If things are darker, you could raise your ISO to 1600 or set your aperture to f/4.
Anticipating light is very convenient because it allows you to be ahead of the moments before they happen. This is only mastered with practice, so don't get anxious if you don't nail it on the first go.
As always, if there are any tips that you've found to be extremely helpful, tell us in the comments below.


1 Comment
This was so helpful. I never seem to get the combination correct and this week-end, when I thought I had it right, the pictures were “black”. I was sooo frustrated.