During the summer holiday season, underwater photography is something that spontaneously comes to our mind. Diving and sunbathing sometimes aren’t enough – taking underwater photos can make our vacation much more adventurous!
Thanks to a plethora of gear options that are now available, underwater photography isn’t reserved only for professional photographers – even amateurs can do it with more affordable equipment.
These tips will help you better understand how to shoot underwater images and what equipment you will need to make these incredibly fun summertime photos.
1. Understand Equipment Options
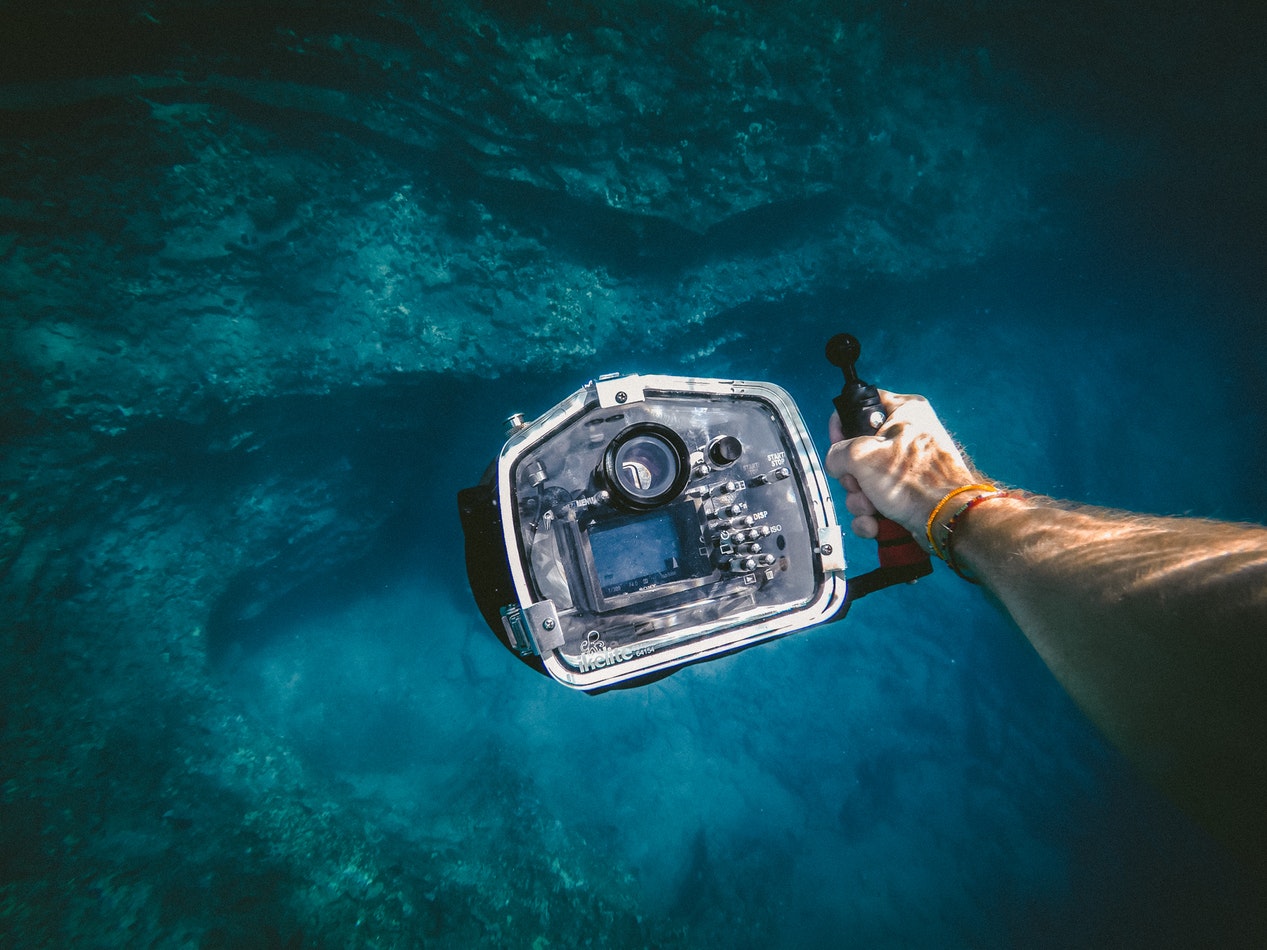
There are endless options when it comes to different brands of underwater bags and housing made for both video and photography. Some of them are better than the others, so it’s really important to read reviews before buying anything –many cheaper underwater bags tend to start leaking at some point. Underwater housing from Ikelite is one of the most popular choices in terms of this type of gear.
In case you’re just looking to have some fun during summertime, instead of buying expensive equipment you should consider renting or buying a GoPro. In the event that you decide that underwater photography isn’t something you want to pursue further, you can still use a GoPro for anything else since it’s really versatile.
If the safety of your gear is your main priority and you want some truly great photos, you should consider Nikon AW1 instead of GoPro. This Nikon is waterproof, shockproof and freeze proof with interchangeable lenses.
2. Choose Your Location Wisely
The quality and the overall atmosphere of your underwater photos will depend a lot on the location. A heavily chlorinated pool is usually not a good choice. Even if the water inside the pool seems clear to you, it’s probably going to look very hazy in your photos. There are many chemicals in the water that you can’t see, but your camera can.
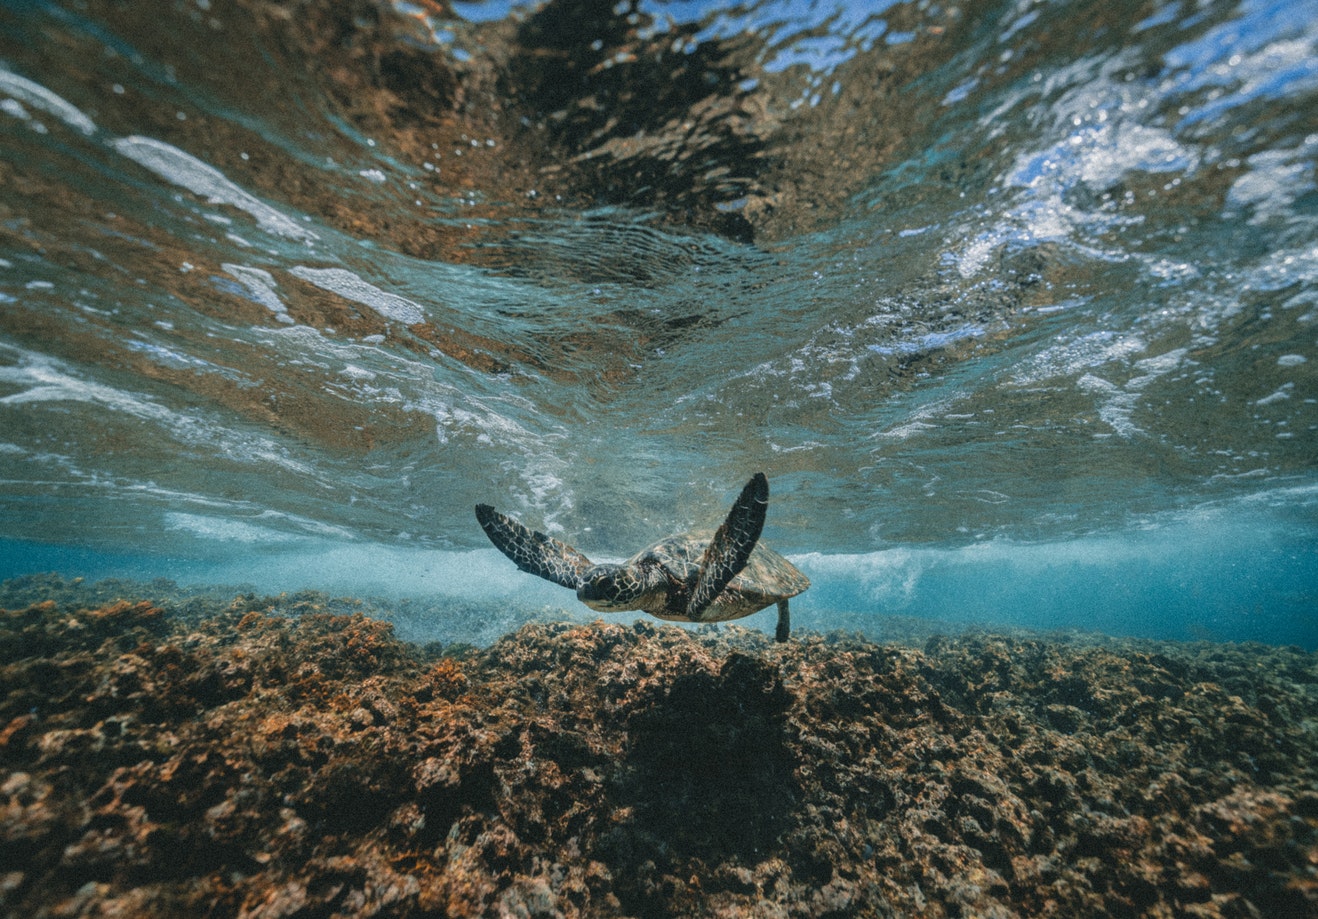
A body of water such as a freshwater lake or clear saltwater is a much better choice. They are also likely to have very lively flora and fauna, which means you’ll have a wide selection of subjects to shoot.
3. Use Wide Angle Lenses
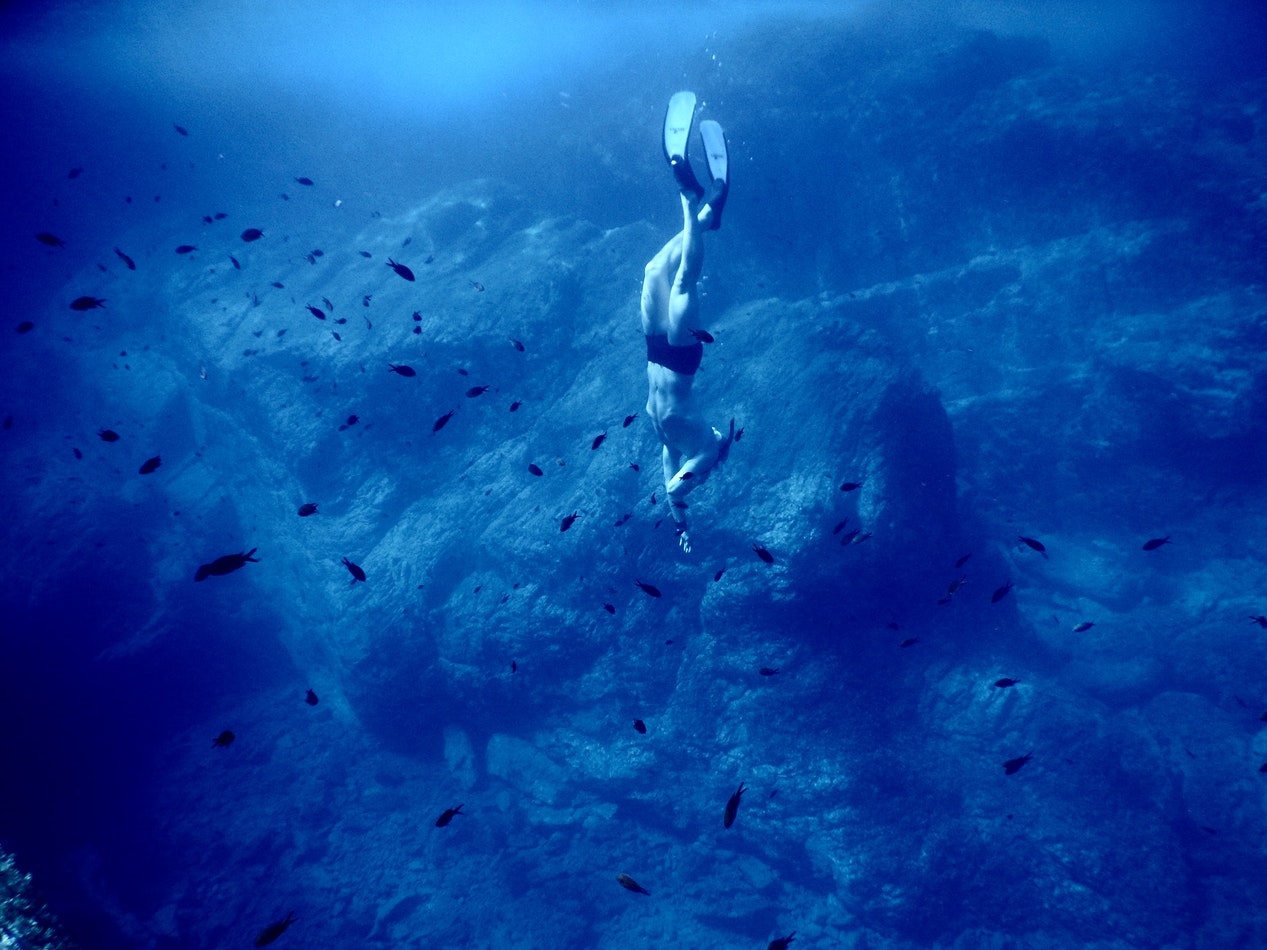
In order to cut down on the amount of water between your subject and your camera, you need to stay as close to your subject as possible. This is actually the only way to keep the subject entirely in the frame, without focusing issues.
If you’re not positioned close enough to your subject, you won’t be able to focus correctly and you’ll probably have some clarity issues – just remember that water is rarely crystal clear no matter what it looks like to you.
If you’re shooting in an environment where distortion doesn’t matter too much, you can play around with fish-eye lenses. On the other hand, for close-up portrait work, you can shoot with something like 40 or 50mm. Portrait lenses such as 85mm are wonderful but too tricky to handle underwater.
4. Be Patient
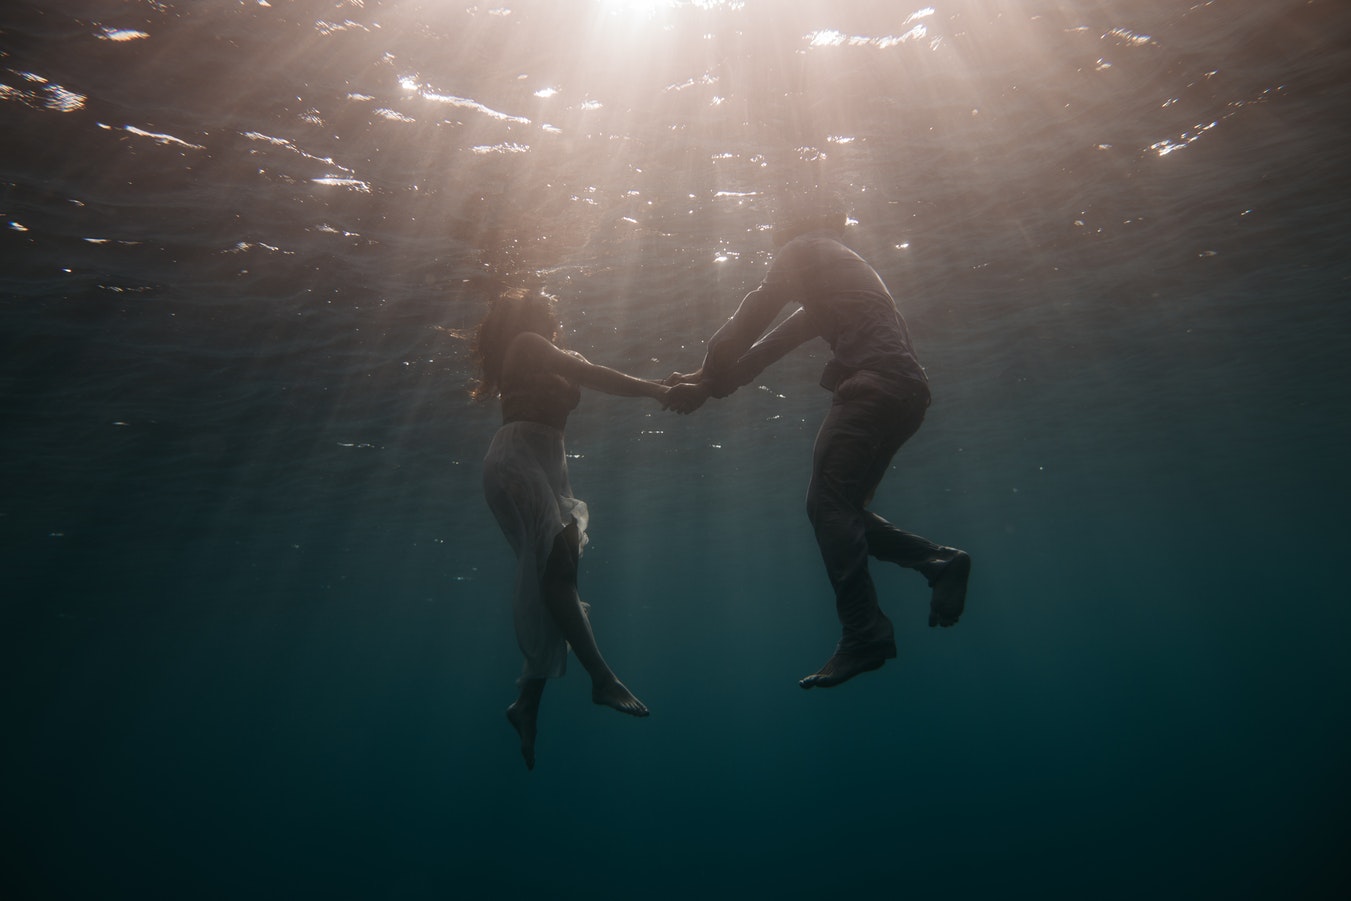
If you’re working with models, you should understand that it’s very difficult to pose underwater. Most people automatically close their eyes while diving, so even this simple task of keeping the eyes open can be overwhelming sometimes.
For the same reason, underwater models can barely see the camera and photographer – it’s just a dark blob to them.
Models should first learn to keep their face looking natural and relaxed underwater and later on practice various body poses. As a photographer, you can help them by making a list of poses they can practice on land before going underwater.
5. Post-Processing Matters A Lot
Chances are you won’t be quite satisfied with your underwater images straight out of camera. This shouldn’t discourage you at all – the majority of those amazing underwater photos you see on the internet are heavily post-processed.
Shooting through water will always affect clarity and sharpness and add a blue cast that you may want to remove. In case your lighting conditions are less than ideal, you may end up with lots of noise in your underwater images due to increased ISO. Luckily, the majority of these issues can be fixed with skilful editing.
If you’re not sure how to edit your underwater photos, you can take a look at this great tutorial.
Underwater photography is truly enticing and fun, but never easy. It can be physically exhausting and time-consuming, but it is incredibly rewarding at the same time.
Thanks to this genre of photography, we can capture and admire some of nature’s finest secrets and open our audience’s eyes to the beauty of the hidden underwater worlds.


