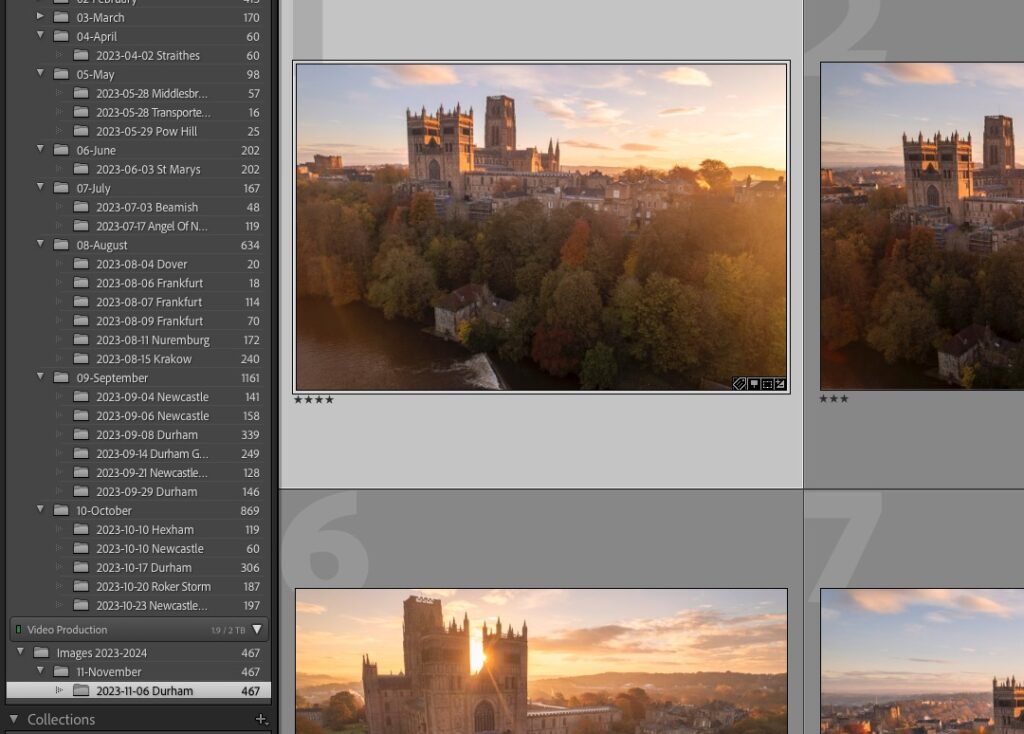
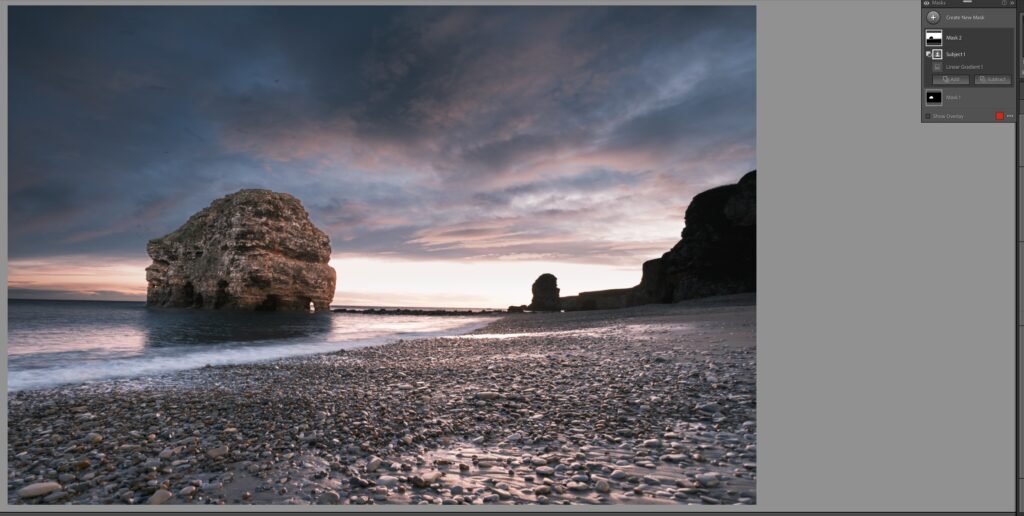
These days, two pieces of photography software dominate the landscape – Adobe's Lightroom and also Photoshop. And while there are an increasing amount of amazing pieces of photography software coming onto the market, these two are still the standard by which the others are measured. Lightroom even takes out our number one spot for the best photography software by our internal assessments. Now, one of the very useful things about Lightroom is its ability to be utilised with presets! Here we will go through how to use Lightroom presets as a starting point for your own post production.
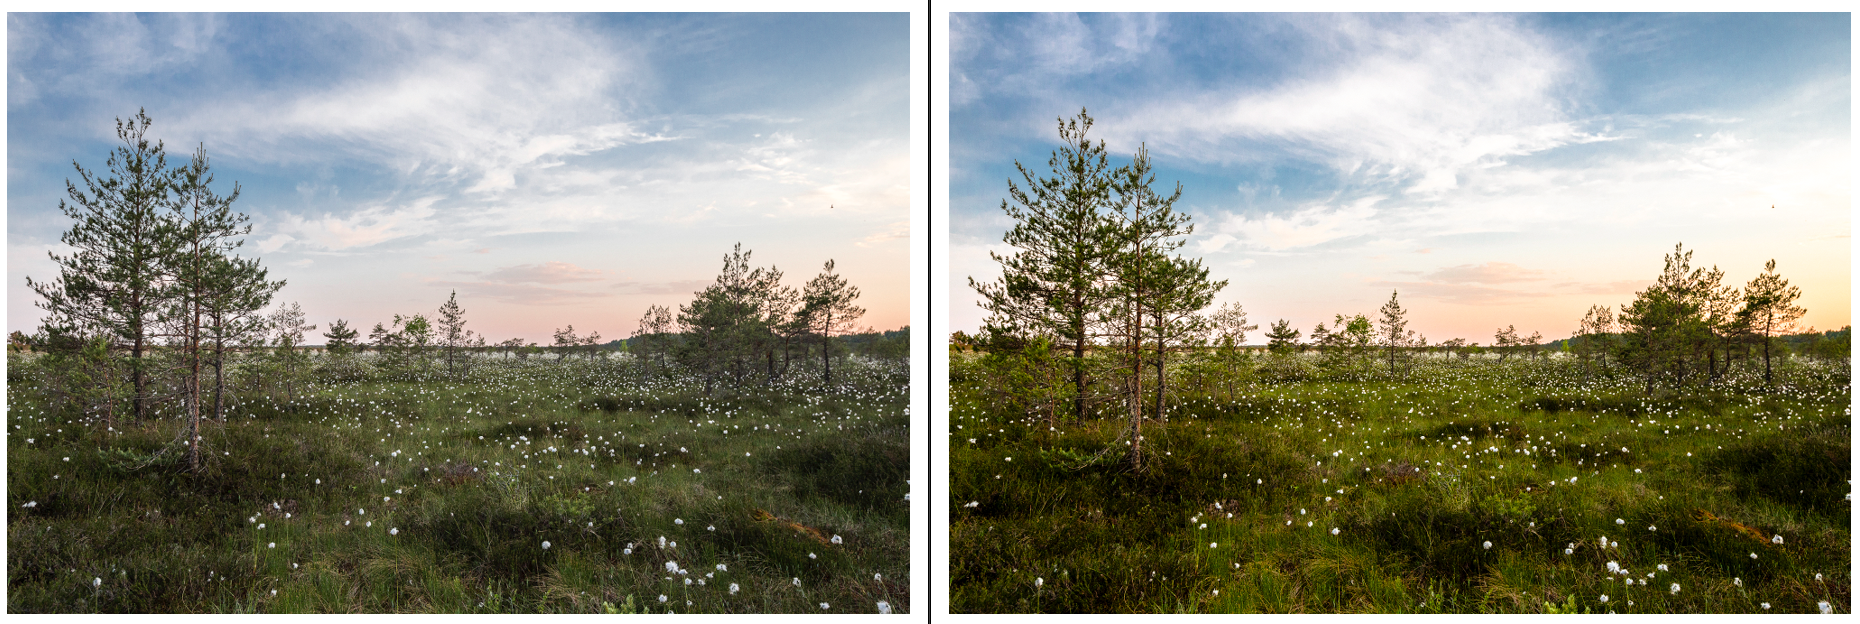
Note: See our tutorial on how to install a Lightroom preset if you're not sure how to get them into Lightroom. Then come back to this article to continue!
What is a Lightroom Preset?
Put simply, a Lightroom preset is a function that allows you to apply multiple saved edits to an image with the click of a single button. Sort of like a macro.
Lightroom is an amazing program that allows you to build a lot of your own time savers and short cuts to suit your workflow. Presets are a large part of this.
Now, you can make your own presets, find free ones or you can buy presets that you like. Or, like most people, a combination of all of these. Presets have the potential to become a huge time saver for your workflow and can even be used to get ideas for potential ways to edit your photos.
Why Use Presets?
There are two major benefits to using Lightroom presets as part of your post-production workflow.
- to save time – presets will reduce the amount of time you spend in front of the screen editing and, by extension, increase the amount of time you can be out shooting.
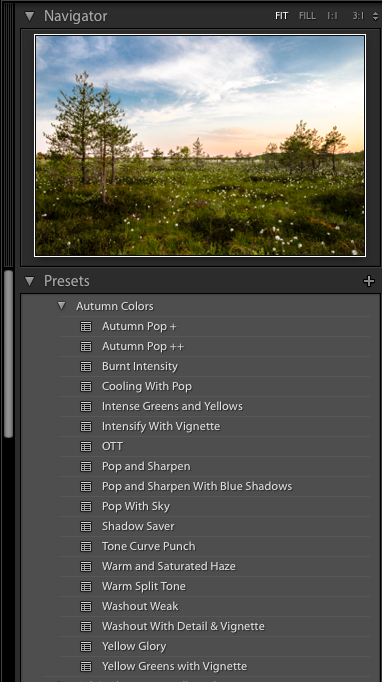
- to get ideas – simply rolling over you panel of presets will give you a quick view of which ones work best for your shots. This can sometimes unearth effects that you hadn't yet thought of.
There is also a third that only applies to some people which is the excitement of finding out how a style developed by other photographers might look on your own images (which kind of overlaps with the second point, but is still worth a mention).
The Truth About Lightroom Presets
Now, there is literally an infinite amount of ways to edit an image. An image of a beach at midday will require a very different edit in post production than a photograph taken in a nightclub.
That means that not many presets are suitable for all photographs (if any).
You favourite collection of presets will probably be dictated by your shooting style, favourite subjects to shoot and your own tastes in post production. Finding a preset that can be applied to all of your photographs in every case is very rare (though some people do make subtle presets to do this). Most likely (and usually desirable) is that you will end up grouping your presets into folders that are useful for your different shooting styles and subjects.
So How Do People Use Presets
One of the keys to using presets successfully is that you shouldn't feel bound by the preset.
Most often, the preset is a START that will usually require some finishing off to perfectly suit your own tastes.
Now, sometimes you're lucky and you will nail it first time, but most often you will have to do your own finishing tweaks to the image. A slight tweak of the white balance, exposure or shadows are very common ways to put the finishing touches on a preset for your own images. Maybe even some brush work and local adjustments to deal with specific parts of an image.
A Useful Tool for Presets
Now, what do you do if a preset is too strong? Too weak?
Following on from the idea that presets should be used most often as a start rather than a finish, wouldn't it be wonderful if there was a way to turn up or turn down the strength of a preset?
Luckily there is. We use and recommend a tool called The Fader made by the folks over at Capture Monkey. It's a Lightroom plugin (not a preset) that works to allow you to use presets with a slider that turns the strength up or down. Very useful.
If you like, grab a copy and see our article on how to install Lightroom plugins to get your copy running.
A Quick Example of Using a Preset and The Fader as a Start
Here's a very quick and cruddy (sorry) video I put together about how you can use the Fader. Now, this is to demonstrate a point – I probably wouldn't have chosen this particular preset for this particular shot normally, but I wanted to show how versatile The Fader can make most presets – even the strong or weak ones.
Notice that this is the basic workflow:
- Choose a preset that is about right
- Use The Fader to get the preset even closer to how you want it
- Make final global adjustments to whole image
- Make local adjustments to parts of the image
Now, there are a few more local edits that could probably be done to that image, but you get the gist.
Manual Finishing Touches for Presets Work Too
Now, the above example is to demonstrate how the Fader could be used in giving your preset applied shot some finishing adjustments, but you can also do it manually (without the Fader) and this is, in fact, how most people handle presets.
Simply start at step 3 from the above list, do your global adjustments and then move onto your local adjustments. Usually you will want to adjust some of the global adjustments made by the preset which is as simple as looking at which settings it changed in the right hand panel of the develop module and sliding them to a setting you prefer. Easy!
The Key to Lightroom Presets
The key here is to remember that you can and should retain ultimate control over the final look of your images. Presets are a wonderful time save and a great way to get a good starting point.
Sometimes they might even get you to the final image with one click, but those times are the exception rather than the rule. So grab yourself a few presets and have some fun.
You might want to start out by looking at some collections on Light Stalking's Lightroom presets page.


