There Are An Abundance Of Techniques To Modify Light For Portraits – Let's Help You Out A Little
As you probably know by now, there are many methods, tricks and techniques that you can utilize in order to light one portrait properly.
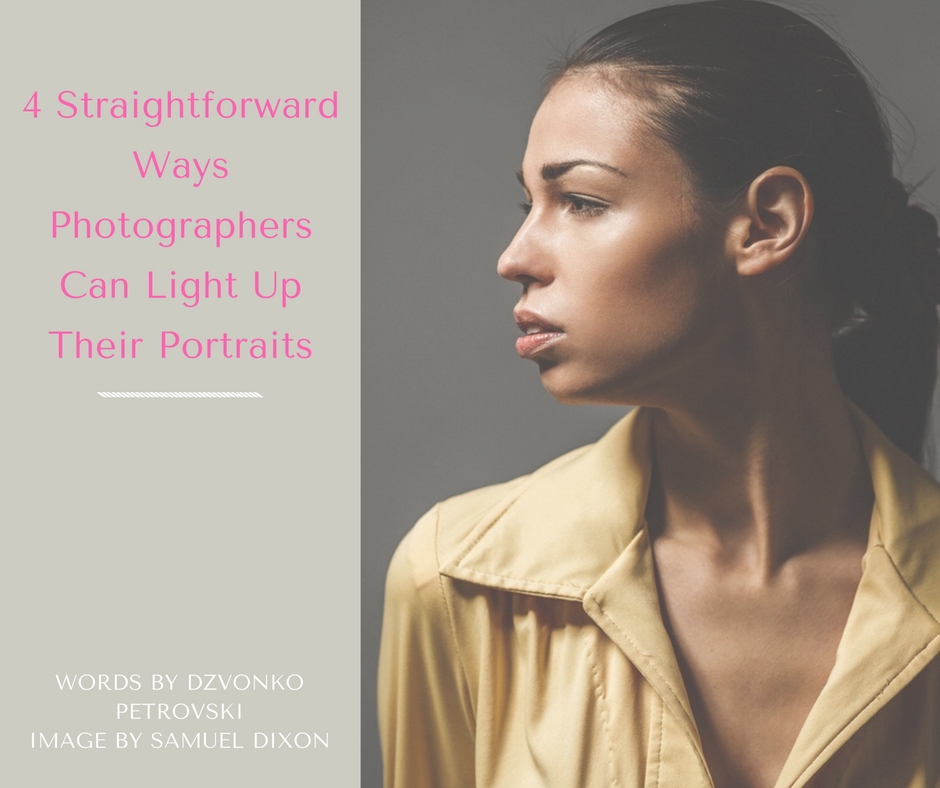
However, it's always good to try and find a new way or two in order to light one portrait properly. Here are some suggestions that you might find useful.
1. Observe
In order to learn a new lighting technique, it's always good to observe some light in other people's work and try to figure out how it is done. Of course, light isn’t the easiest thing to master, but if you are dedicated enough you can.
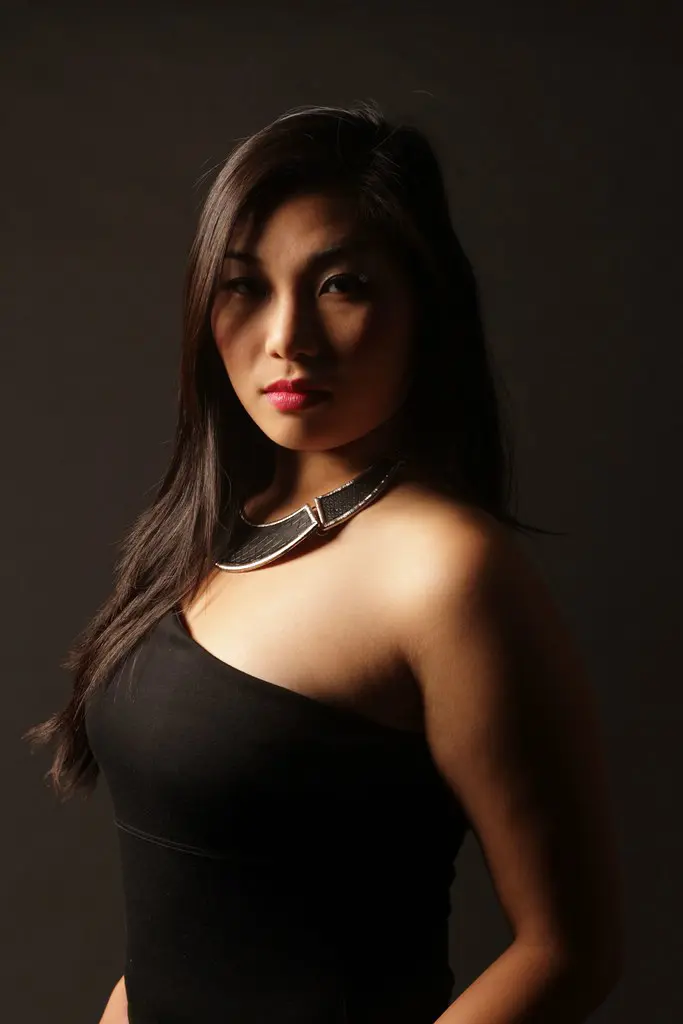
For example, take Rembrandt. All his portraits have a similar light – now called Rembrandt Lighting.
This is essentially one light source from the side to an angle which lights up both eyes, but the eye that is further from the light source has a shadow that shapes the light in a triangle of sorts making it really specific and easily recognizable.
Photographers will often set up a reflector as fill light for the opposite side of the face.
2. Experiment
One thing that I tend to do when I want to experiment with light is grabbing a few constant lights and working the angles as much as possible in order to see (visually, not through the camera) how the light falls under certain angles and how the shadows form if there are more light sources into play.
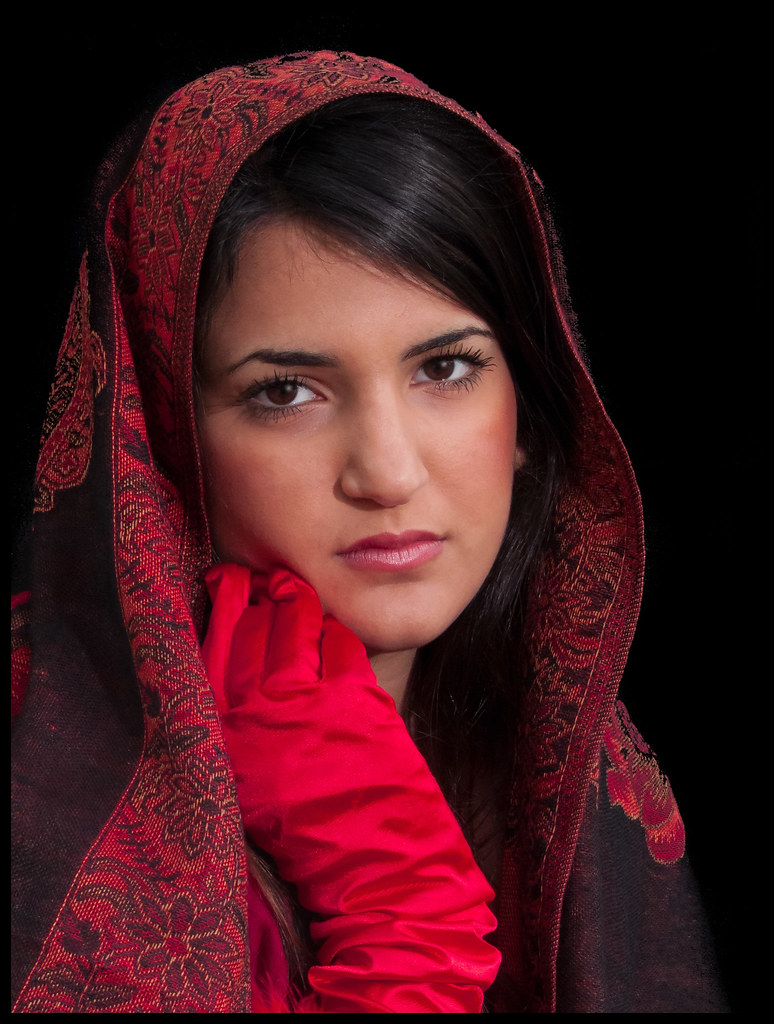
It might sound funny, but I usually do this with a small action figure in front of the PC screen using two smartphone flashes (or screens) as main and rim light. You could also use kid's dolls too – they act as great mannequins!
Top Tip!
Once you figure out a light setup that you think that might work in full scale, make sure you do a sketch of it and then simply name it somehow that you’ll remember it.
This is important because you can redo it later using the sketch as a go-to guide while having a name to remember if you have multiple sketches. This essentially just makes a quick reference guide that's bespoke to your style.
When you start doing full-scale tests, you can manipulate most of the light, but you can’t change the direction of the natural light if you are using it.
If you are using the natural light as an addition to reflectors or strobes, make sure you don’t forget to rotate the model in order to be able to change the direction of the light falling on the model.
In my experience, this has proven to be the thing that most photographers forget to try out and lose precious time figuring out a workaround.
3. The Color Temperature
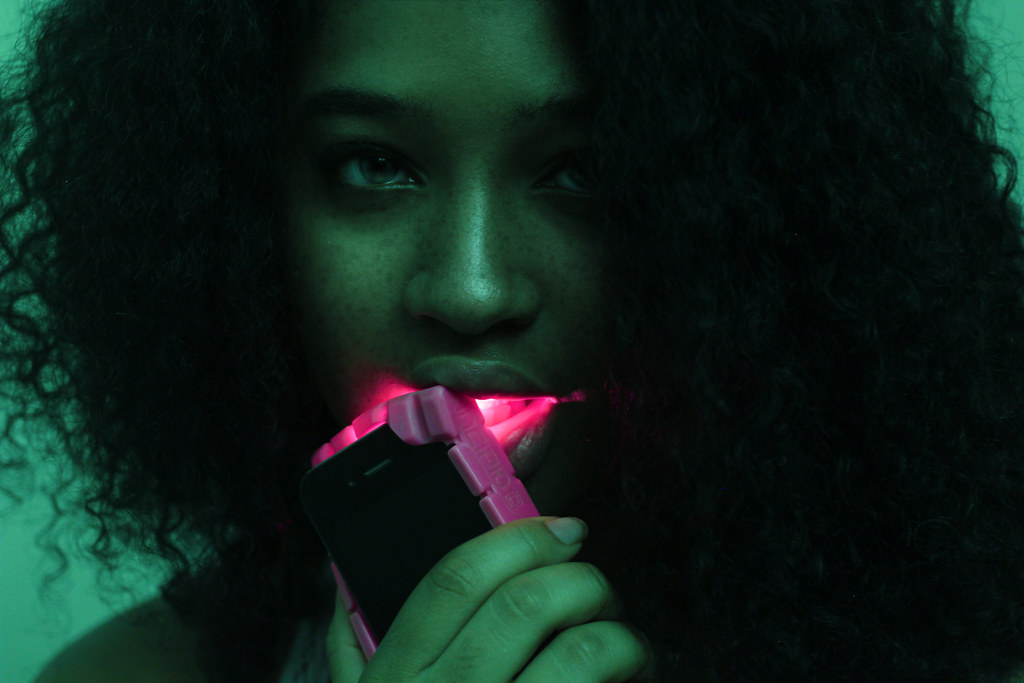
The color temperature of the lights doesn’t have to be equal. If you haven’t noticed, this is usually something movie directors tend to do in order to add drama to their scenes.
The lights are rarely the same color, they will often use a colder or warmer light as an addition to the other lights in order to emphasize something important or just to mix things up.
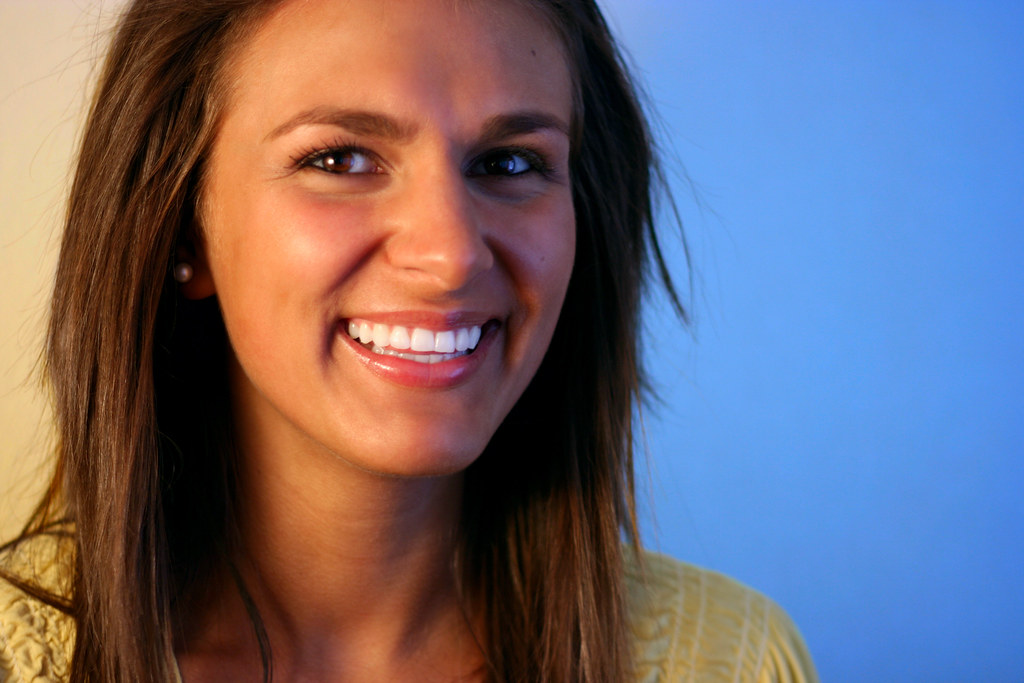
Having different color temperatures in the lights allows you to create contrasts, or match natural light easily, thus providing a broader choice spectrum for you as a photographer to choose from.
4. Combining Lighting
Lastly, onto our fourth point. So, as an example, you've figured out the certain light positions that create a cool light effect, and you are happy with it. Great.
On the other hand, you have figured out that certain color combinations look good on skin.
Why not combine both?
Be ready to mix things up in order to achieve something different and possibly unique. Don’t limit yourself to light by scheme and take the “sure shot” with it all the time.
Combine and mix things up in order to get better and more unique looking shots, and you’ll start being recognized for that quite quickly.
Summary
Lighting portraits is a complex job. However, having the ability to manipulate and utilize available light in unique and different ways is what separates you from the everyday person with a smartphone. True?
The ability to take the portrait one step further with great looking light which makes the portrait pop is what you should go for. Everybody can replicate the clichè light that most photographers use – don’t be one of them, get something unique going on.
Don’t be afraid to combine regular constant lights with flash and ambient lights, do anything necessary to make the light setup work and make it look good. Once you find several ones that work well and look good, work on improving them, and you are golden.
So if by now you haven’t developed a light setup and you are using the already tested and proven light setups that (almost) everybody uses, it is time to start using the creative part of your brain and develop a few.
Lighting Ideas For Portraits – Top Takeaways
- Firstly, check out what some of your favorite photographers are using and take some ideas from their style. This doesn't mean you have to try and replicate what experienced professionals are doing, but to take some inspiration.
- Experiment – use some constant lights, a reflector, natural light or off-camera flash, see what works.
- Make a note of the lighting setup – draw a sketch, that way it's a quick-reference guide for you to refer to the next time.
Further Resources
- The Ultimate Guide For Mastering Light In Your Photography by Dzvonko Petrovski
- Are (ALL) Your Camera’s Auto-Mode Settings Good For Your Photography? It’s Doubtful by Jason Row
- 15+ Beautiful Portrait Photographs Shot Indoors With Nothing But Window Light by Ritesh Saini
- 4 Great Insider Tips For Using Artificial Lighting In Photography by Dzvonko Petrovski
Further Learning
Want to build your confidence with shooting those portraits?
If portrait photography is something that interests you and you’d like to get better at it, make sure to check out the guide on portrait photography over at Photzy – The Art of Portrait Photography.

