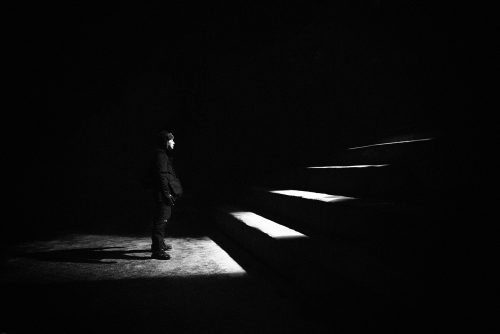
If you’re new to photography and you hear people talk about shooting in low light, it’s important to understand that low light photography doesn’t strictly refer to shooting at night. At the risk of oversimplifying the topic, low light photography is really just shooting when there isn’t much light available — whether day or night, indoors or outdoors.
While photographing in poorly lit conditions can be intimidating at first, there are a number of strategies you can use to tackle the challenge head-on.
With some practice, you’ll not only know how to deal with low light scenarios when they present themselves, but you may also actively pursue such opportunities.
Keep reading to learn about 7 ways to make great photos in low light situations.
Daylight + Low Light
Just because it’s daytime doesn’t automatically mean the light is ideal. Cloud cover, for example, can account for a significant drop in light. Or if you live in a city densely packed with skyscrapers, there will be times when you encounter heavy shadows.
Let’s say you’re shooting street photography. In either of these situations, one’s first impulse might be to increase your shutter speed to avoid blurry images. This will work if there’s enough. Otherwise, a faster shutter speed is just going to get you underexposed images.
What are your other options for shooting in “visible low light”?
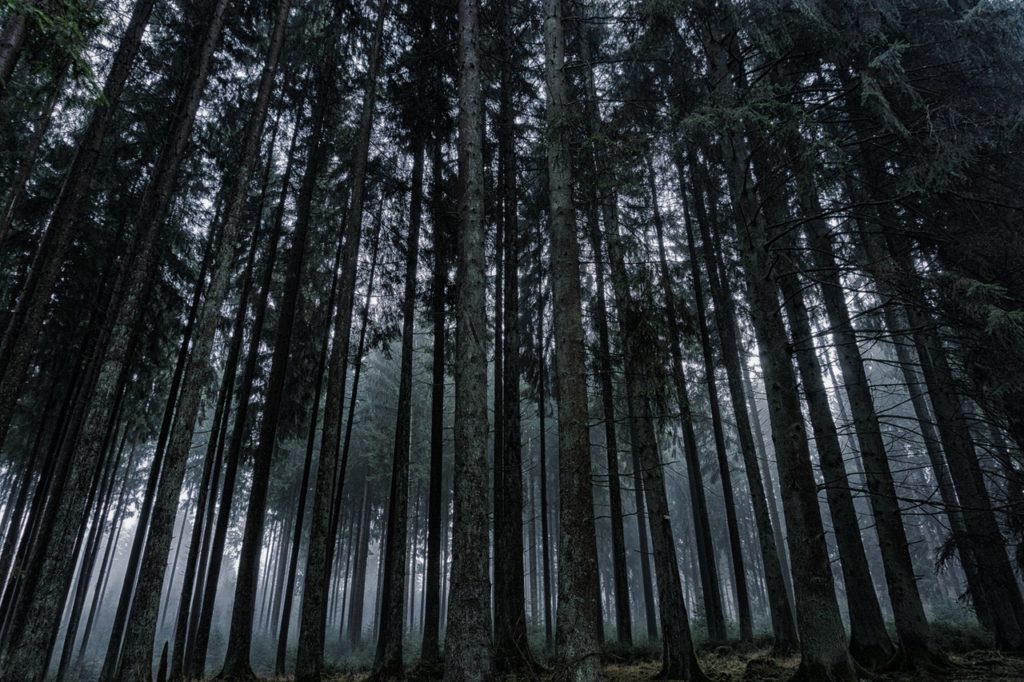
1. Use a fast lens.
Using a lens with a maximum aperture of f/1.4 or f/1.8, for instance, will have an undeniable impact on your ability to shoot in low light. The larger the maximum aperture, the greater the light collecting ability of the lens. So if you’re shooting at f/5.6 and 1/125th sec., you’re not going to be able to freeze motion. However, if you can open your lens up to f/1.4 and shoot at 1/1000th sec., problem solved (just be aware that an aperture of f/1.4 will create a rather shallow depth of field).
2. Increase ISO.
Too many photographers are reluctant to increase their ISO due to the potential of noise ruining their shot. Fortunately, most digital cameras handle noise exceptionally well. If you’re looking for a pristine, grain-free shot you’re going to have to find different lighting conditions. Otherwise, boost your ISO when needed and shoot without fear.
3. Use image stabilization.
Whether built into the lens or built into the camera body, image stabilization is an increasingly popular feature in today’s imaging gear. In short, image stabilization gives you about 4 stops (give or take) of compensation, making hand-holding your camera in low light a breeze.
While it’s awesome to be able to get a 1-second exposure without a tripod, keep in mind the image stabilization does not freeze motion.
Indoors + Low Light
Shooting in poorly lit indoors conditions presents challenges similar to that of photographing outdoors in low light; accordingly, those same strategies can be applied to indoor low light photography. There are, however, a couple of additional solutions you might employ.
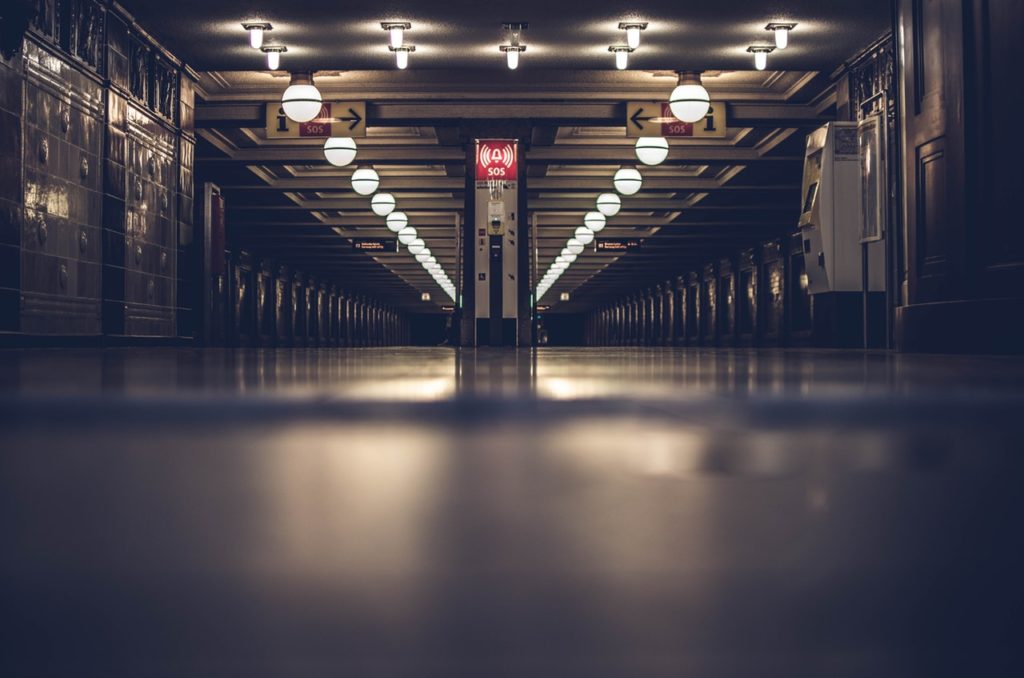
4. Use flash.
This is particularly useful if you’re doing portrait work. Using flash means you’ll be able to light your subject exactly how you want, regardless of how poor the ambient light is. This is certainly preferable if you’re someone who doesn’t like raising ISO.
5. Get closer to existing light.
It may not always be possible to incorporate flash into your indoor photography, or may simply not want to go that route for any variety of reasons. In these instances, you can combat low light by moving your subject closer to existing light.
Whether it’s a lamp or a window, you can take maximum advantage of whatever light you have available by decreasing the distance between it and your subject. You’ll have to experiment with positioning/posing to get the light to fall on your subject in the way you want, and can further help your cause by boosting ISO a bit.
Night Light
There really isn’t much light to work with at night, rendering most of the previously mentioned tips useless. In environments where boosting ISO and getting close to a light source aren’t options, where hand-holding your camera — even with image stabilization — is out of the question, try one of these tactics:
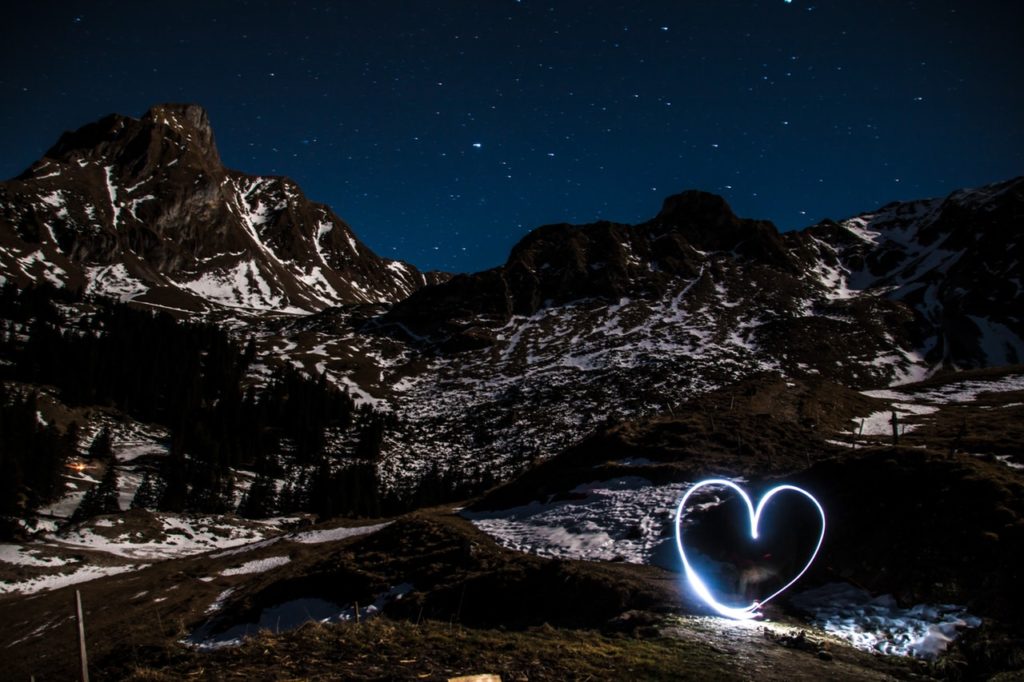
6. Use a tripod/make a long exposure.
You can use a long exposure to gather as much light as possible in dark situations. But to pull off a successful long exposure, you’ll need a tripod. In addition to facilitating some potentially stunning visual effects, the combination of a tripod and long exposure will allow also you to keep your ISO level to a minimum.
7. Use light painting.
If you can’t move your subject closer to a light source, you can bring the light source to your subject via light painting. Light painting is a long exposure technique that uses a moving light source to cast light onto an under-illuminated subject. You can use a flash or colored LEDs or a flashlight to effectively paint a scene with light. See this article for a more in-depth look at light painting.
Conclusion
Just because the light in any given environment isn’t ideal doesn’t mean you have to cancel your photography plans or settle for less than aesthetically pleasing photos.
Working in low light means you will have to make some adjustments to the way you normally shoot, but none of these adjustments are particularly difficult. Tricky? Maybe at first, but armed with the techniques discussed above and with a little practice you will find yourself conquering low light challenges with ease.

1 Comment
Great article, Jason. It’s a good point to mention also that while image stabilization helps for low-light handheld shots, it should always be turned off while a camera is set on a tripod for long exposures. The feature can ruin a tripod photo!