5 More Ways to Save Yourself a Bunch of Time in Lightroom
Photographers, have you ever wondered why your time is being sapped at the computer because you're busy churning through Lightroom like it's mission control at Cape Canaveral?
Waste no more time.
It's your lucky day because we're going to give YOU that time back (and you don't have to pay us back either).

So, following on from our recent article Five Time-Saving Tips for Lightroom, today we are going to add five more to that collection. Awesome. As with the previous article, these tips are quite simple yet can significantly speed up your workflow.
In turn, that gives you more time to get out shooting. Sounds good, doesn't it?
Despite its complexity, Lightroom often has multiple ways to a single thing. We sometimes get our mind set on doing it the way we know without realizing that there can be better more efficient ways to go about it.
So let's look at five more ways to improve your efficiency.
1. Quickly Rate Your Images
Rating images can be one of the slowest and most tedious parts of the Lightroom workflow. Anything we can do to save time in post is an absolute bonus.
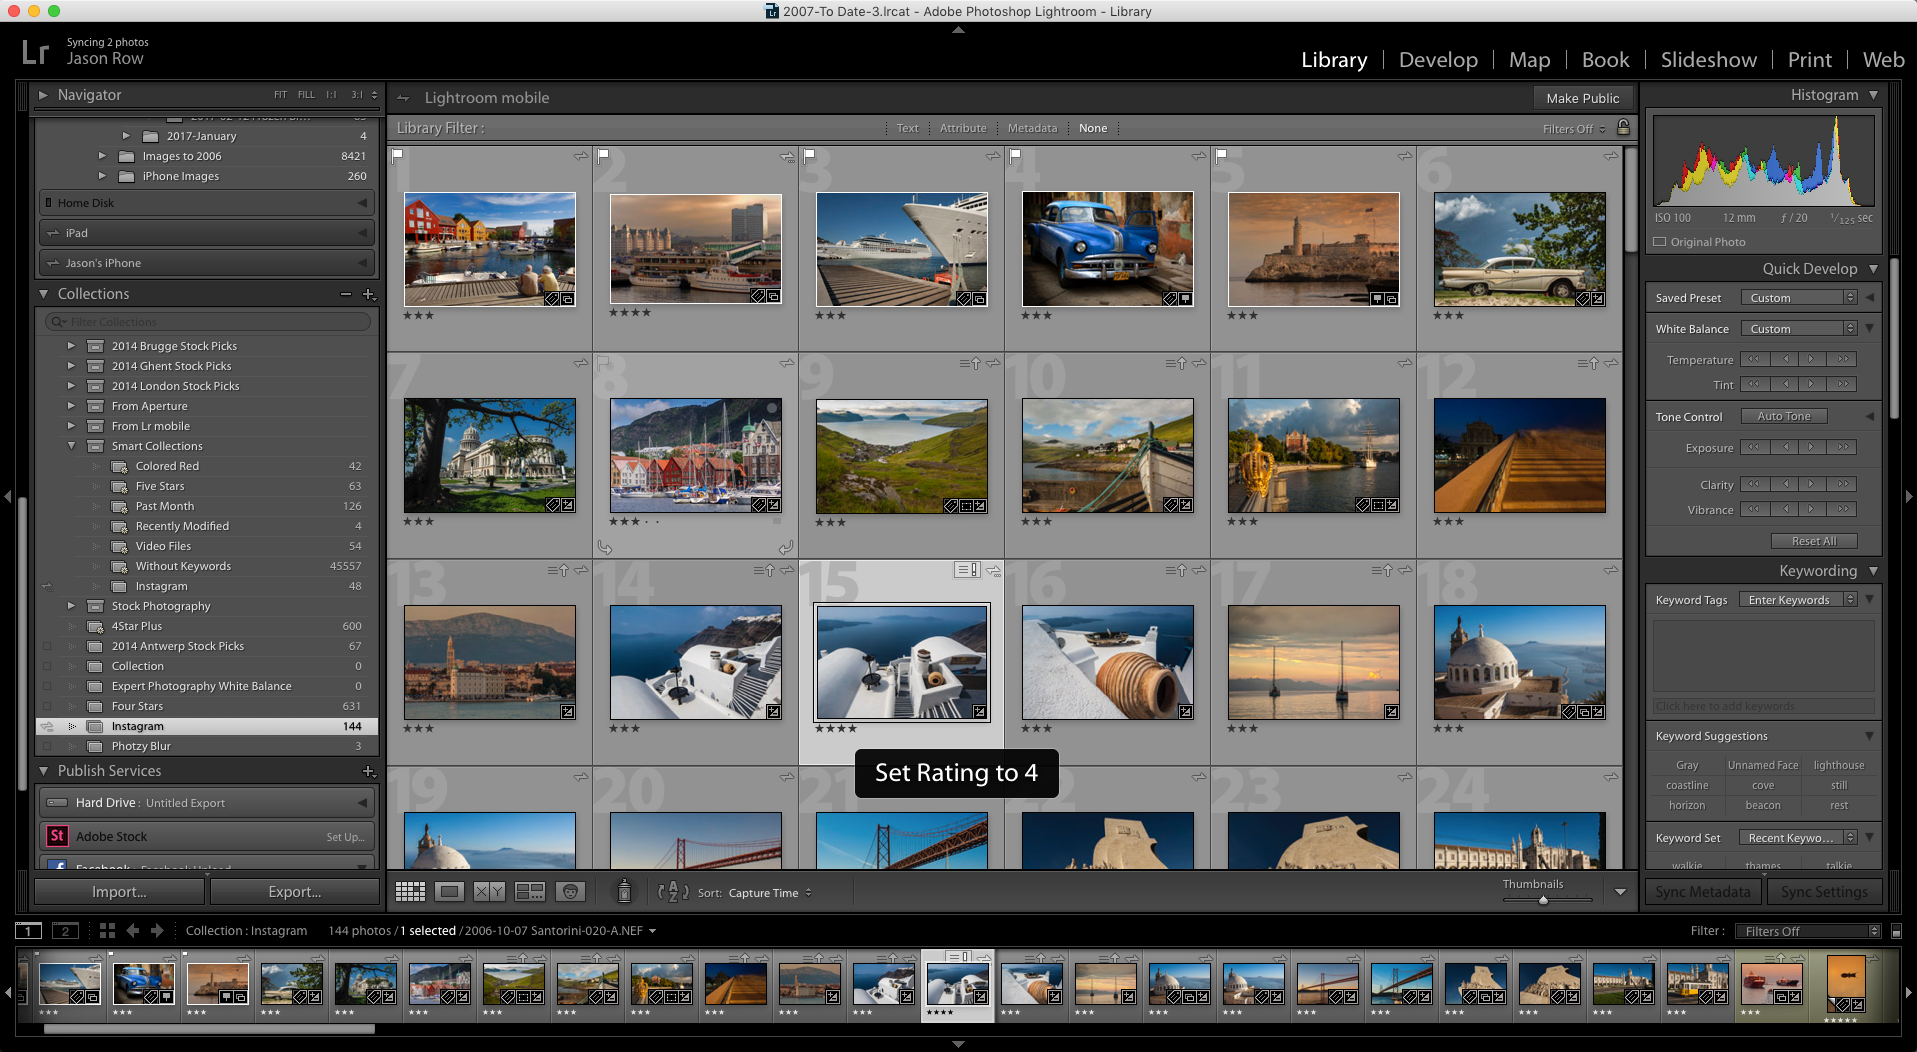
We often give our images a star rating to denote their usability. Lightroom stars go from one to five and many people apply them by pressing the stars underneath the image or image thumbnail.
But, there is a quicker way.
Press numbers 1 thru 5 on your keyboard. This works either for the number keys at the top of your keyboard or those on the number pad to the right, assuming you have one.
One further tip here is to press the ‘X' key for any image you wish to delete. Once you have completed your rating run-through, you can use the Attribute Search to find images flagged with an X.
If you wish to remove the X flag from an image, simply select it and press U.
2. Paste your File's Metadata
This tip is particularly useful for stock photographers that need to add captioning and keywords to large numbers of images. It works in a similar way to copying and pasting develop settings.
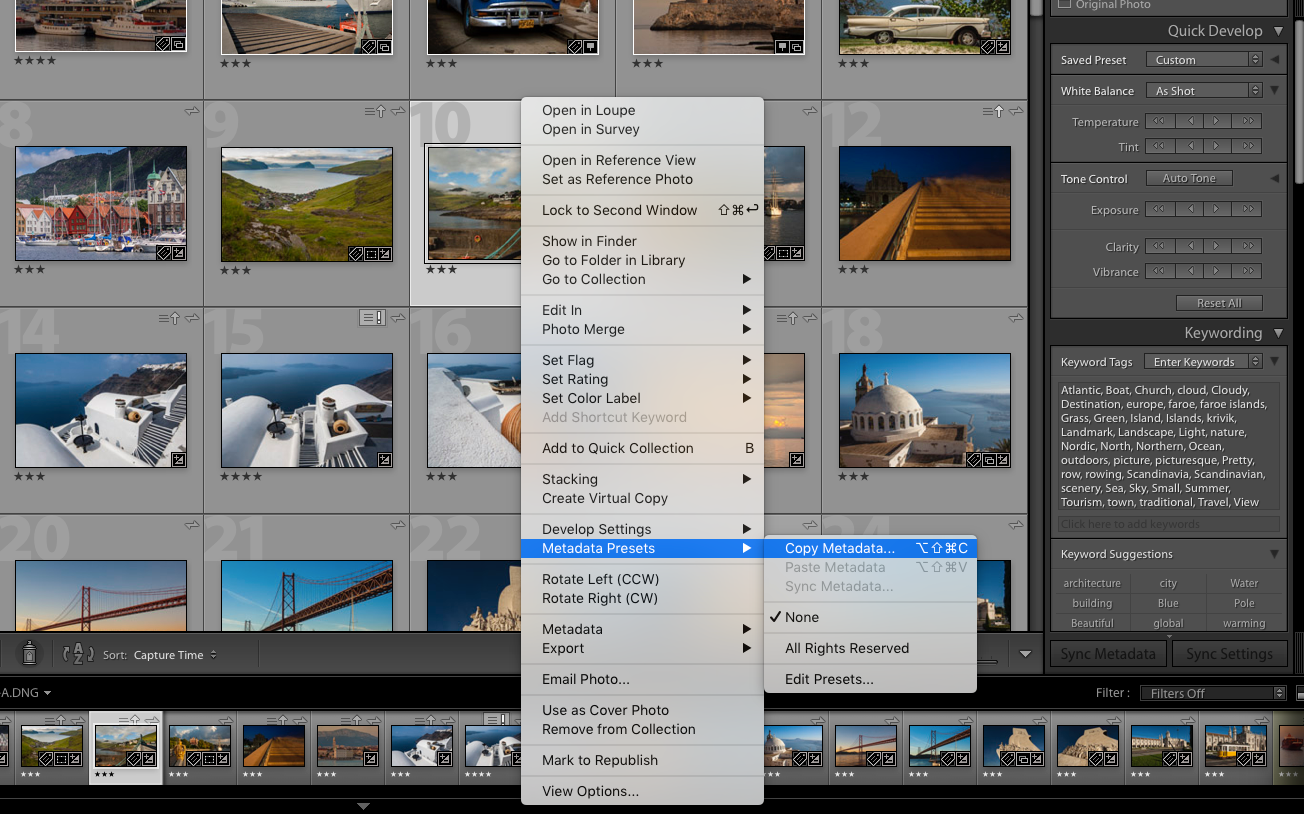
- In either the Library or Develop module, select the image from which you wish to copy the metadata.
- Right-click on it and select Metadata Presets – Copy Metadata.
- A new window will open up showing all the metadata fields that can be copied.
- By default all completed fields will be ticked, however, you can un-tick elements that you so not wish to copy. Once happy press the copy button.
To paste the metadata simply select the image or images and again right click. Select Metadata Presets – Paste.
3. Hide Those Distracting Sidebars
For a complex image management program, Lightroom has a well thought-out and easy to use interface, that's why we love it. There are times, however, when we might want to remove some elements that we are not using. Editing should feel systematic, not overwhelming.
This is particularly the case when using a laptop where screen real estate is at a premium!
Fear not, there's an excellent solution to improving the user interface, hiding the panels from the sides of the screen. On the outer edge of each toolbar is a small triangle, clicking on it will hide it from view.
If you need a ‘quick glance' simply move the mouse over that area of the screen and the panel will reappear until you remove the mouse. To return it fully, click the triangle once more.
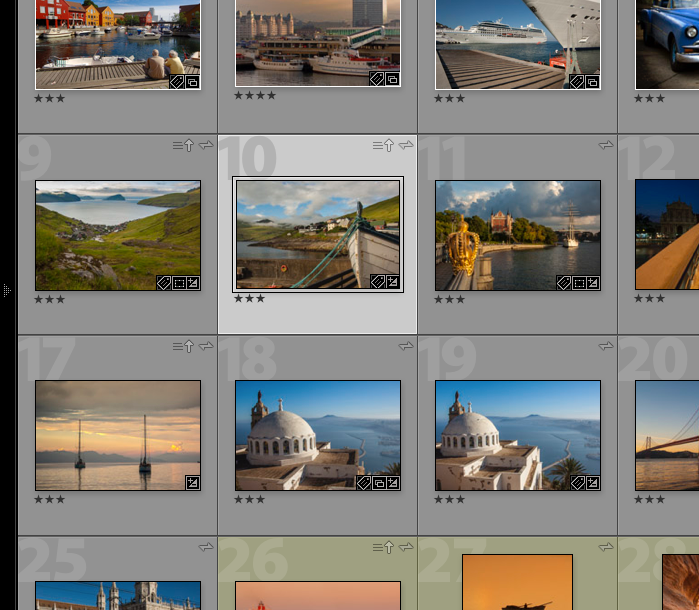
4. Turn the Lights Out
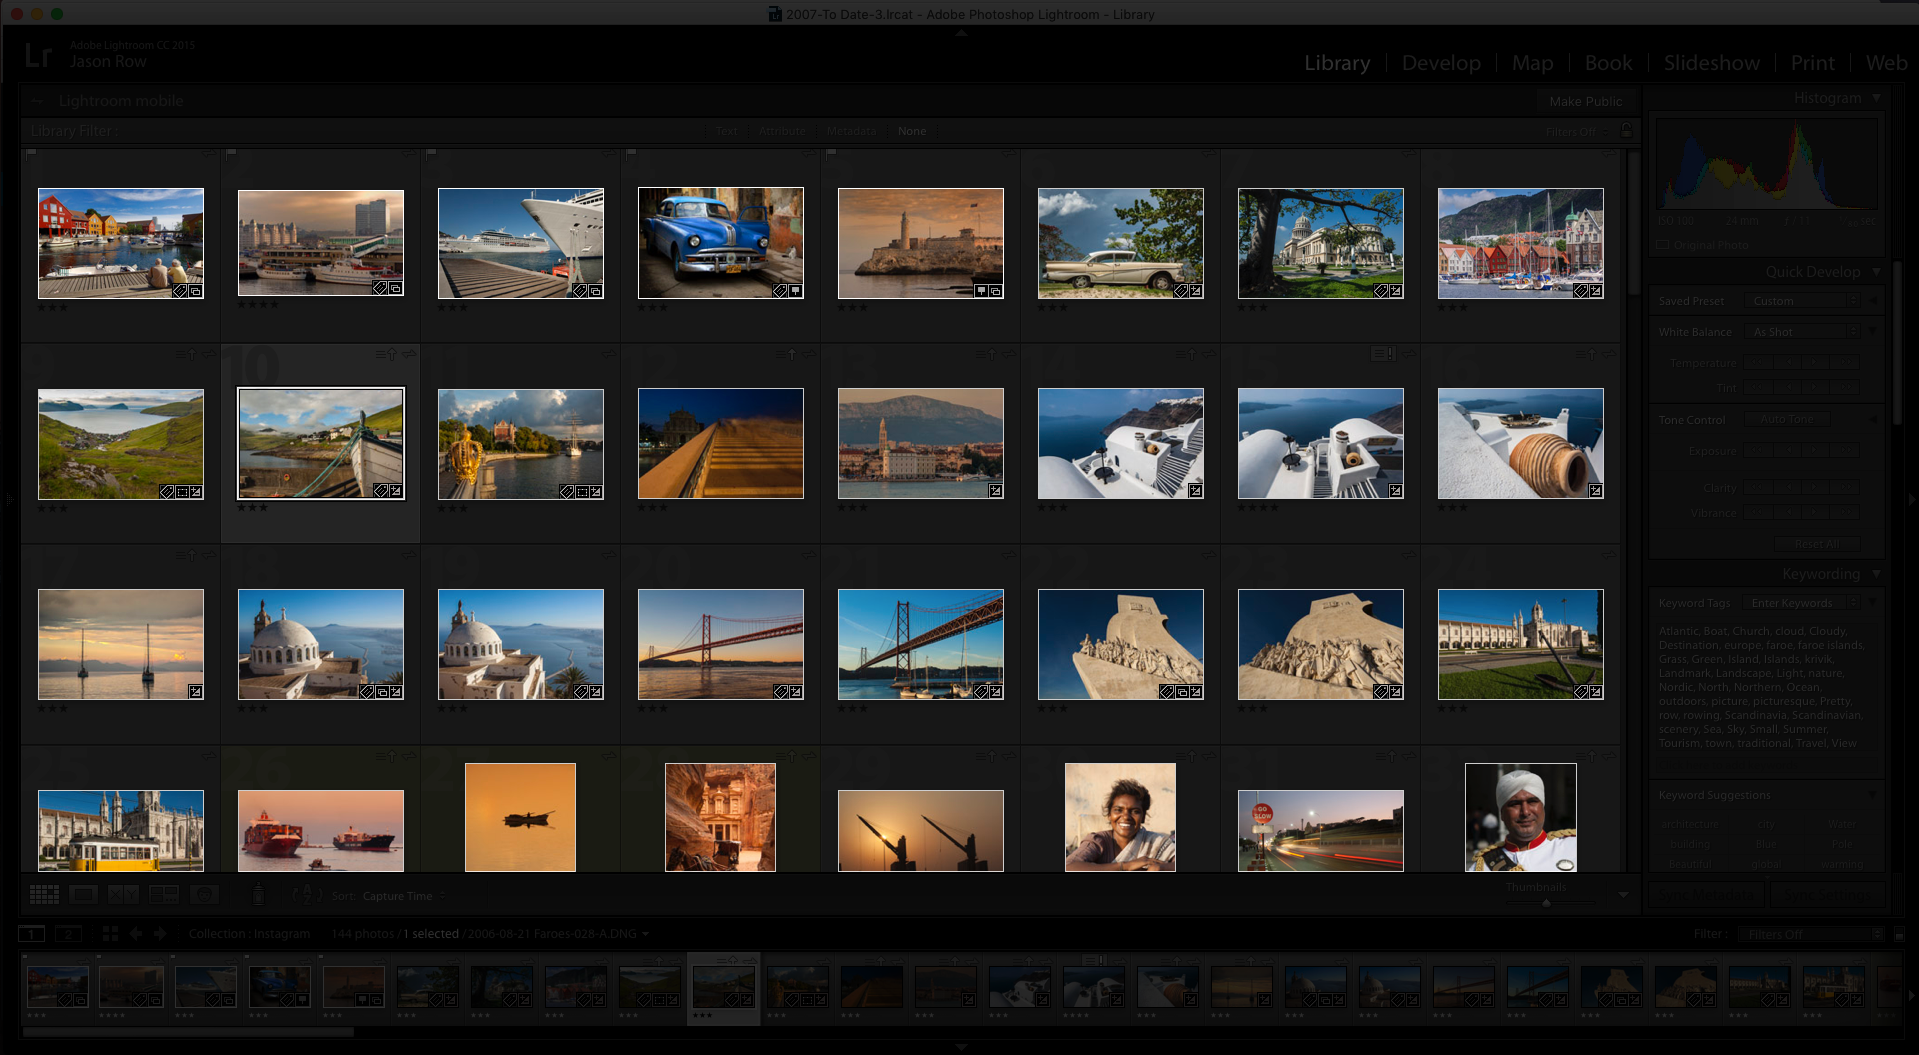
We're not getting all romantic on you here but sometimes, even with certain panels hidden, the user interface can be distracting. As well as going into full-screen mode, which will show the image over the entire screen, there is the Lights Out mode, obtained by pressing the ‘L' key.
This maintains the size of the image on screen, but dims all the side panels out allowing you to focus purely on the shot.
Lights out works in both Library and Develop module and has two stages if no images are selected.
- Pressing the L once will dim down the user interface but you can still see it and use it.
- Pressing it a second time will black out the interface completely.
If you have an image selected, pressing the L will go straight to the fully blacked out interface.
5. Reset Your Sliders/Image
The last and final time-saving tip you can use in Adobe Lightroom is for when we are working on an image in the Develop module. It is easy to get carried away
Don't get me wrong, it's easy to get carried away with our editing before suddenly realizing we have taken it too far. Fortunately, as with most tools in the develop module, there's a quick and easy way to reset.
You simply double-click the text for that tool to reset it to default.
For example
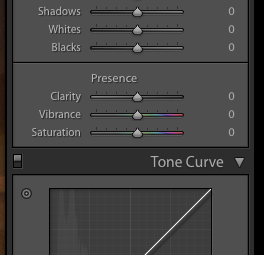
If I have added too much Clarity, rather than slide the tool back to zero, I can double click the word ‘Clarity' and it will go back to zero.
This tip works not only for individual tools but also for sections of tools. For example, the Clarity tool is in a section called Presence. This also contains Saturation and Vibrance. By double clicking the word Presence we can set all three sliders back to default.
One other tip, if you have gone way overboard with an image and want to set everything back to default there is a quick and easy way.
- Right-click on it and select Setting – Reset.
- This will return all you edits back to default.
Time-Saving Tips for Adobe Lightroom – A Summary
So there you have it, five more time-saving tips for Adobe Lightroom.
There are literally hundreds of these little techniques for speeding up your workflow. Get familiar with them a few at a time and you can make drastic savings to the time you spend in post production.
Further Resources
- 5 Immense Time-Saving Tips for Adobe Lightroom Users by Jason Row
- 6 Lightroom Tips and Tricks for Every Single Photographer Out There by Dahlia Ambrose
- Using Collections in Lightroom Properly – Lightroom Collections Explained by Jason Row
- How to Use Lightroom Presets as a Starting Point by Lightstalking
Further Learning
Like us at Lightstalking, you're probably always on the lookout for where you can grab some high-quality Adobe Lightroom training?
Learn how to Master Lightroom with your RAW images in this excellent course by Pro Photographer Joshua Cripps.

