A newcomer to photography is often daunted by the different exposure modes a camera may offer. In fact, there are only four, real exposure modes and these are often represented by the word PASM. PASM stands for Program, Aperture Priority, Shutter Priority and Manual and can be found (not always in that order) on the exposure mode dial on top of your camera. Today, rather than give you an in-depth breakdown of how each mode works, we are going to give you a brief, layman explanation of each mode and, more importantly, when to use it.
Program Mode (P)
This mode uses all of the camera’s computing power to analyse the scene in front of it and automatically select the optimum shutter speed and aperture for the shot. It can recognize if the light is too low and select a shutter speed high enough to avoid camera shake and work out aperture based on where you are focusing. It is very clever but not infallible.
Program mode is best used when you want to work quickly, when the lighting conditions are changing rapidly or perhaps when an event is unfolding in front of you. It allows you to think solely on composition rather than worrying about exposure. Of course if the exposure is not to your liking, you can always compensate it a little using you camera’s exposure compensation dial.
Read More: Is Program Mode for Idiots?
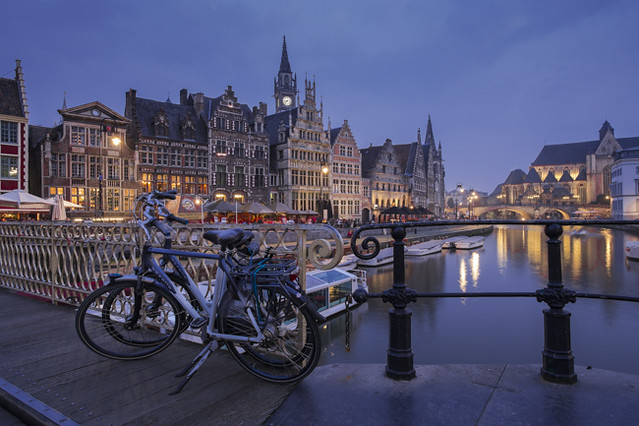
Program mode allows you to concentrate on the subject. Photo by Jason Row Photography
Aperture Priority (A or Av)
This is perhaps the most popular of all exposure modes and is often mistakenly called Auto mode. When you put your dial to the A setting, you are telling the camera that you want to control the aperture and want it to sort out the shutter speed. You will need to be conscious of what shutter speed the camera is setting as if it gets too low, you may start to get camera shake. You can counter this either by opening up the aperture a stop or two or by boosting your ISO.
Aperture Priority is popular because it allows us to control one of the most important compositional tools we have, depth of field. A landscape photographer will often want a deep depth of field and so will set a small aperture on the lens. As they may well be using a tripod, shutter speed at such small apertures is not so important. Photographers taking portraits will often want a shallow depth of field and so will set a wide aperture. Having this control over the aperture allows you to maintain your creativity without having to worry too much about exposure.
Read More: Why Aperture Priority is the Most Preferred Shooting Mode by Photographers
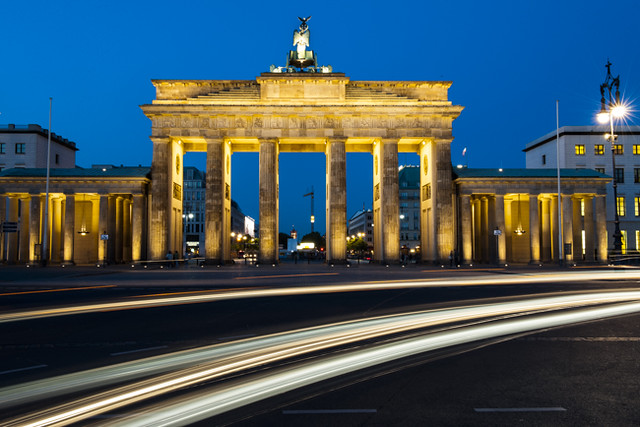
Aperture Priority allows you to control depth of field. Photo by Jason Row Photography
Shutter Priority (S or Tv)
Effectively the opposite of Aperture Priority, this mode allows you to set a specific shutter speed. The camera will then select the most appropriate aperture. Because the aperture is a finite range, you need to make sure that the shutter speed you set, has a selectable aperture. Modern digital cameras will usually give you an indication in the viewfinder that informs you if it cannot select an aperture based on the shutter speed you have provided. You will need to then readjust your shutter speed to bring it in range.
Shutter priority can be thought of as speed mode. This is because it is best used when shooting moving subject. For example, if you want to shoot a bird in flight, you might select a higher shutter speed, to freeze the motion of the bird. Conversely if shooting for example, a racing car, you might want to use a slower shutter speed combined with a panning technique to freeze the motion of the car but add motion blur to the background. Again you need to be careful that you shutter speed is not set too low as you might incur camera shake. Many cameras will flash a small icon in the viewfinder if they believe this might occur.
Read More: How Shutter Speed Affects What You Photograph
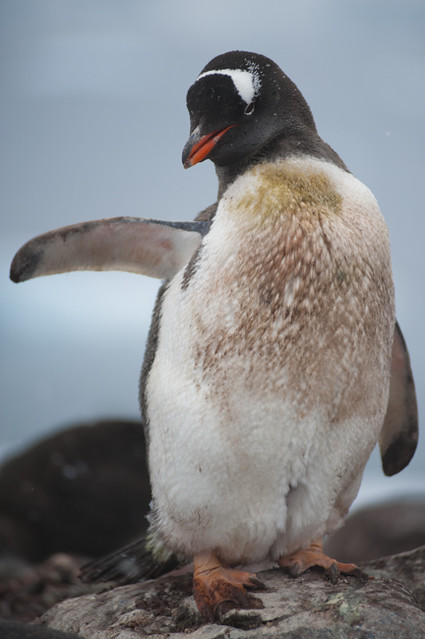
Having control over shutter speed allowed for this image. Photo by Jason Row Photography
Manual Mode (M)
In this mode you have full control over your camera’s exposure. Think of it as taking advice from the camera but making all the decisions yourself. You need to work with the exposure indicators in the viewfinder and understand the histogram on the LCD screen to make informed decisions about exposure but ultimately it will be you that sets the aperture and shutter speed. The beauty of this, is that with experience, you will understand the way the camera reacts to different lighting conditions and make your own compensation to the exposure. For example you might find that with beach shots, the camera is suggesting an exposure of less than what is needed. You can open up one stop of aperture or use a slower shutter speed to compensate.
Manual mode is suited to more considered photographer where the photographer has both the time and experience to read and work with the light. Like Aperture Priority, many landscape photographers will use manual exposure as it gives them the fullest control.
Read More: Manual Labour – How Pros Get Better Results Shooting in Manual Mode

Photo by Jason Row Photography
Understanding these four modes will help you take more creative images. Understanding the nuances of these modes such as controlling depth of field opens the door to a whole range of creative possibilities. When using any of these modes, it is important to understand what information you are receiving via the viewfinder and indeed the histogram. With this information you can ensure that your exposures will remain within both the camera's limits and your ability to hold the camera.


4 Comments
sometimes, I just want my old Polaroid camera back. I do suppose with anything, practice makes perfect and this article is an excellent beginning to playing with that knob I put tape on so I don’t accidentally switch out of auto mode and get all kinds of photographs that are just a blur. #puttingPhoneDown dusting of Fuji and putting in new batteries …. ty
I’ve noticed that photographers often shoot concerts in manual mode……how is it possible to get the right shot when there are so many light changes that take place in short amount of time. It boggles me on how you could adjust your camera that fast if the light is constantly changing…… is there a trick to this. I shoot in Both AV and TV mode to capture for the newspapers or magazines and was wondering if I’m doing things wrong….
For the most part, I shoot in manual mode. It just gives me more control & flexibility. Normally you really aren’t adjusting a lot of things at once. Most commonly shutter speed. It also depends on what lens I’m using as well as the general lighting situation. When outside I do occasionally use AV mode and if I’m trying to capture motion maybe shutter priority. But with flash or strobes never anything but manual. I haven’t used Auto mode in a very, very long time.
I am relatively new to wildlife photography and due to lockdown am unable to travel any distance . At moment i am settling on the Leeds Liverpool Canal near where I live. I am varying between AV and M modes but can’t seem to get the sharp photos i want.
If I set the speed to say 1/800 (for birds flying) I get overexposed photos.
If I set the F stop at what is supposedly the sweetspot for my lens F10/F11 I get underexposed
Where am i going wrong . I know I need the high shutter speed but have been told to avoid high ISO. What do they call high iso.
My Canon d77 will go to iso 25600. If I use ISO auto it usually goes around ISO 6400.
My lens is a Tamron 18-400 F3.5-6.3
Any help would be greatly appreciated