In order to capture some truly striking outdoor portraits, you don’t need a vast arsenal of premium lighting equipment and expensive lenses.
You simply need to learn a couple of useful tricks that can improve your portraits. If you know what is a proper exposure and white balance and if you take care of some additional factors such as the choice of background, your portraits will look much more professional.
The following 5 tips can help you understand better what really matters when it comes to outdoor portraiture:
1. Daylight Camera Settings
It may seem that shooting outside in the sun provides just the right kind of light, but it’s usually more complicated than that.
When the sun is high, it casts shadows on your subject’s face – under the nose, the eyes and the chin. If you want to avoid these harsh shadows, you should find a nice shaded area, perhaps under a tree.
You can also wait for the sun to get covered by clouds since they naturally diffuse excess light. If there are no clouds at all, you can shoot 2-3 hours before sunset or 1-2 hours after sunrise. It’s well-known that the famous golden hour and blue hour can give some magical appeal to portraits.
Finally, you can also use a reflector when you have to deal with shadows on your subject’s face. These reflectors can be silver, white or gold depending upon the type of lighting effect you require. They don’t have to be expensive at all – many of them are totally affordable.
2. Perfect Background
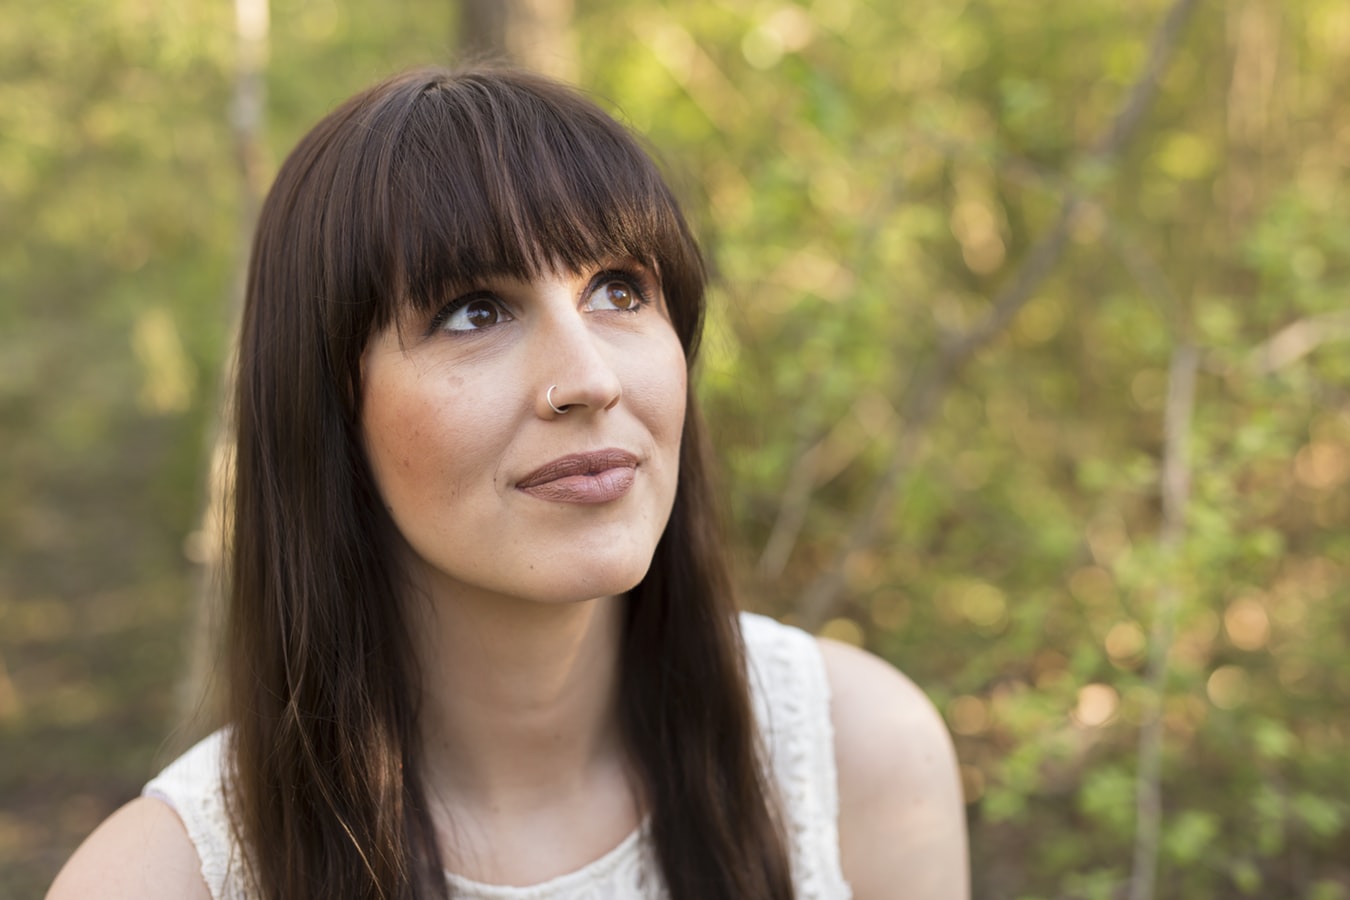
Background is an indispensable part of any photographic composition. However, sometimes it happens that photographers are so focused on their subjects that they end up ignoring the background. While this doesn’t have to ruin the entire photo, it can be quite detrimental and it may require some complicated editing steps in order to be fixed.
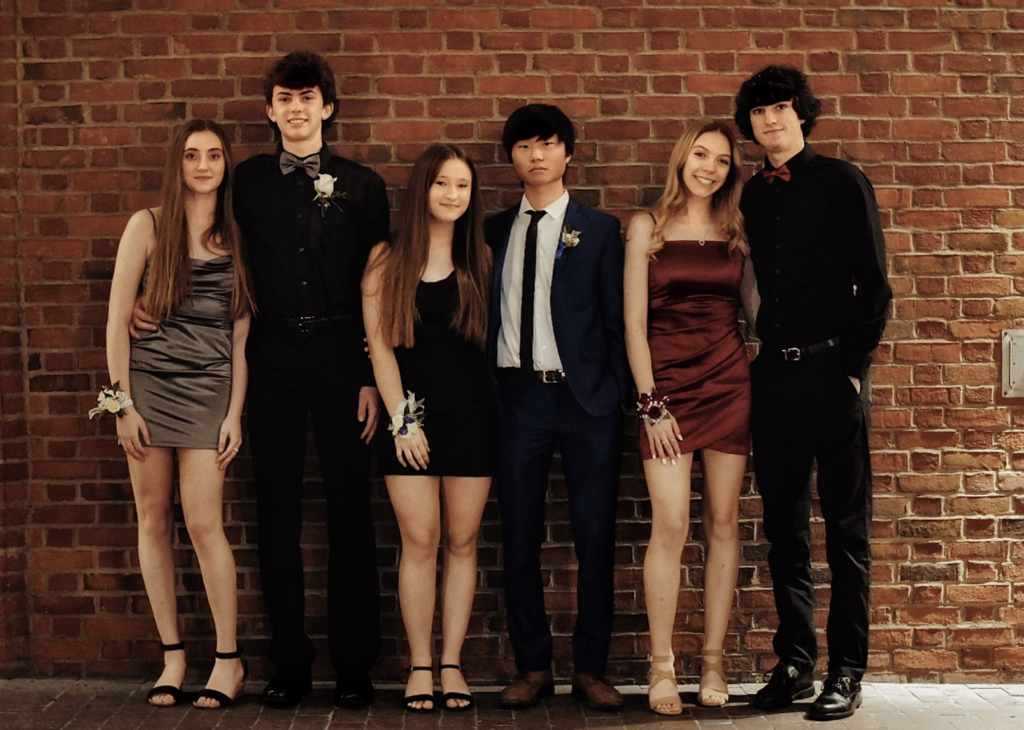
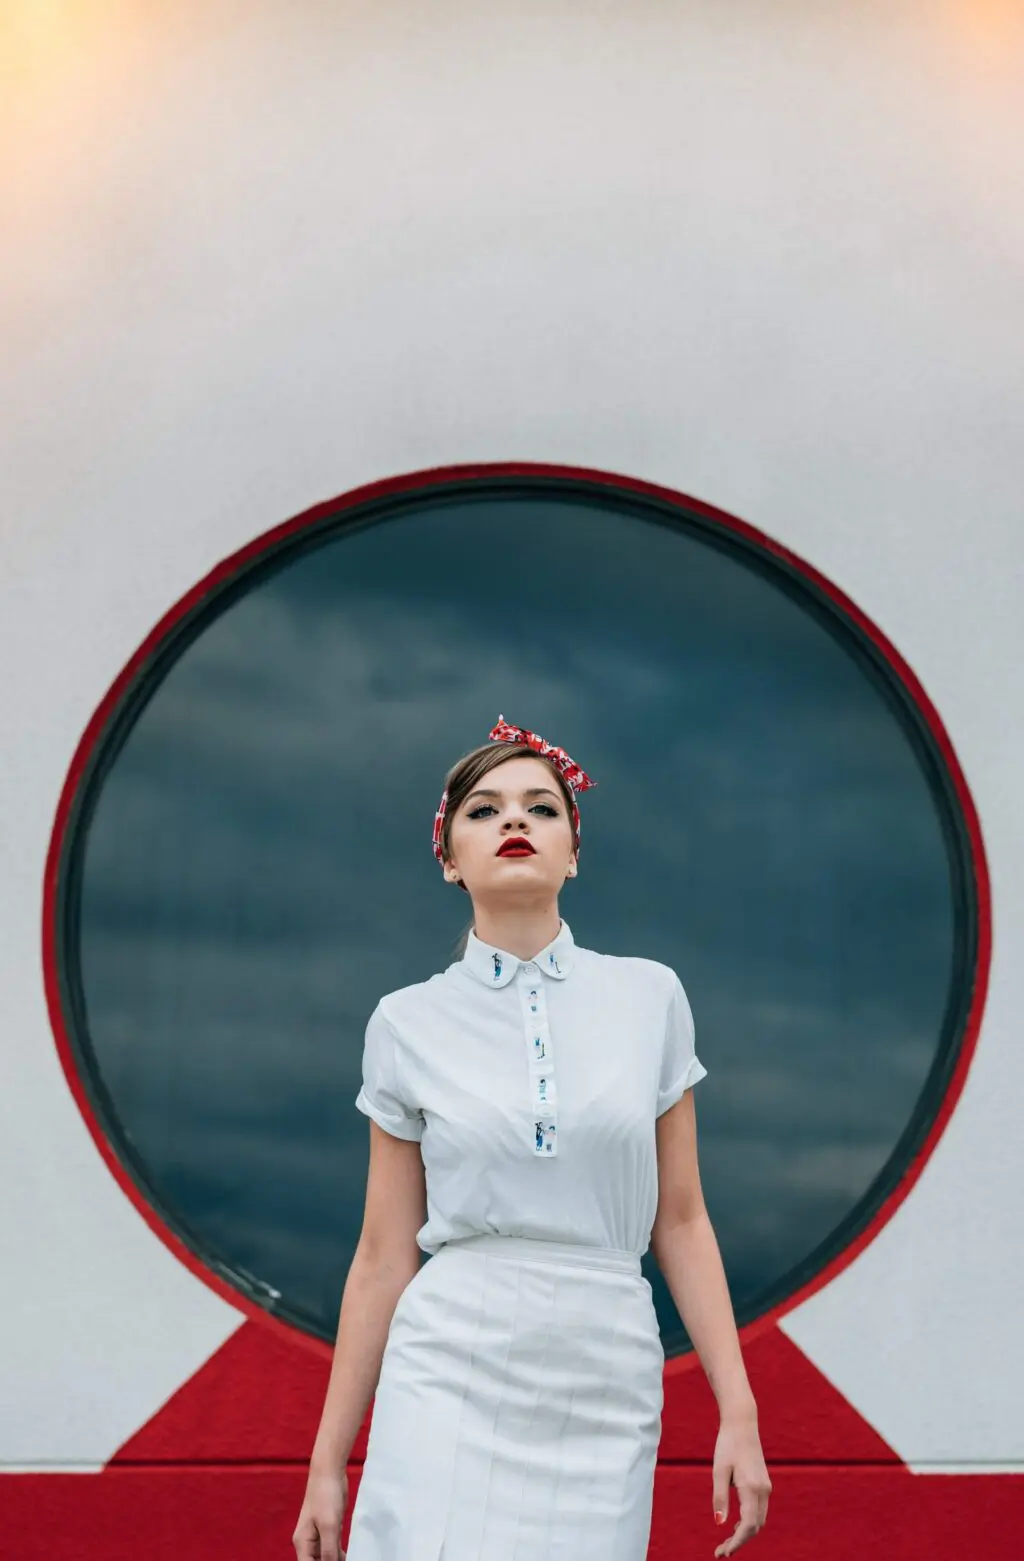
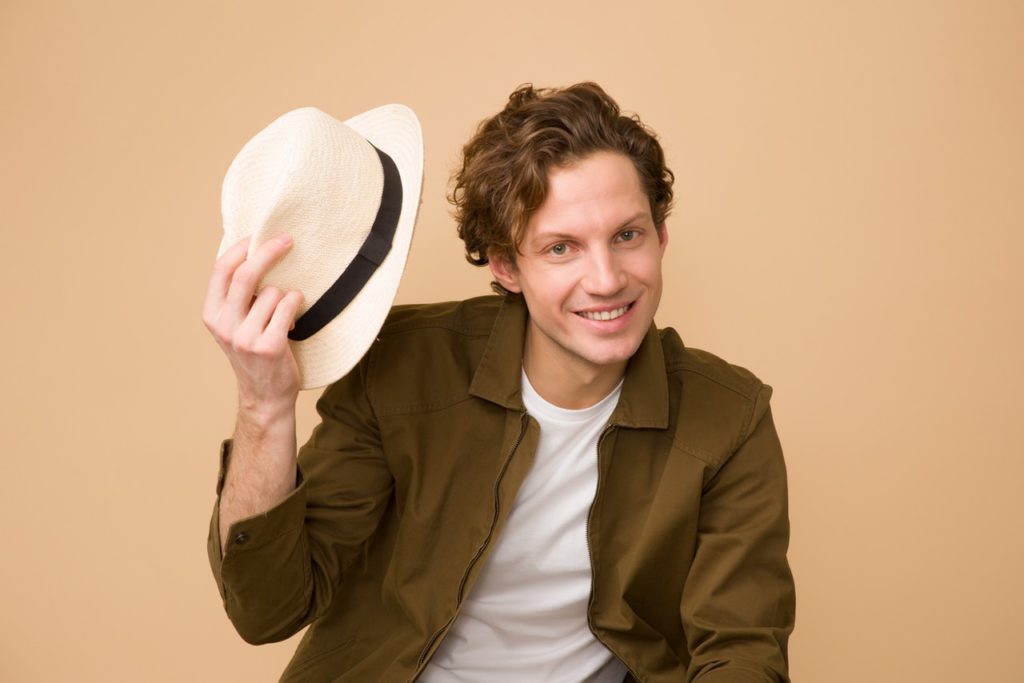
The colors in the background should be able to complement your subject. Because of this, it can be quite useful to know color theory. You should also avoid cluttered backgrounds and watch out for any objects that appear to be jutting out from your subject in the background.
The function of background is not purely aesthetic; backgrounds can also help the observer to get a sense of location, its atmosphere and meaning. You should try to create some kind of connection between your models and backgrounds in order to activate the storytelling potential of your portraits.
3.Proper lens
While you don’t have to own any expensive lenses, one thing that does matter is a focal length of lenses you use for portraiture.
Any focal length below 70mm can distort your subject, however it doesn’t become very noticeable until you are below 50mm. While 35mm may be a great choice for street photography, it’s not that great for portraiture.
A short telephoto lens is typically the portrait photographer's favorite lens – it can be a 70mm on a DX camera or a 105mm on a full-frame model.
4.Wide open aperture
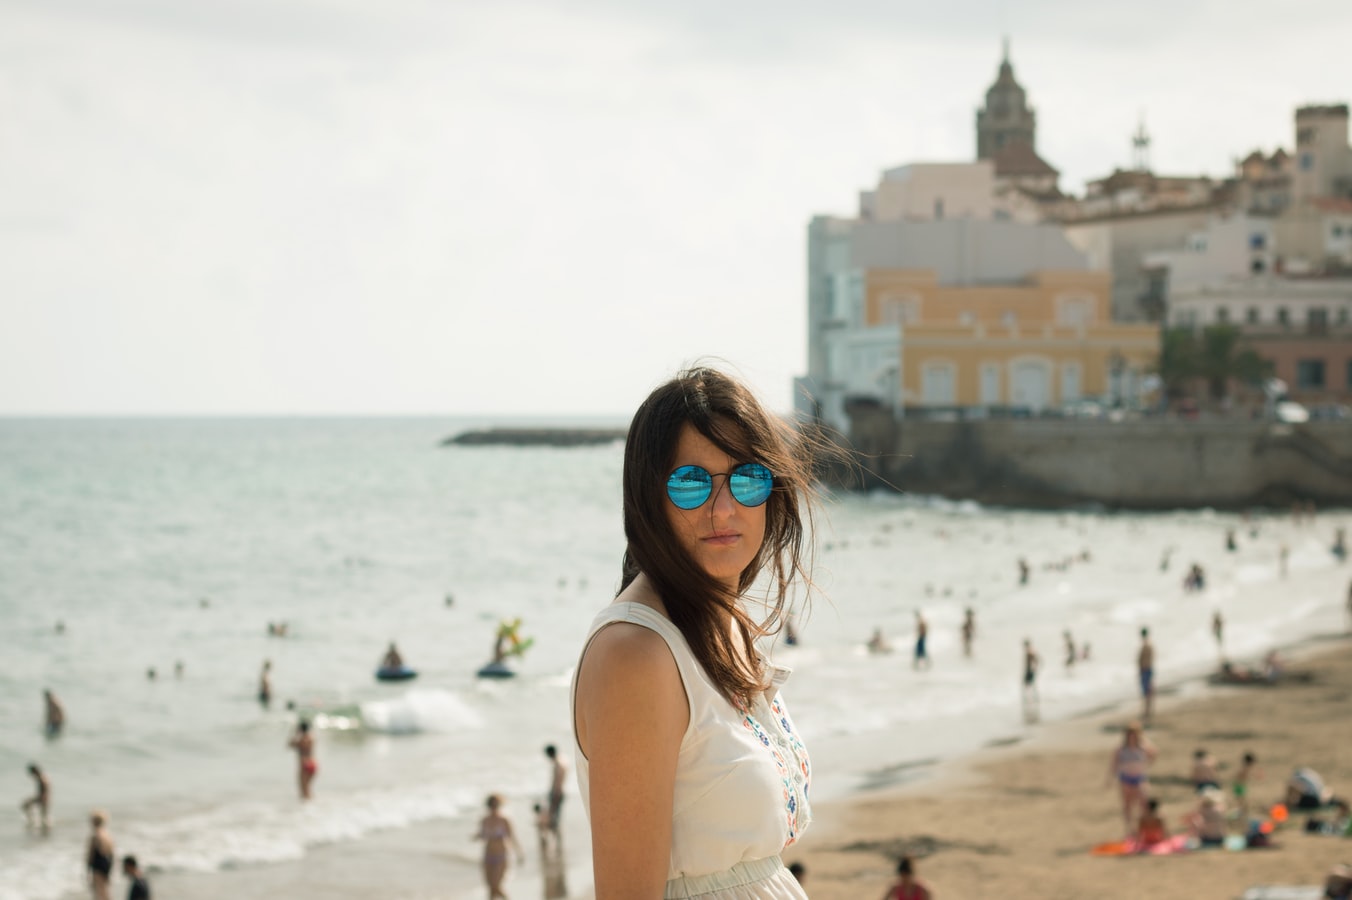
Buying a fast lens capable of wide apertures can make a lot of difference in your outdoor photography. Such lenses allow you to obtain a shallow depth of field, which means that you can separate your subject from the background. This smooth background blur also known as bokeh looks very flattering in portraits.
In addition to this, shooting at ƒ/2.8 or ƒ/4 can help you create some wonderful and dramatic portraits in low light without having to resort to artificial lighting.
5.Gray card for white balance
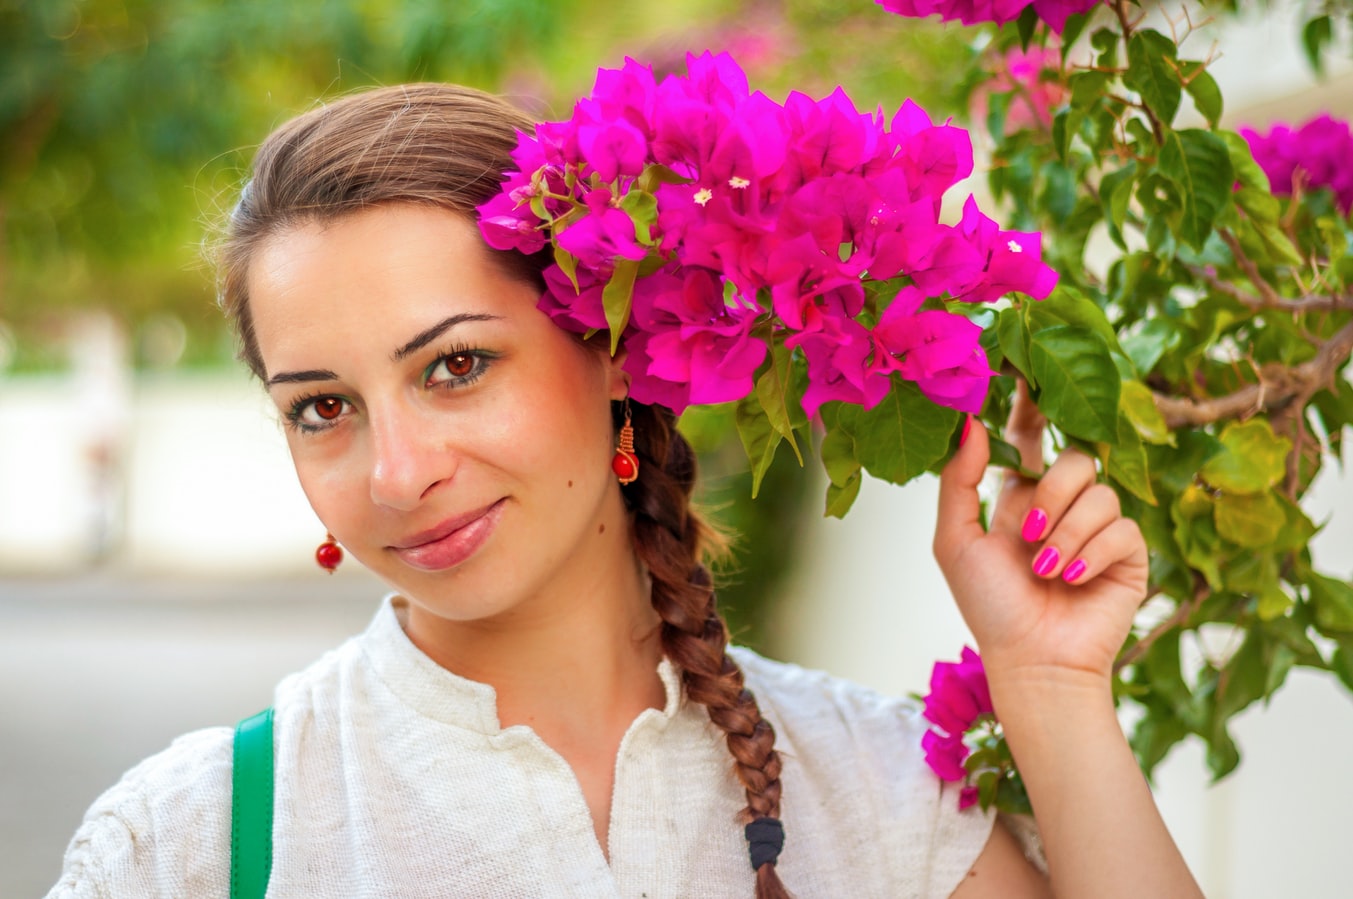
Gray card is an extremely affordable piece of equipment that can be incredibly useful.
Finding a correct white balance can be a post-production nightmare and this can be avoided easily if you ask your subject to hold the gray card on the first shot at each location you visit during your photo shoot.
This simple strategy can save of hours of work, because all you need to do in post-production (if you used the gray card) is to synchronize the white balance setting of all the photos taken at the same location!
If you found these five tips useful and easy to apply, you can learn more about outdoor portraiture at the following links:


