Outdoor portraits aren't what most people think when they think of a portrait shoot. Most people will think ‘studio’ first when thinking about portraits. There are major drawbacks though: studios are expensive, lighting is complicated and frankly, the results can look a little bit boring and staged if they’re taken in a studio setting. So why not grab your camera and a willing subject and head outdoors?
Here are some top tips to get some epic outdoor portraits.

1. Choose Your Time Of Day
The light is at it’s very best in the early evening, or what photographers call the ‘Golden Hour’, the last hour before sunset.
Unfortunately only being able to work one hour a day doesn’t really work and even if you’re only doing this as a hobby, it doesn't give you a great deal of time! However, the closer you can get to the golden hour for your outdoor portraits, the better the quality of light will be and ultimately the better your photos will be.
Avoid midday sun like the plague!

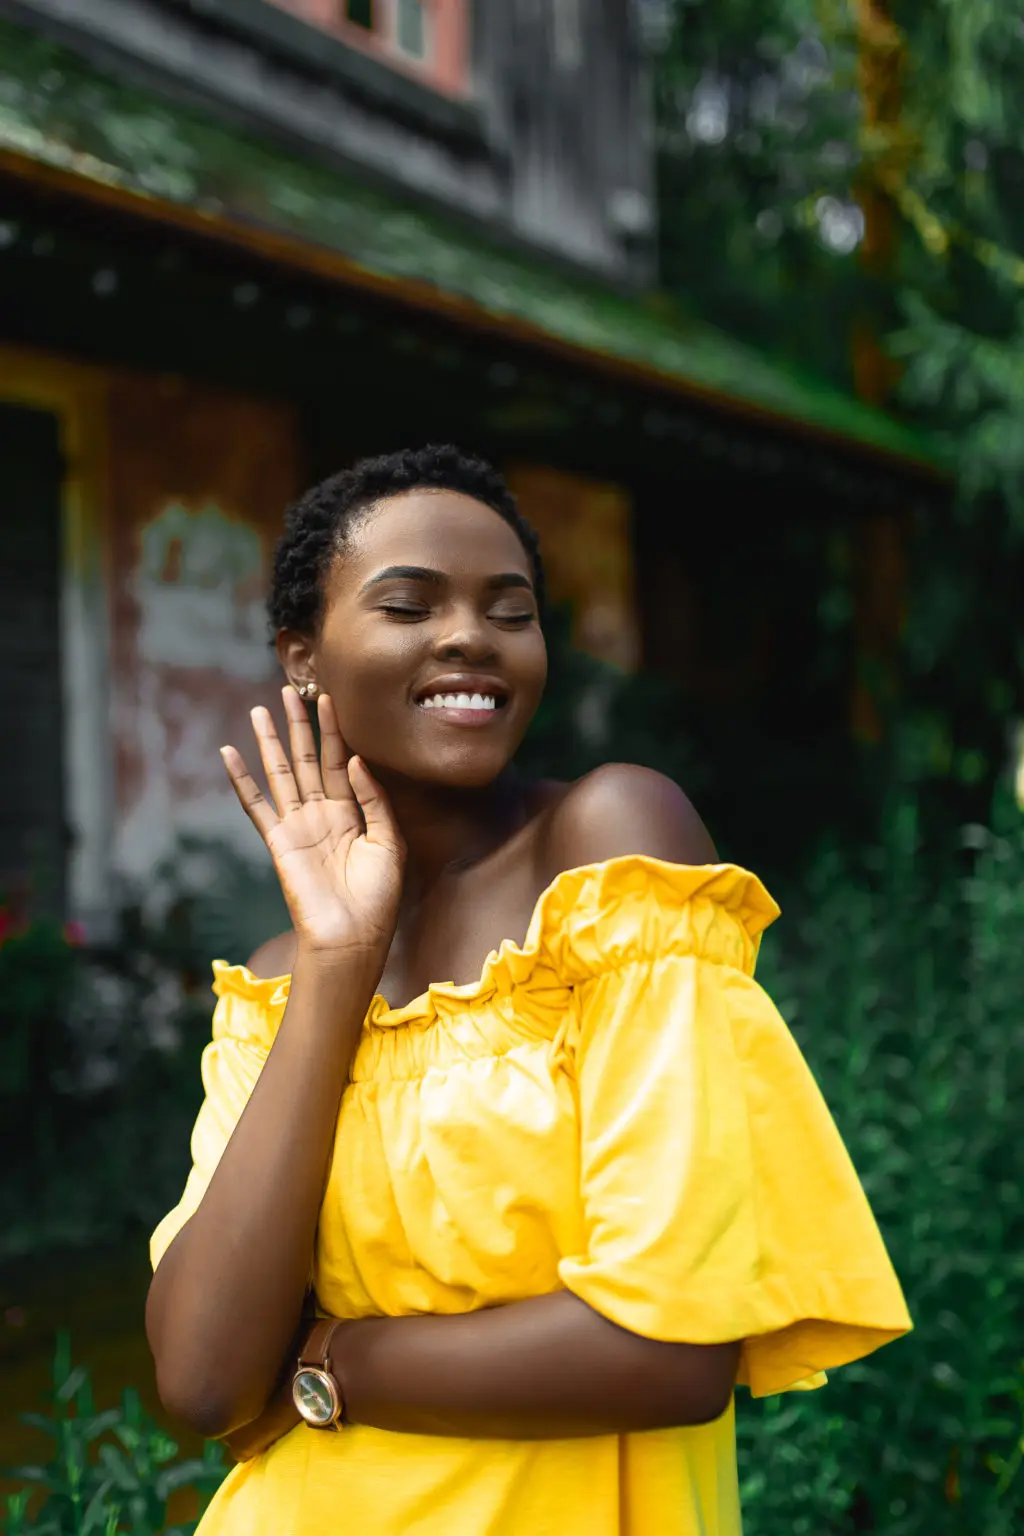
2. Eyes Should Be The Main Focus
Whenever you meet somebody or talk to somebody, you always look at their eyes. It is inbuilt in us to connect this way.
Your photographs should focus on the eyes too. If you don’t then people will look at your image and realise that it’s wrong, even if they don’t know anything about photography!
This is how artists have painted portraits for hundreds of years. They will keep the eyes in sharp then slowly make the portrait softer as it moves away from the eyes.

3. Use A Reflector
Using a reflector can make a HUGE difference to your portraits and is a worthwhile (maybe even essential) piece of kit for any outdoor portrait photographer.
Use the reflector to bounce light back into your subject's face and brighten up the most important part of the photograph.
Most reflectors will have three sections, pure white, silver, and gold. Practice with each as they all offer different intensities of light and of course hue. The gold, in particular, can give an amazing glow to your subjects face, however you may just find it’s too much and settle for the more subtle white or silver.
4. Don't Let Your Camera Pick Your Focus Spot
Most professional photographers will choose just one focus point, usually the very centre one in their camera. They’ll then focus on a particular spot use the focus lock and reframe the image.
You should NEVER allow your camera to focus for you! This is a particular tip for outdoor portraits. Many modern cameras have 40+ individual focus points and they are not (currently) able to pick the single point that we want to focus on, which as we previously discussed is the eyes.
Photography is all about control and this way you’ll have final say in what happens, not your camera!

5. Make Sure It Looks Right Before You Take The Picture
There are whole pages on the internet dedicated to photographs that have gone wrong… People appear to have things growing out of their head, ladies hands appear to be coming from a guy etc.
Make sure you look at everything in the picture before you hit the shutter button on your outdoor portraits. Are there any power lines in the background?, are there any labels showing?, Does anyone have lipstick on their teeth?
While all of these things CAN be corrected in photoshop, it is so much easier to just correct them at the time. Moving the camera a touch to the left to exclude a power cable can save you a half hour of Photoshop time in the studio.

6. Shoot Wide Open For Shallow Depth Of Field
A shallow depth of field is something that seems to be universally loved by people. If you ask an amateur who has no understanding of photography what they like about a professional picture they will undoubtedly point out having a blurred out background.
While you may be tempted shoot wide open sometimes it can be just a bit too shallow, especially on close-ups of a face. Under such circumstances, it’s worth shooting a couple at f4 or f5.6 too.

7 Use A Focal Length Of 50mm Or Higher
If you use a wide angle lens, when shooting any subject, it will have a distorting effect, making the subject ‘bulge’ slightly. This can be unfortunate if you’re shooting a building, but this effect is at its worst when you shoot people.
It will make the face appear more bulbous than it actually is and can make the arms and legs appear thinner as they fall to the edge of the frame.
Nobody wants this look!
Use a minimum of a 50mm lens or even better a 70mm plus. Most manufacturers produce an 85mm lens which is generally considered the perfect size for portraiture.
This focal length (and above) will have the opposite effect of the wide angle, compressing the image and keeping everything nicely in proportion.
That’s what everyone wants to see…

8. Always, Always, Always Shoot In RAW
This is probably the single most important thing any photographer can do. If you follow none of the other pieces of advice in this article, but follow this one, that will be a big step forward!
Using RAW is like shooting a negative. Even if you under or over expose it, there’s still something that can be done with the image. If you’ve never used RAW before it’s worth having a go. Underexpose an image and then use the exposure slider to bring the image back. A photograph has to be seriously under or over exposed before you can’t get anything from it.
Shooting .JPG is like shooting slide film. The image you get is pretty much what you’re going to get so you have to be extra, extra careful about the exposure when you take the picture.
There are some things you can do to improve a .JPG image a bit, but it’s nothing compared to the power of .RAW

9. If You Have To Shoot In Bright Sun
If you absolutely have to shoot your outdoor portraits in bright sunlight, then try and find some shade to photograph your subject in. The shade of a bush, tree, building… Anything will do.
If however there is just no shade at all, try and shoot with the sun behind your subject and then balance out the light with a reflector… you’ll probably need some fill flash too!

10. Location, Location, Location.
Ok so you are taking outdoor portraits…so try and choose a location that takes your breath away and has a lot of visual interest… but make sure the location matches the subject. If you’re photographing a businesswoman then a city would probably be the best location, a musician would be best at a gig and a bikini model would probably be best on the beach…
BUT, don’t hesitate to mix these up too, IF your subject is up for it! How cool would it be to have a businesswoman in a deck chair on the beach?
As with all photography, and particularly outdoor portraits, follow these rules when it suits, but don’t be afraid to play around or even break them, if you think it will make a cool picture.


