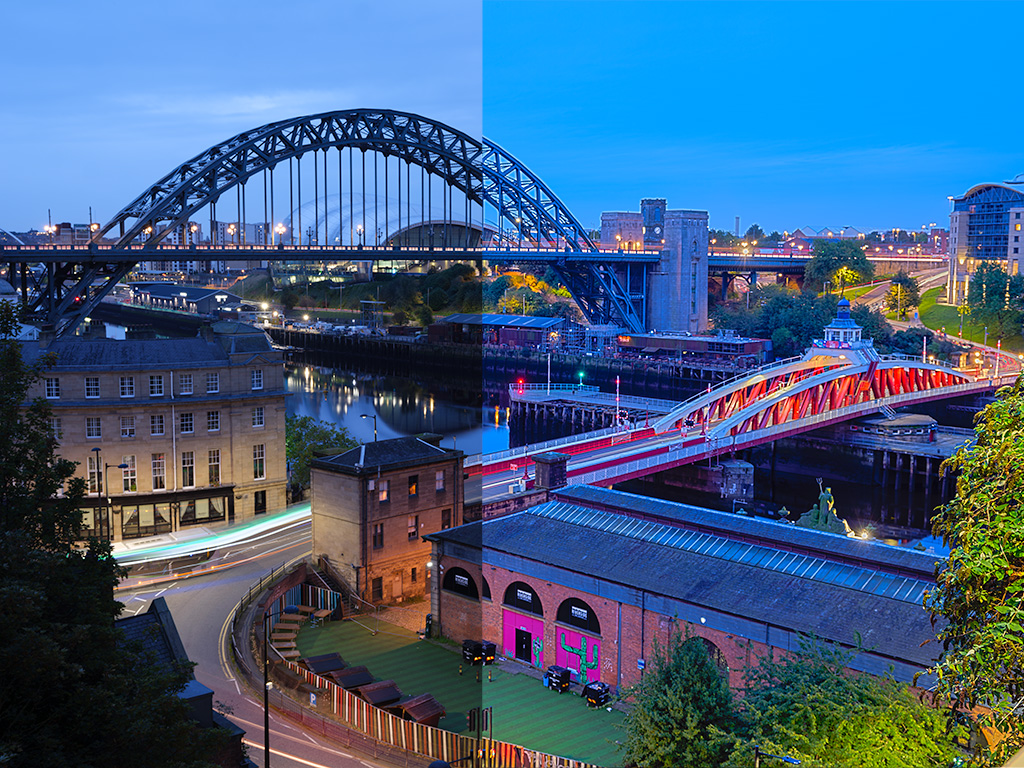
Sometimes we embrace it, sometimes we try to avoid it. Noise, it's ever-present in the photographer’s mind. Even in bright light, if we get the exposure wrong we are at risk of getting noise into our images.
Sometimes, no matter what we attempt in camera to reduce noise, there is still some present in the final image. Fortunately, in the digital era, we can make further attempts to reduce that noise in post-production.
Today we are going to look at the best practices when attempting to reduce noise in post. Although we are primarily looking at Photoshop and Lightroom, the strategies and techniques are pretty much the same for all post-production software.
What is Noise?
Our camera’s sensors use millions of light gathering semiconductors to gather light. Because of the sheer numbers, these semiconductors are packed very tightly together. These sensors send electrical signals back to the camera’s CPU which then creates a digital image from them.
In order to boost ISO, the camera will boost the electrical signal coming from the individual sensors. That increase in the signal causes interference that manifests itself as noise in the final image.
As photographers, we are most likely to see two different types of noise, luminance, and chroma. Luminance is where pixels display a different brightness than would be expected compared to those surrounding it. It manifests itself in a similar way to grain in film-based photography.
Chroma or chrominance noise is where individual pixels shift color compared to those surrounding it. Of the two luminance noise is the more common but it’s important to identify which type of noise our image is exhibiting.

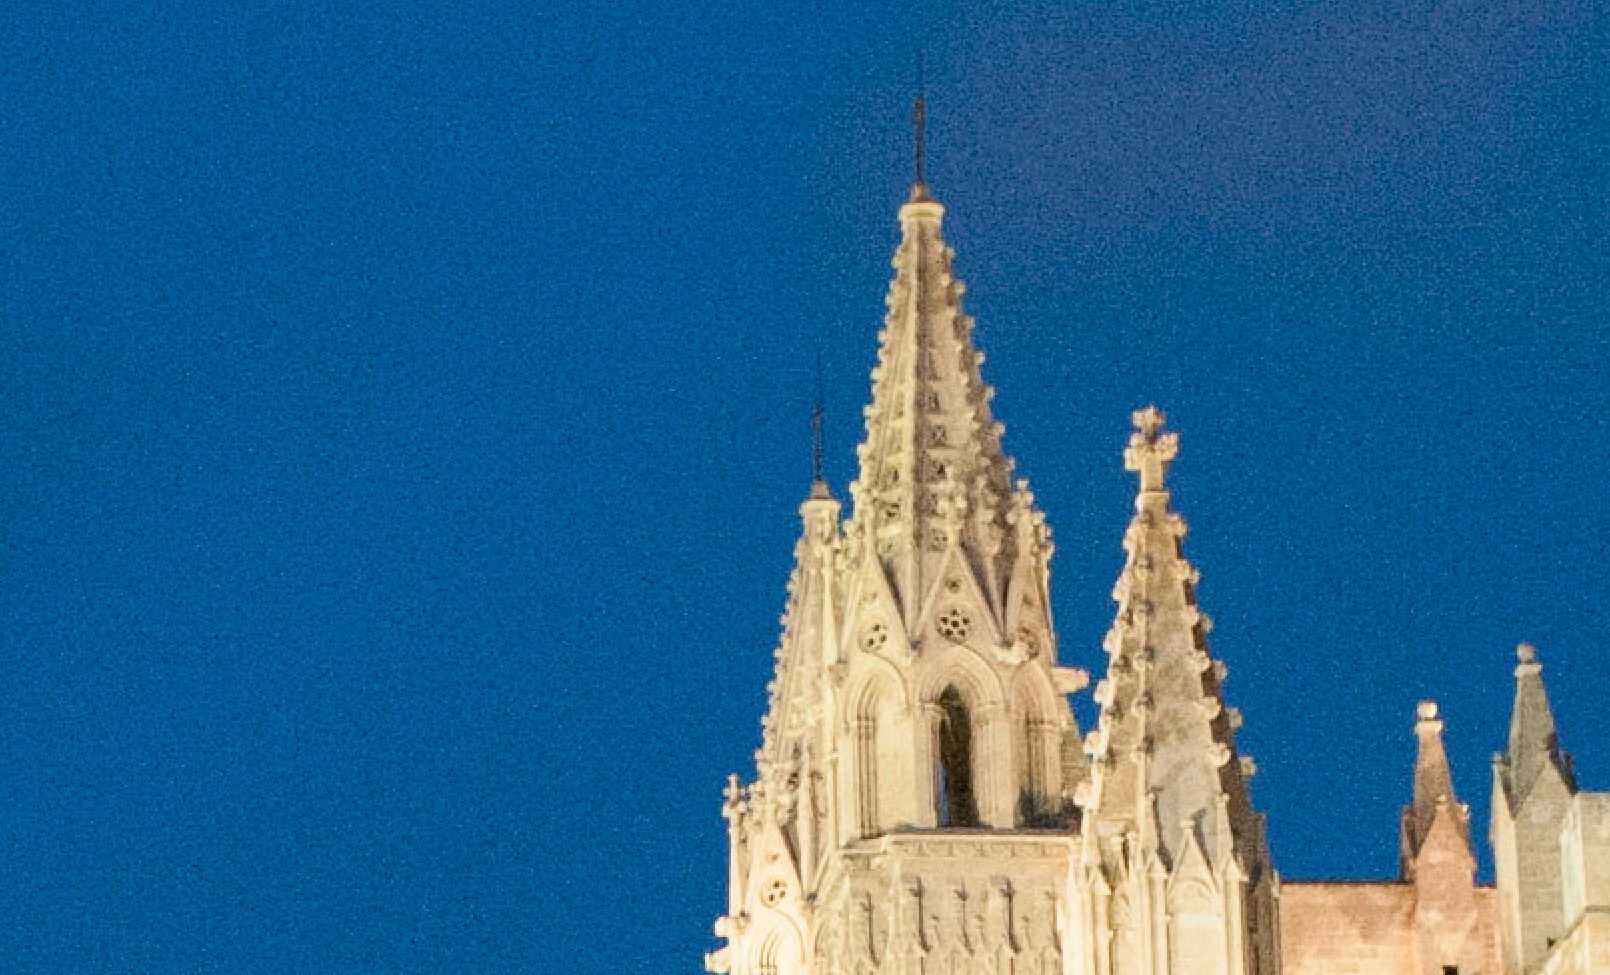
Photoshop/Lightroom Noise Reduction
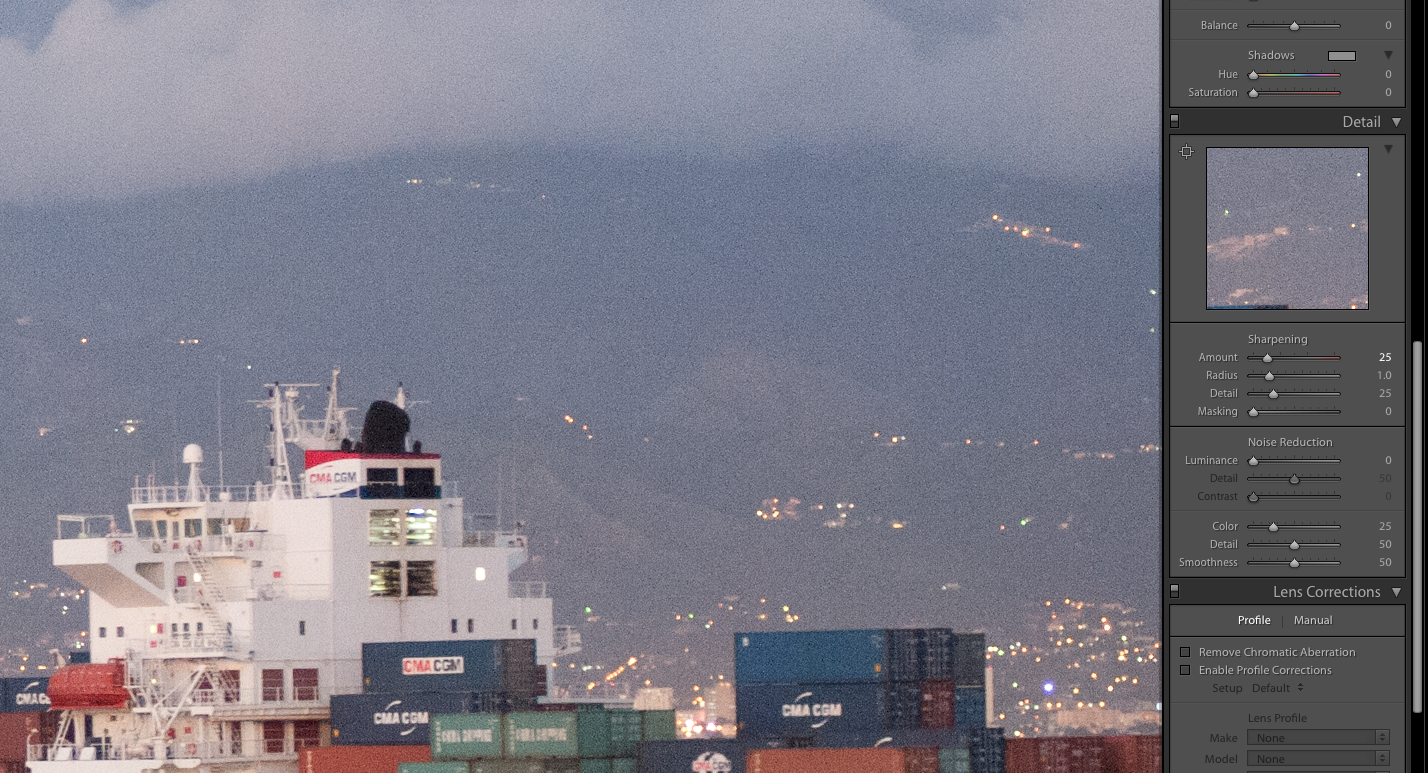
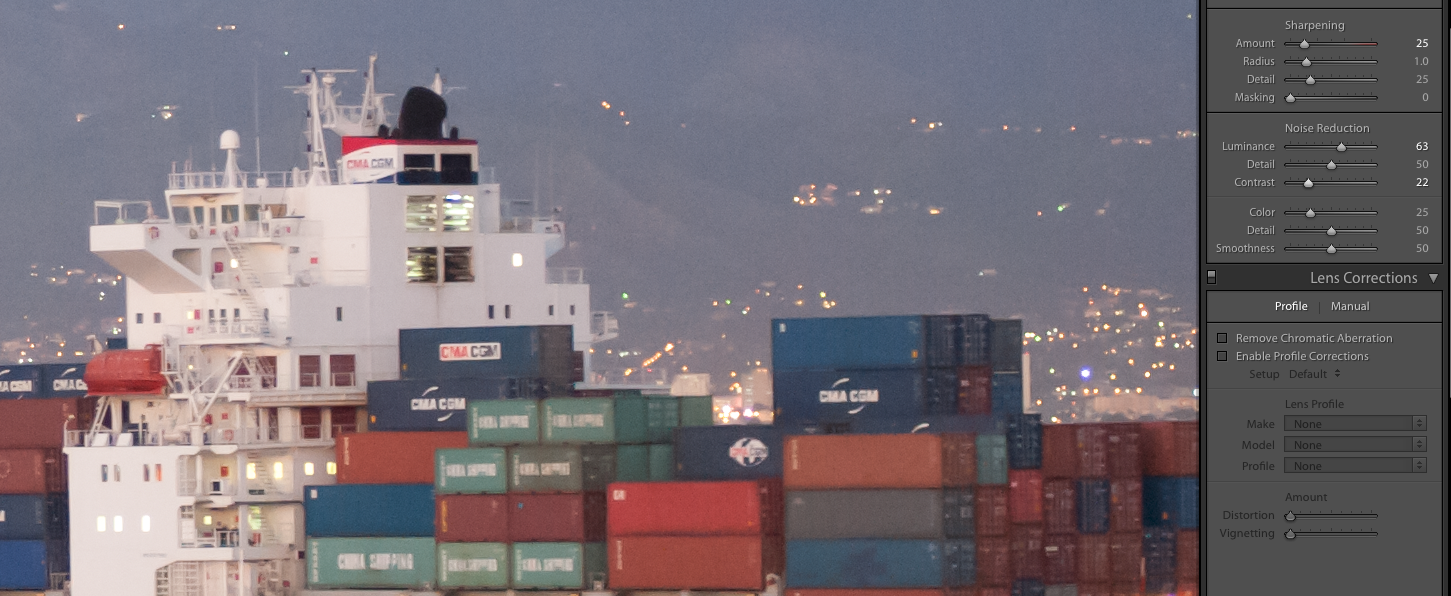
In Lightroom, noise reduction is found in the detail tab of the Develop module. It is split into two sections each with three sliders. The first section is for luminance noise, the second for chrominance noise.
For luminance, the sliders are Luminance, Detail, and Contrast. One very useful practice to remember is to press the Alt or Option key when moving the Luminance slider. This turns the image monochrome, allowing you to see the noise more clearly.
Another good practice is to zoom into the image at 100% or even 200%. You can do this through the menu item, View – Zoom In. Getting decent noise reduction is a matter of balancing these three sliders. If you slide the luminance to the right, you will see that the grain of the noise will slowly disappear but at the cost of overall sharpness. Slide the luminance until the noise has just about gone.
We now use the Detail slider to bring back some of the detail. Slide it right until we start to see the grain reappear, then back it off very slightly. If the image has lost a little contrast, we can pull that back using the Contrast slider.
Although color or chroma noise is much rarer, we use the same principles as for luminance noise. Move the color slider first until the noise has just disappeared, then return the sharpness with the detail slider before fine adjusting the smoothness if required.
In both these Lightroom cases, the key is to start with the upper control and work down. You need to be subtle with the movements, pushing the slider just far enough to have an effect on the noise but not so far as to degrade the image.
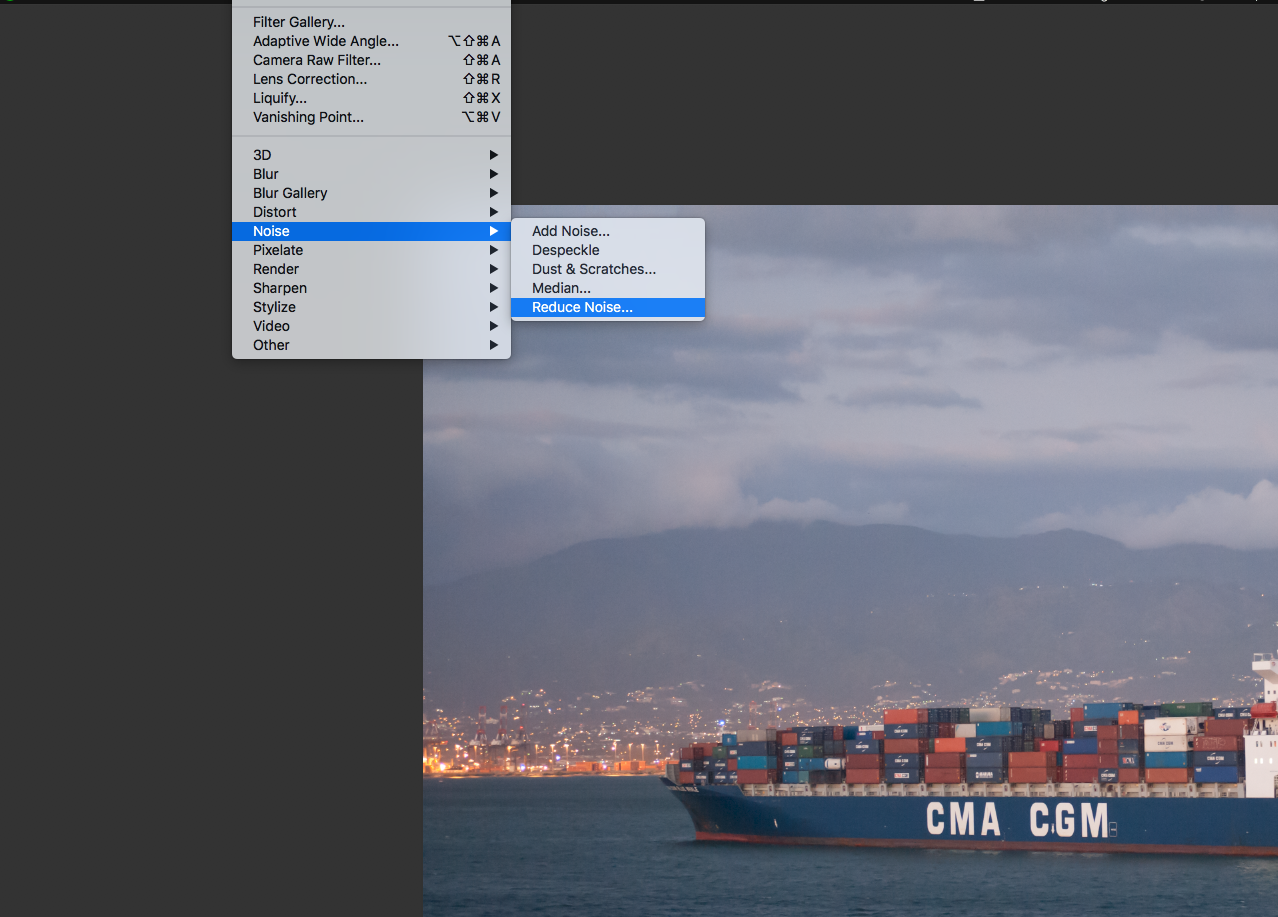
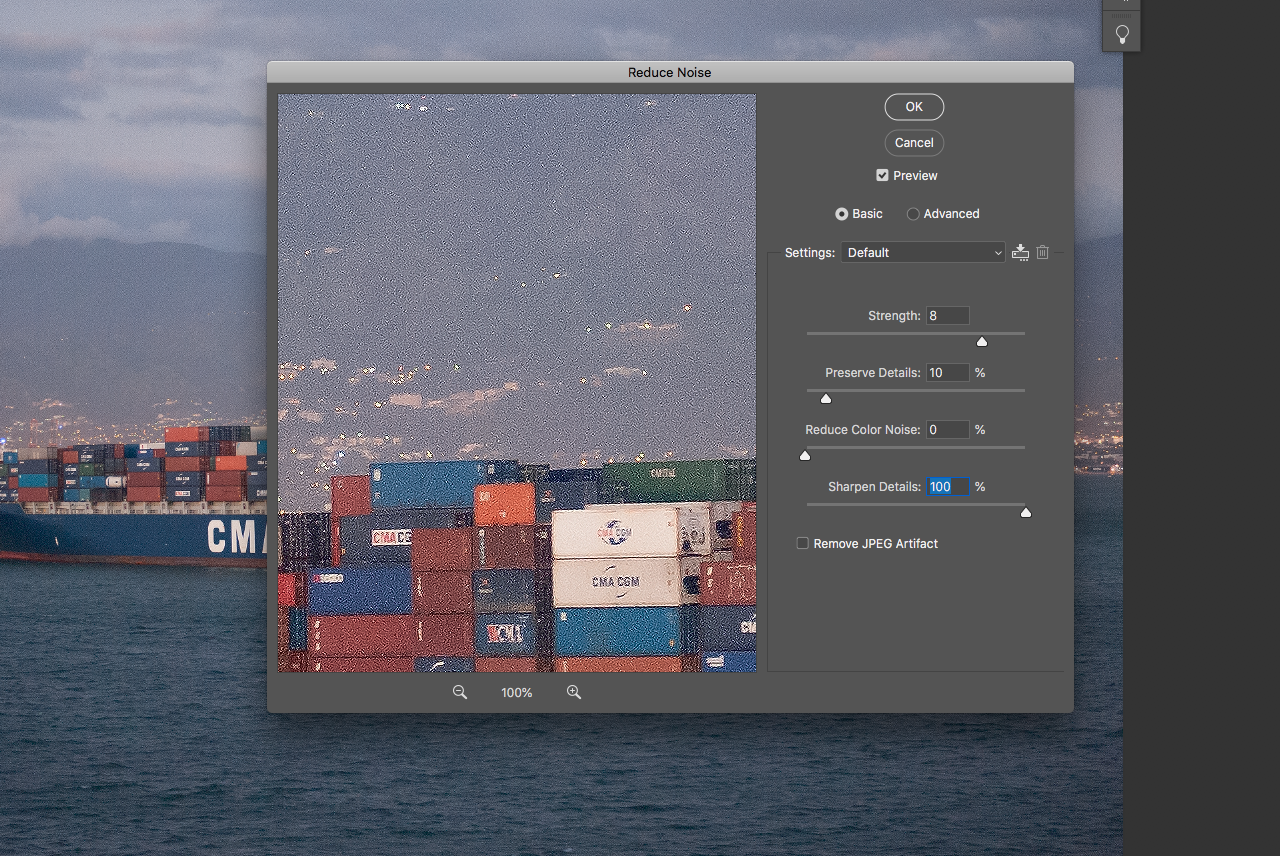
In Photoshop, the luma and chroma noise settings are found under the same noise reduction filter. This is found by going to Filter – Noise – Reduce Noise. Like with Lightroom we work from top to bottom. Strength is the equivalent of Luminance in Lightroom. We slide this right until the noise has just disappeared.
Preserve Details is the equivalent of Details and Sharpen Details works similarly to Contrast. If we have only luminance noise we do not need to touch the Reduce Color Noise slider. You can check an image for color noise by setting the Strength midway then moving the Reduce Color Noise from minimum to maximum. If there is no effect on the image, then your noise is purely luminance.
Like in Lightroom, you should work with the image at 100 or 120% view. However, in Photoshop, the noise reduction filter has its own larger window where we can zoom into the image separately from the main Photoshop window.
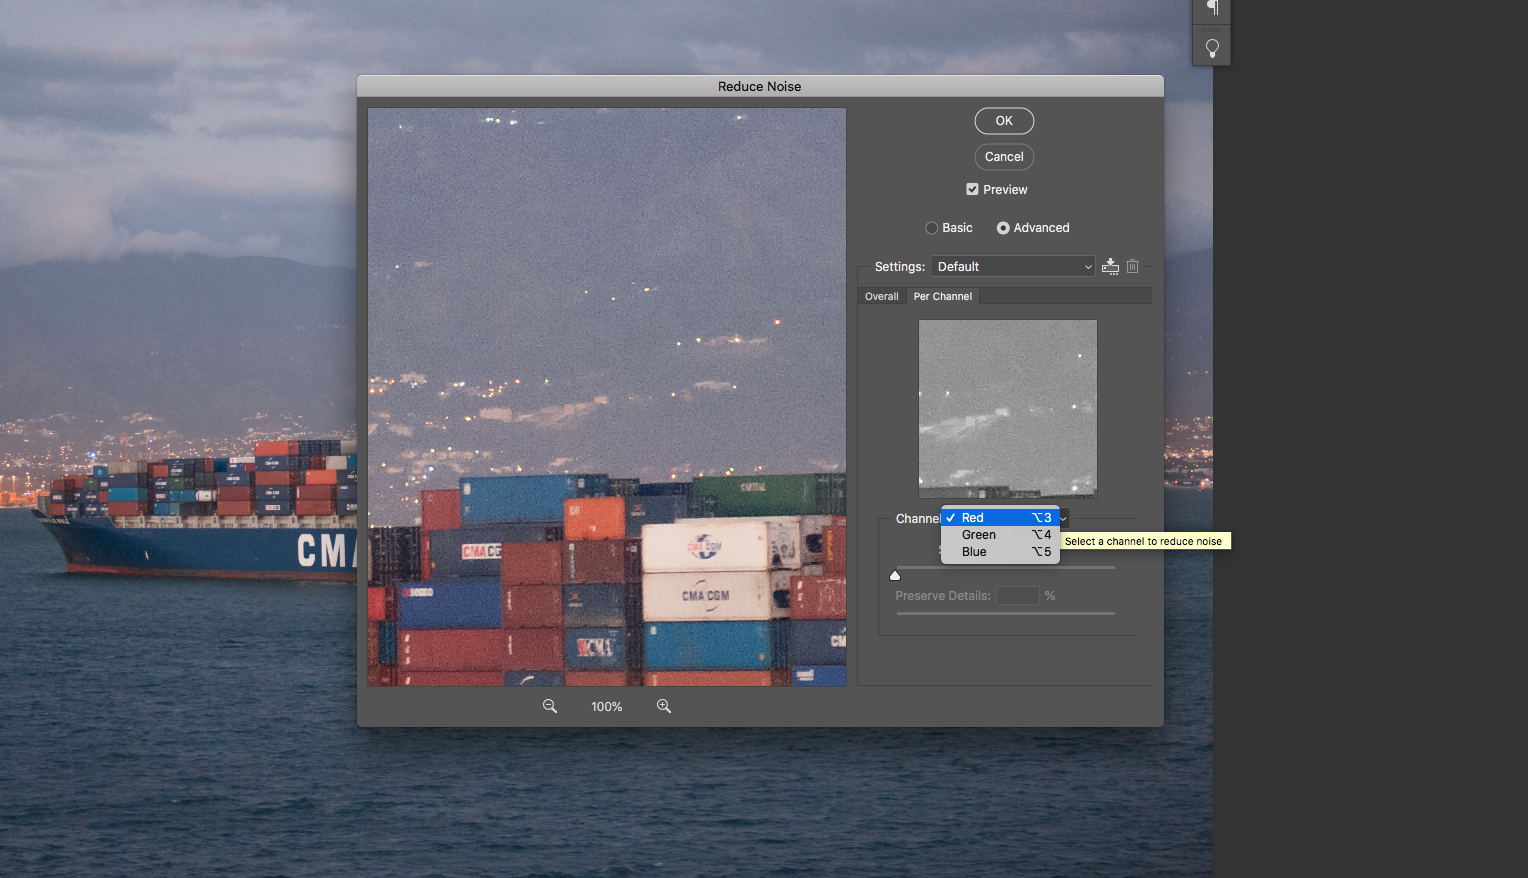
Under the Advanced checkbox, we can also attempt to reduce noise on a per channel basis. Because Red, Green and Blue light have different wavelengths, it is possible that we can get more noise in one channel than the other.
Another feature of the Photoshop noise reduction filter is the ability to save settings as a preset. We can also choose to remove JPEG Artifacts, a kind of jagged line around straight line contrast when reducing noise in JPEG files.
In Photoshop it is advisable to carry out our noise reduction on a new layer as it is a destructive process.
In summary, noise reduction is a balancing act between the strength of the reduction and returning details back to the image. You should always carry out noise reduction at 100 or 200% view and make subtle small corrections to reduce noise.
These are the basics of noise reduction, in a future article we will look at some more advanced Photoshop techniques for reducing stubborn noise whilst maintaining detail.

