If you’re into portraiture or painting, you have probably heard about Rembrandt lighting. It’s named after the great master of painting, who often used it in his own work.
This type of lighting can be used in studio portrait photography and it’s not complicated to achieve it. You need just one light and a reflector, or perhaps two lights if you want more elaborate results. Rembrandt lighting is popular because it can produce portraits that look quite refined and compelling.
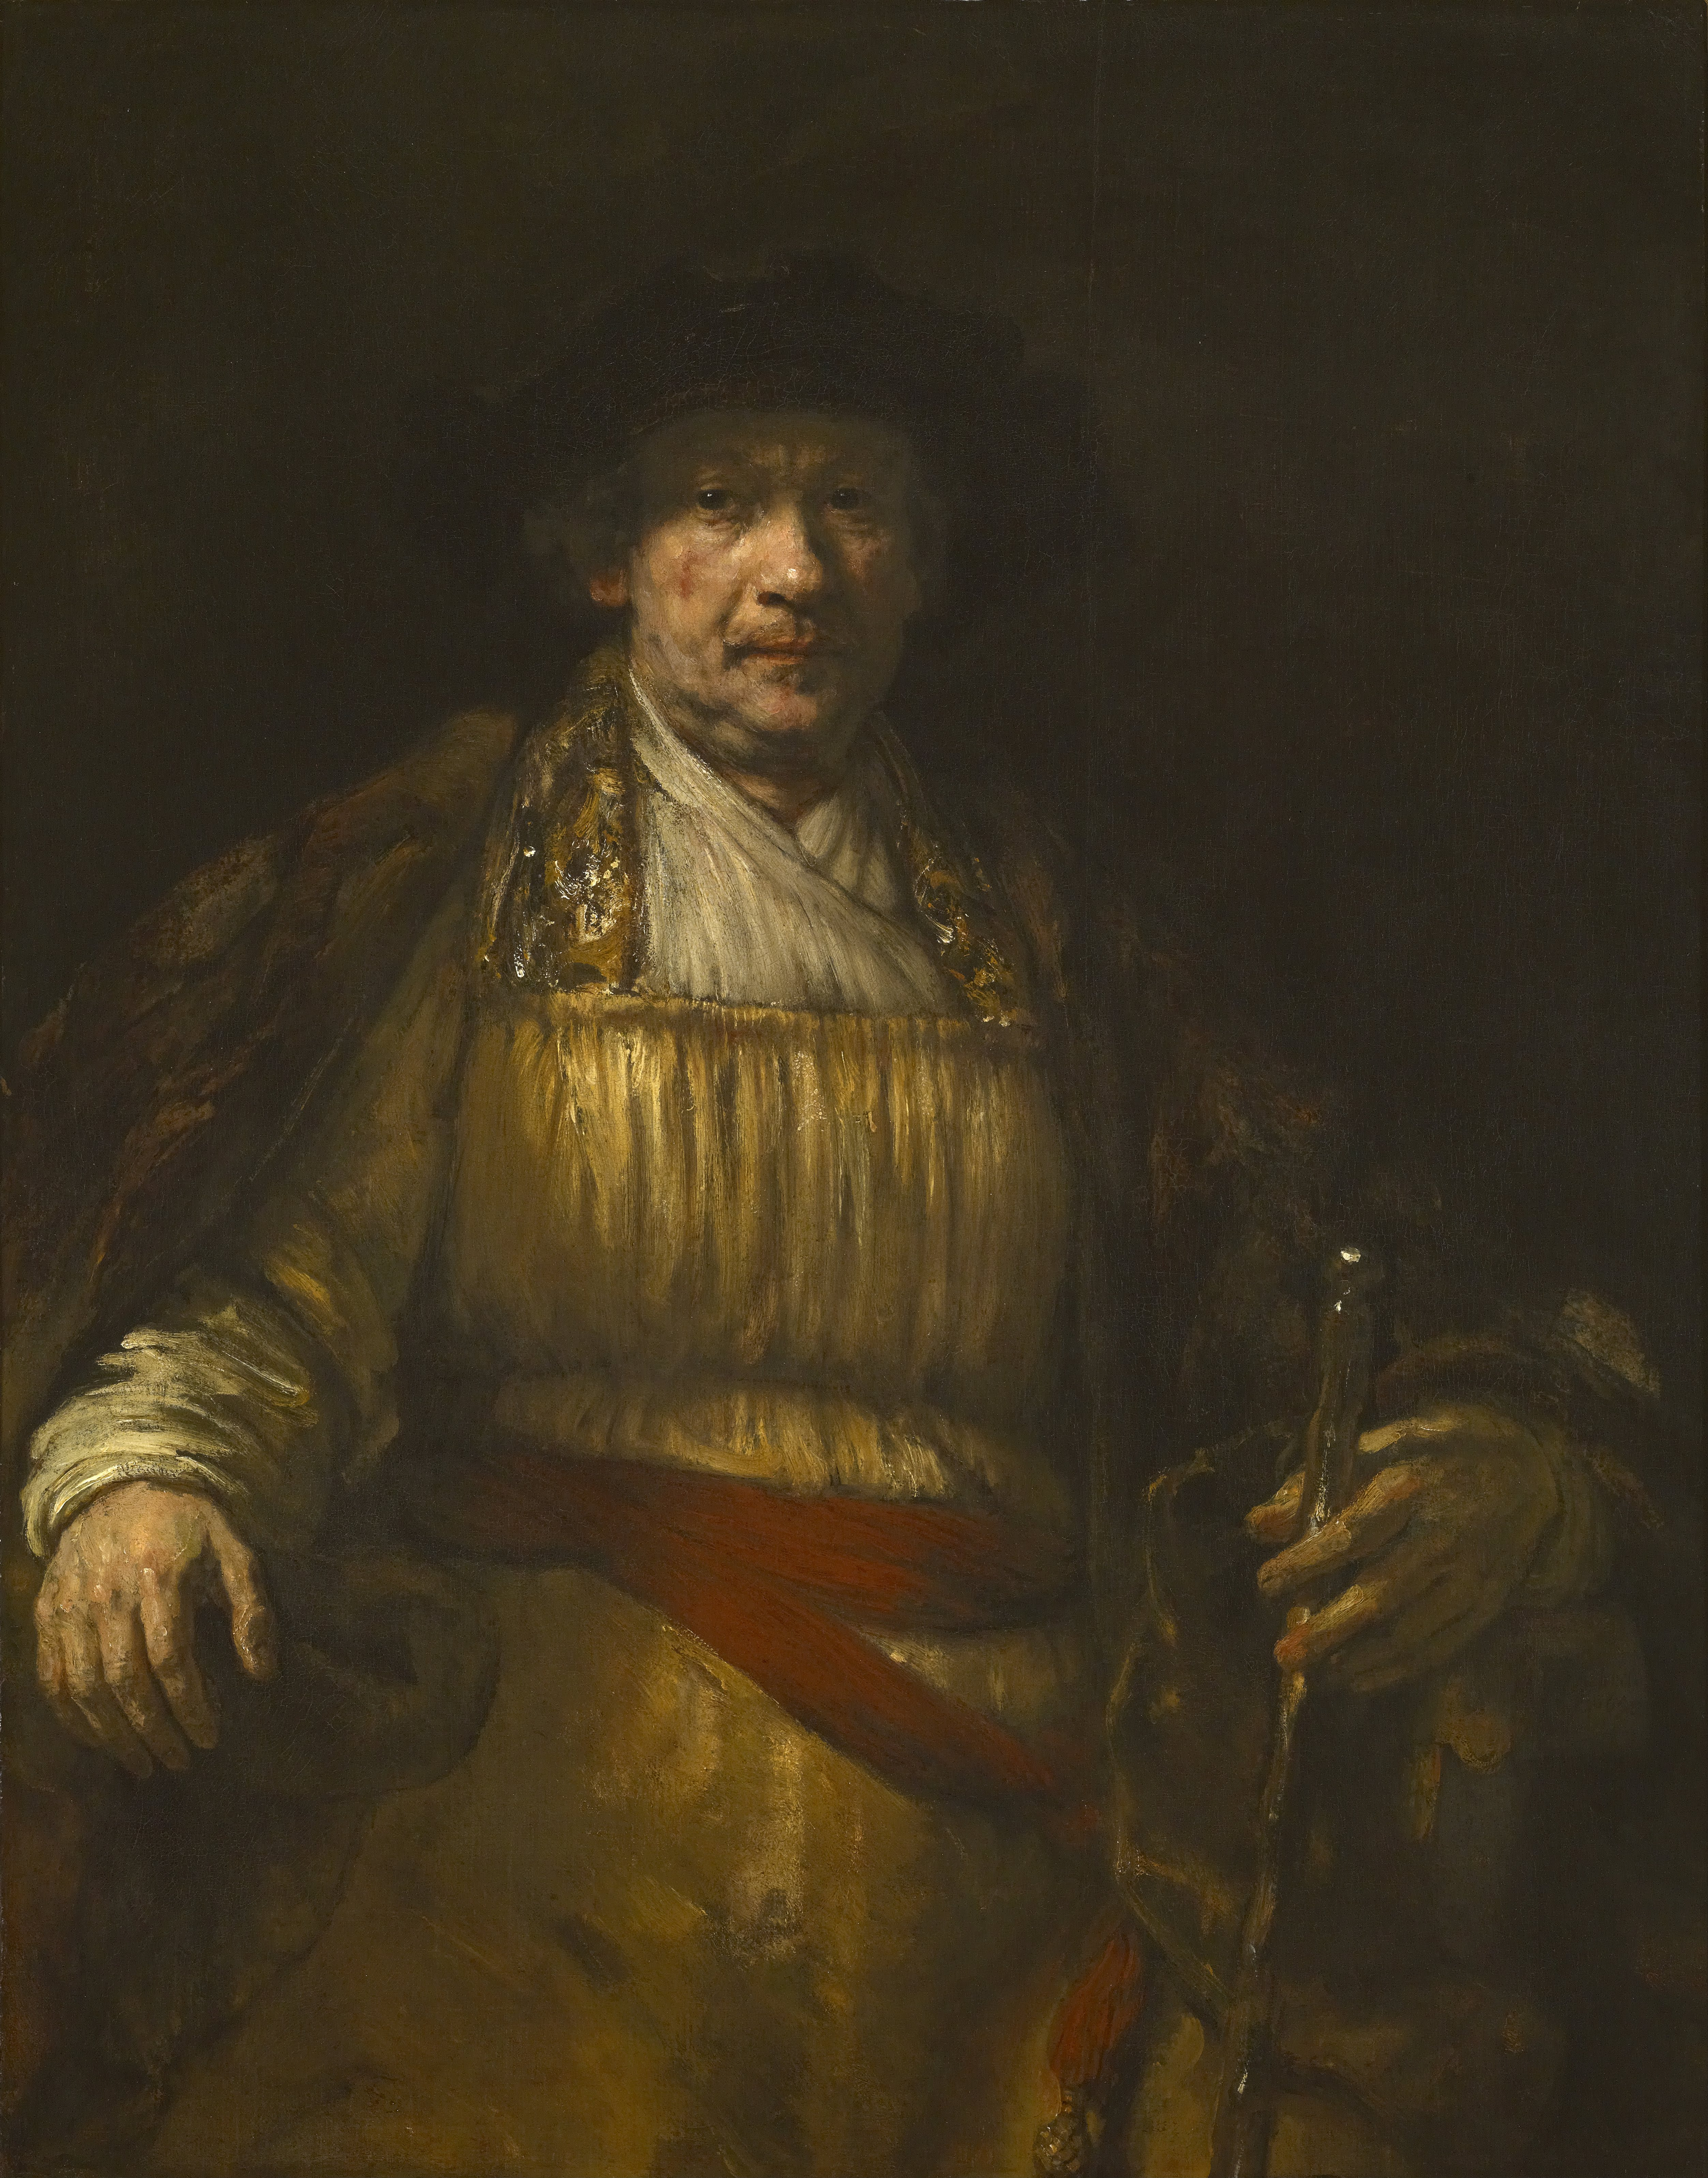
It’s easy to recognize this lighting – it’s characterized by an illuminated triangle under the eye of the subject on the darker side of the face.
The following tips will help you understand how to set up Rembrandt lighting and when to use it.

Rembrandt Lighting Setup
You won’t need much gear for this:
- Camera
- Off camera light source (either flash or continuous lighting)
- Light stand (1 or 2)
- Reflector (32” or 42”)
Rembrandt lighting is constructed with a single light source (key light) placed approximately 45 degrees offset from the subject and a bit higher than eye level. This single light source should be supplemented with a reflector or a second light (fill light) placed roughly 45 degrees from the darker side of the face. This fill light or reflector should slightly lift the shadows on the darker side of the face.

In case you’re using a fill light, you should set it at half the power of the main light source.
If your setup is correct, it will create the triangle of light underneath the subject’s eye. Bear in mind that this triangle shouldn’t be longer than the nose and wider than the eye of your subject. The right proportions are extremely important in this case! You should also make sure to get catch lights in both eyes of your subject.
In addition to this, one side of the face should be well-lit from the main light source while the other side of the face should be darker. This interaction of shadows and light is also known as chiaroscuro technique in painting.
The results of a Rembrandt lighting setup can be easily altered by changing the distance between subject and lights or changing the strength of the main and fill lights. It’s possible to achieve both subtle and dramatic effects, depending on your artistic visions.

When To Use Rembrandt Lighting
It’s good to know that Rembrandt lighting is considered very flattering and glamorous. Because of this, it was commonly used in old Hollywood portraits.
Rembrandt lighting works particularly well for models will full or round face, because it can slim the face and add more definition to it. For the same reason, it’s not the best option for people with narrow faces, because it can give them rather gaunt and grim look.
Since it makes faces more defined, Rembrandt lighting was known as ’’masculine’’ lighting among some old school photographers. However, it’s interesting to mention that Rembrandt himself painted women using basic Rembrandt lighting, so there is no reason to avoid it in female portraits.
In fact, there are certainly many women who would prefer a defined look over a soft one. You should talk with your models and understand their personal aesthetics, because the choice of lighting can strongly influence the overall atmosphere of portraits.

The Difference Between Rembrandt Lighting And Other Setups
Rembrandt lighting is one of the five basic setups used in studio portrait photography. The other four types are broad, short, split portrait and butterfly lighting. There are two things that distinguish Rembrandt lighting from the other four setups – it illuminates one half of the subject’s face and it forms a triangle of light on the darker side of the face.
Actually, this triangle of light is the only thing that distinguishes Rembrandt lighting from simple short lighting. Because of this, Rembrandt lighting is often considered a variation of short lighting.

Why you should use Rembrandt lighting? Because it’s simple yet amazingly effective lighting that can be flattering to a variety of subjects. Even if you’re an amateur photographer, you can experiment with this type of lighting – all you need is a single flash unit and a homemade reflector!
In case you want to learn more about lighting in photography, check out the following links!
Further Resources:
- 5 Free E-Books to Help You Get Better at Lighting in Photography
- Bite Size Tips: 3 Wonderful Lighting Conditions For Portraits
- Bite Size Tips: What Is High Key Lighting And How To Set It Up
- 6 Portrait Lighting Patterns Every Photographer Should Know
- 10 Stunning Portrait Lighting Patterns Using Just One Light
- Rembrandt Lighting In Your Portrait Photography


