You shouldn’t underestimate iPhone photography – nowadays, it’s not that hard to take high-quality, sharp images with your iPhone. Of course, you need to use various tricks and techniques to capture truly perfect iPhone images that can hold up against those taken with ‘’serious’’ DSLR and mirrorless cameras.
Check out the following 7 tips and learn how to snap tack sharp photos with your iPhone!
1. Stabilize Your Phone
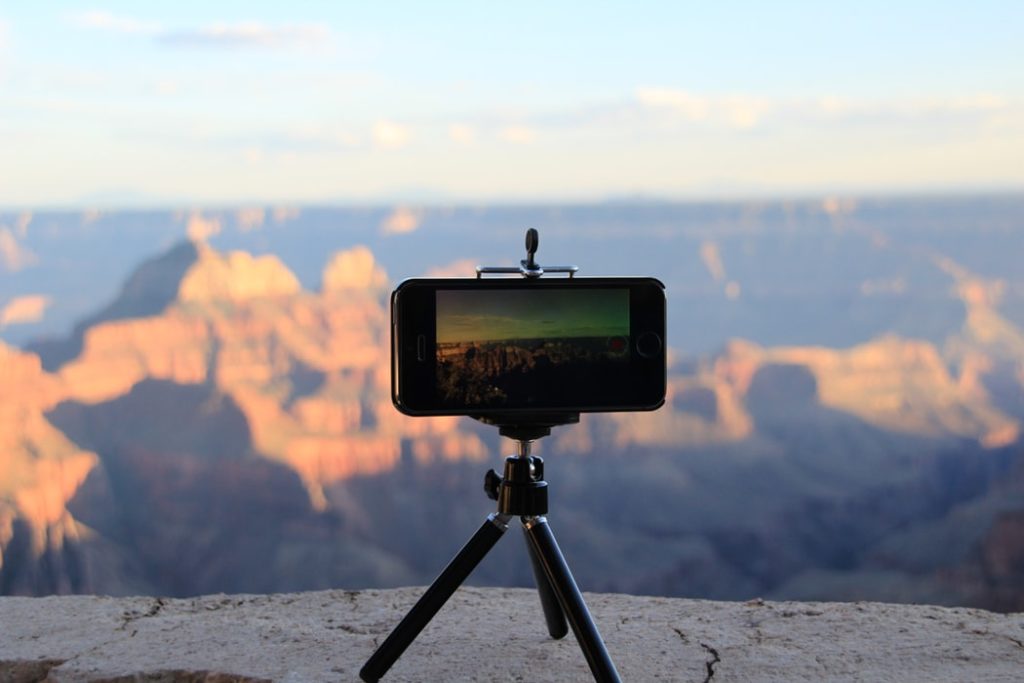
One of the most common reasons for blurry iPhone images is camera shake. You need to stabilize your phone especially if you plan to shoot in low-light conditions when the camera uses a slower shutter speed. Luckily, it’s quite easy to stabilize an iPhone – you need to get an iPhone tripod and tripod mount. Such tripods aren’t expensive – they are available on Amazon for roughly $20.
In case you don’t want to buy a tripod, you can also improvise by placing your phone on a solid surface such as a wall, bench and so on.
2. Mind The Exposure
Sticking to adequate exposure (not too bright and not too dark!) will ensure you can see tack sharp details in the scene you’re shooting. If your image is underexposed or overexposed, you can easily lose details and their sharpness.
Correct exposure will also allow you to avoid blurriness caused by slower shutter speeds.
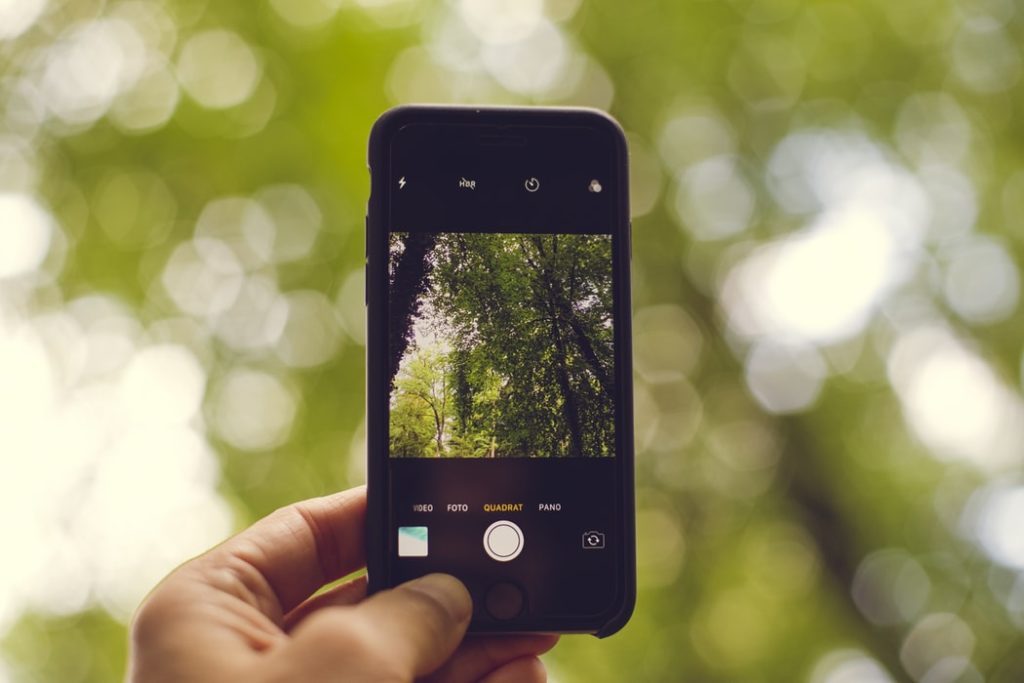
It’s straightforward to change the exposure on an iPhone – you need to tap to set focus on your main subject and then swipe up or down to adjust the exposure.
3. Set Your Focus Properly
You should know that issues with focusing can occur in any lighting conditions. If you always rely on your iPhone’s autofocus, it will undoubtedly let you down from time to time.
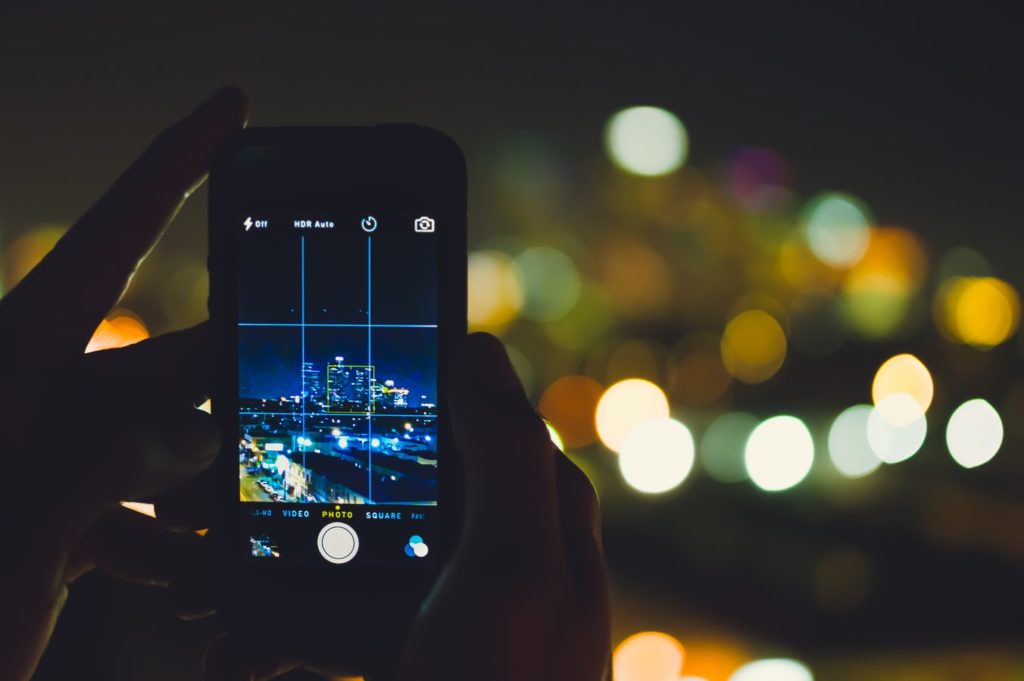
To set the focus manually, you need to tap the screen in the native camera app on your iPhone – the focus square will pulse twice and indicate that focus is locked. You can reframe the picture thanks to this option and put the sharp subject even at the very edge of the frame if you want – this would be impossible to do with autofocus.
4. Avoid Motion Blur
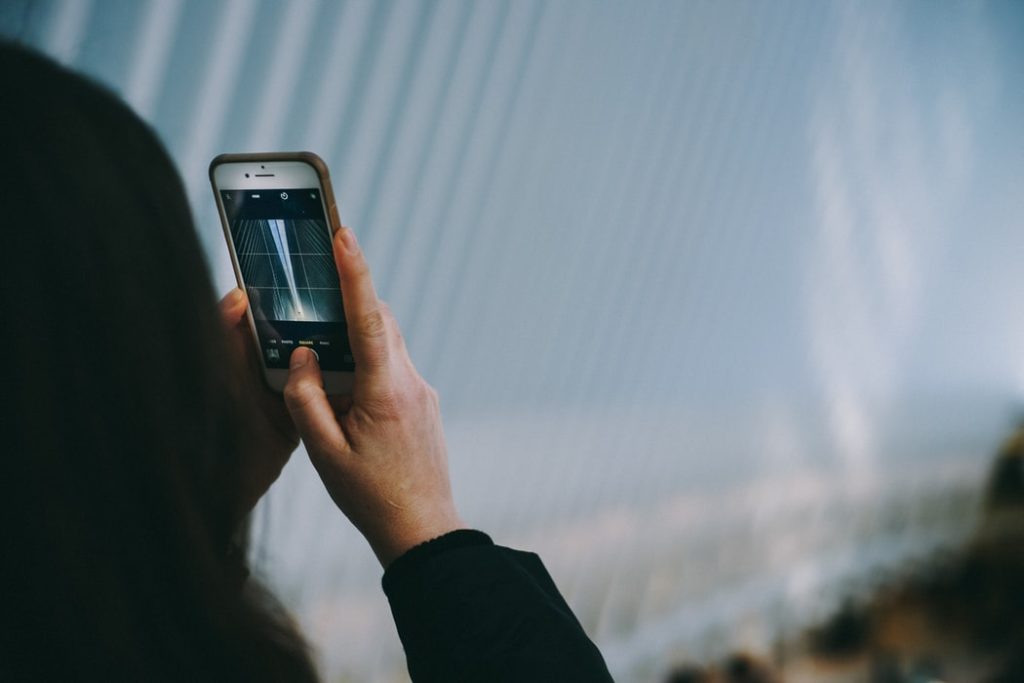
Motion blur is very likely to occur if you decide to shoot moving subjects. If you want your entire image to appear sharp, you need to shoot stationary subjects.
Of course, sometimes it’s impossible to avoid moving subjects in the scene, especially if you’re shooting in the city. In that case, you should use burst mode to increase your chances of getting at least one sharp shot.
5. Avoid Grain
Grain quickly degrades the quality of photos and reduces their sharpness. Three common factors can introduce grain – low light, over-processing and a mediocre camera sensor.
You don’t have to worry about the quality of your iPhone’s sensor because the newer models of the iPhone have quite impressive sensors that can offer amazing clarity and sharpness. However, a high ISO setting will result in a noisy image – the iPhone cannot beat DSLRs and mirrorless cameras when it comes to ISO capabilities.
When it comes to over-processing, that’s something you can control easily. If you want to preserve details and sharpness of your image, stay away from aggressive filters.
6. Use Headphones As A Shutter Release
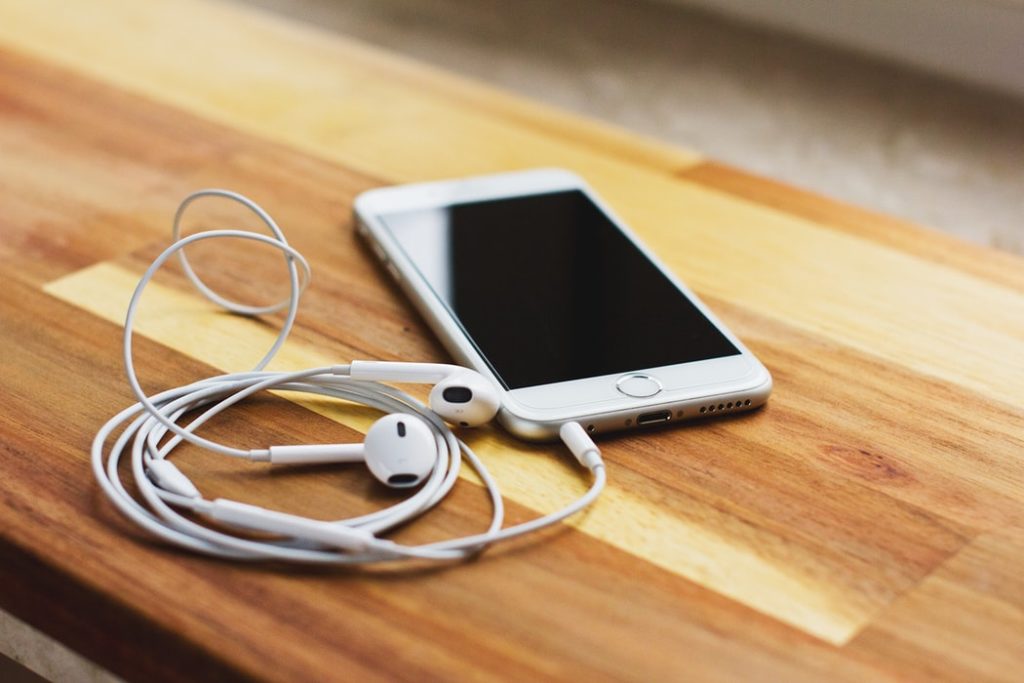
Here is a little-known iPhone trick that can help you take sharper photos: use the volume buttons on your headphones as a remote shutter release. It turns out that those basic Apple headphones can be truly useful for iPhone photography!
You can take photos by pressing the volume up and down on the headphone wire. This technique is fantastic for reducing camera movement since you don’t have to touch your iPhone to take a photo.
7. Sharpen Photos In Post-Processing
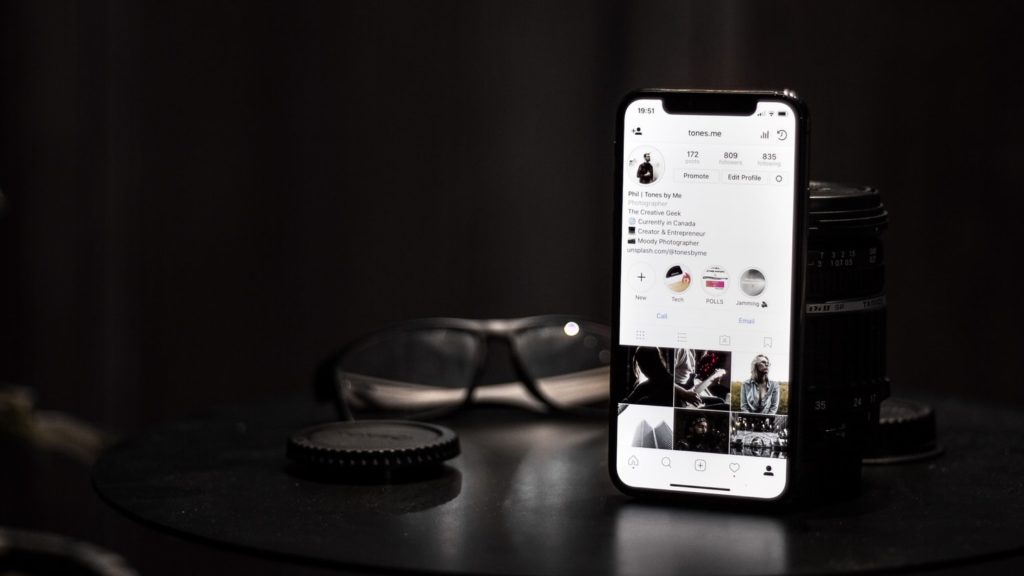
In case you tested the tips we mentioned, but you’re still not happy with the results, you can use various editing apps to sharpen your photos in post-processing. Bear in mind that less is more – over-processing will only degrade the quality of your iPhone images. On the other hand, subtle editing will help you achieve crisp images that you can share on social media. This is important especially for people who run business profiles on Instagram.
When it comes to iPhone apps with great sharpening tools, you should try Snapseed, VSCO, AfterLight, Faded or PS Express.
If you want to learn more about iPhone photography, feel free to check out the following links!
Further Resources:
- The 5 Immutable Laws Of Better iPhone Photography
- Long-Exposure App For iPhone
- Apple Just Released These Short iPhone X Photography Skills Videos
- How You Too Can Take Incredible iPhone Photos
- How To Create Bright And Sharp iPhone Photos
- Ten Tips For Taking Great iPhone Photos
Further Learning:
Let's be honest, for most of us, our phone is with us 99% of the time. This usually makes it the camera we have on hand when opportunity strikes. Learning to take great photos with your iPhone is another photography skill in your tool-box and if you want to take incredible iPhone photos that everyone loves and that you'll be proud of in years to come then take a look at the iPhone Photo Academy from iPhone Photography School.
They dive deep on the applicable traditional aspects of photography like composition and lighting, but where they really shine is getting into the insider info on the restrictions of shooting with a phone, great apps for editing and using phone-specific accessories that mean the results border on pro-level.
If you want to take your iPhone photography to the next level then check out the iPhone Photo Academy from iPhone Photography School today


