Do you find yourself spending more time indoors this time of year because you hate the weather? Is there something else keeping you from regularly venturing outside with your camera? You should know that being stuck indoors doesn’t mean you have to keep your camera on the shelf.
Indoor photography does, however, present a few challenges that will require you to make adjustments to your typical shooting technique.
If you plan to any indoor photography be sure to read over the 8 quick tips below before you get started.
1. A Window Is Your Best Friend
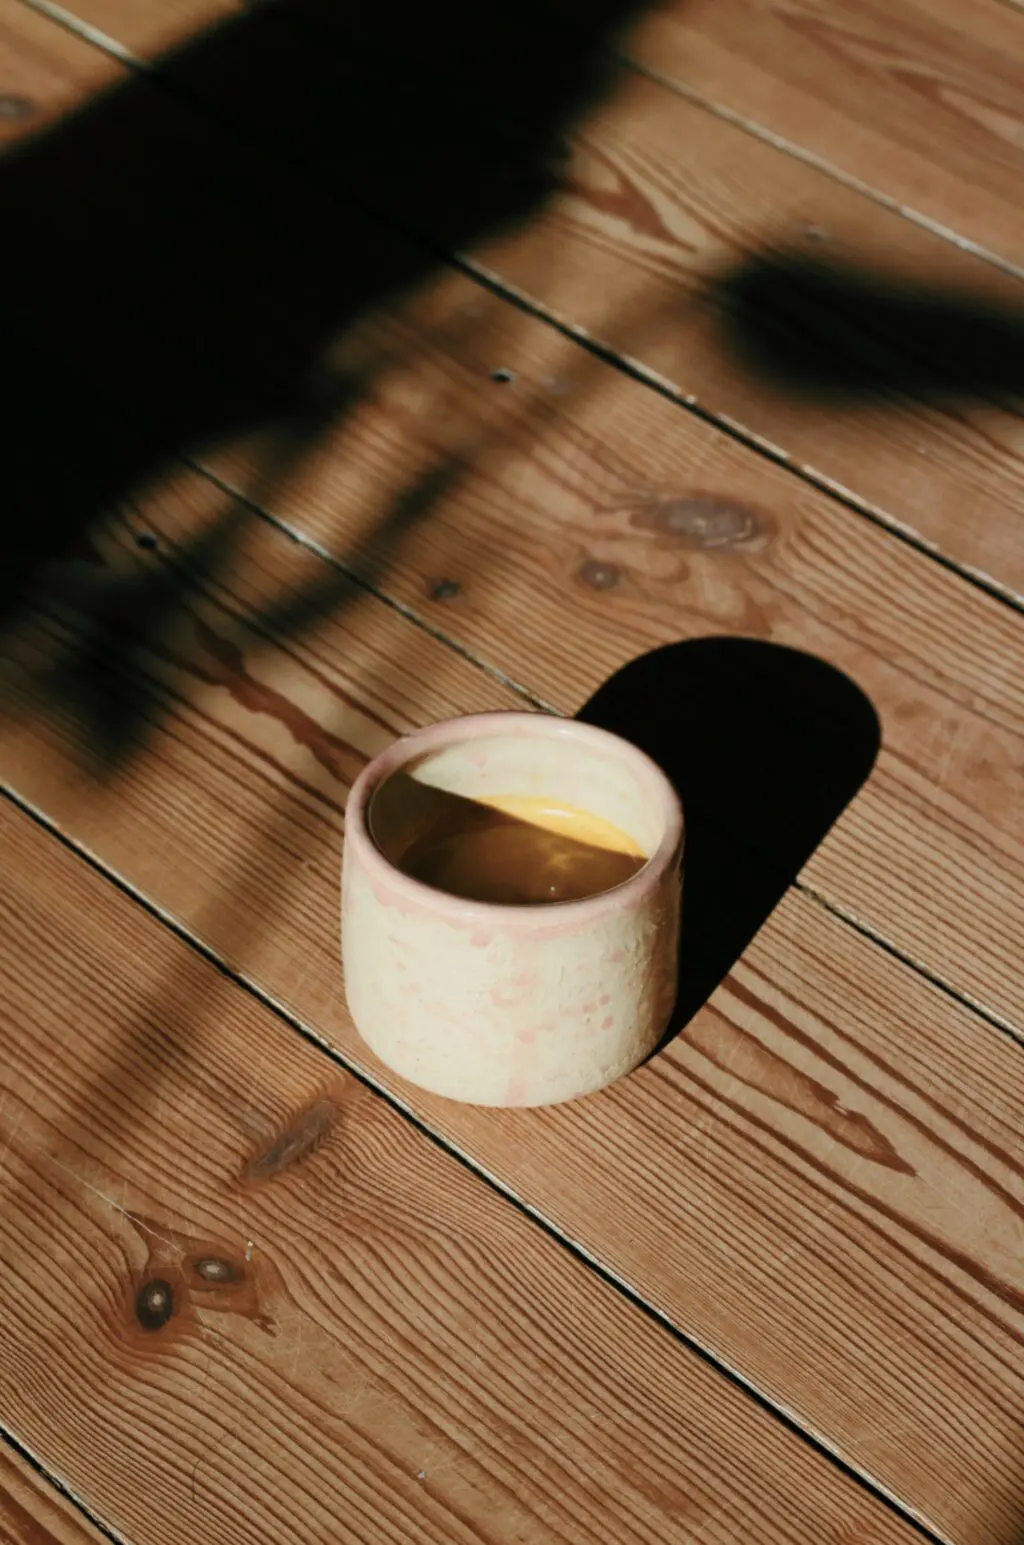
A window essentially serves as a large diffuser, so take full advantage of it. Depending on the time of day and the size of the window, it’s quite possible that window light is the only light source you will need or want.
Window light is deceptively bright (in some instances even brighter than a flash), but it is also wonderfully flattering. You can’t move the light around but you can move your subject around the light.
At various distances from and with different positions in relation to the window, you can achieve a multitude of effects. From a high contrast look to a silhouette to a hazy, mysterious look, window light is amazingly versatile.

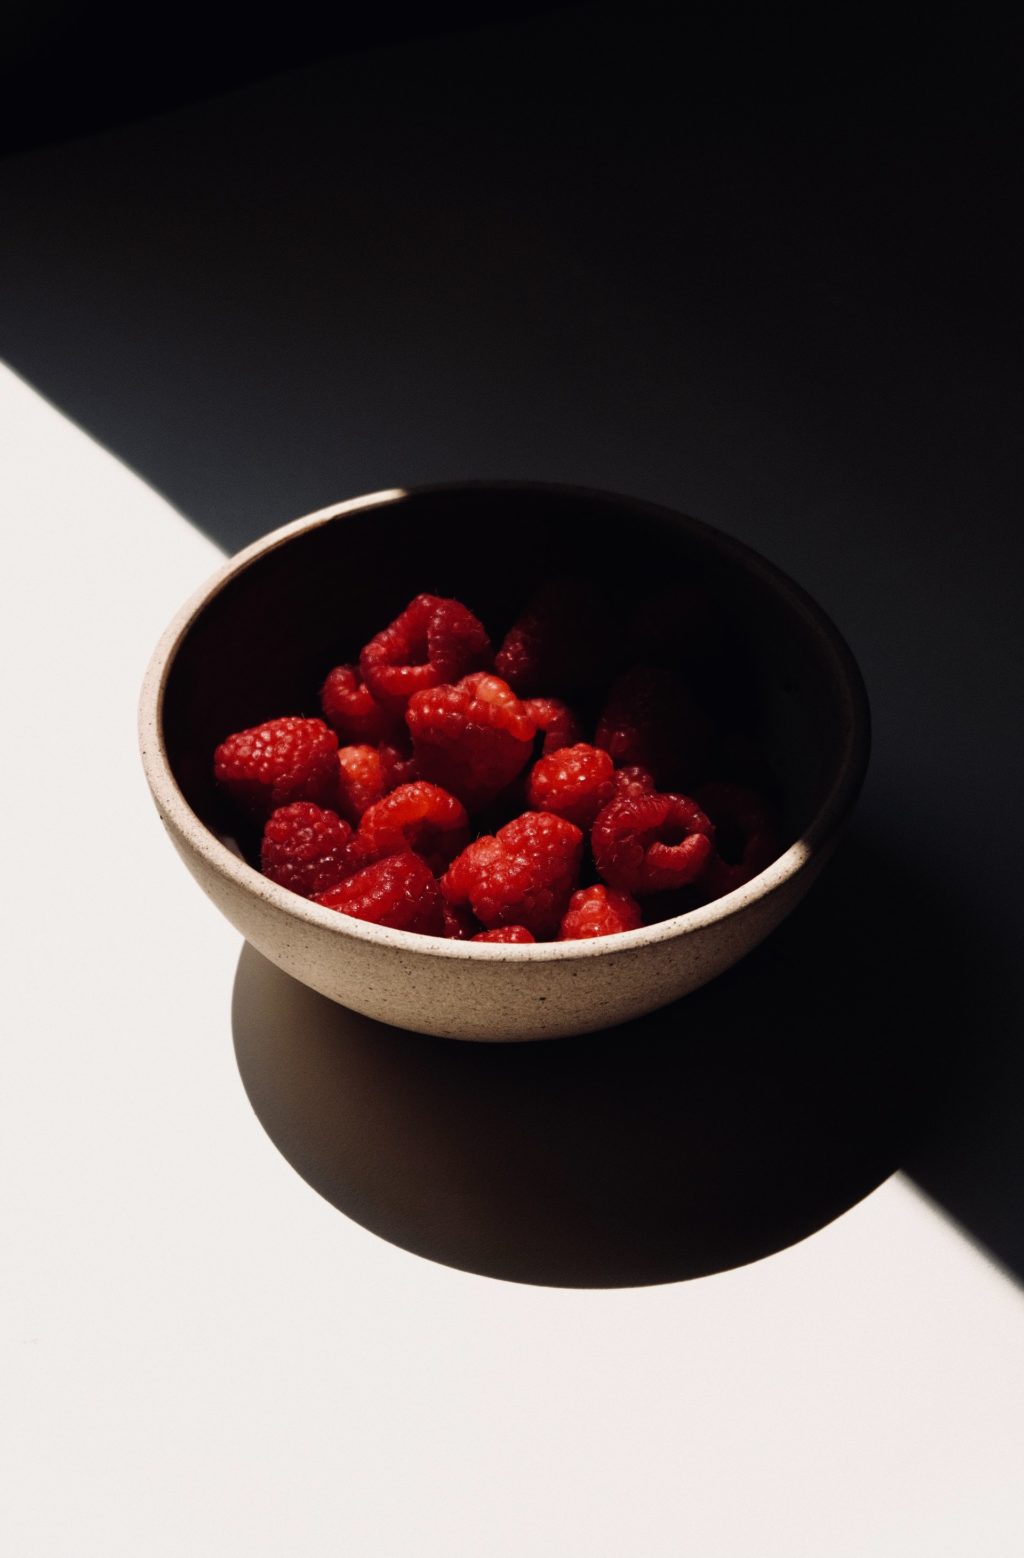
2. Turn Out The Lights
If you’re going to shoot indoors, you might as well embrace the experience to its fullest. Turn off all artificial lights.
Artificial light and natural light don’t mix seamlessly and can wreak havoc on white balance. This isn’t to say that it can’t be done, but you’ll probably find it a much more enjoyable and convenient experience to work with one or the other.
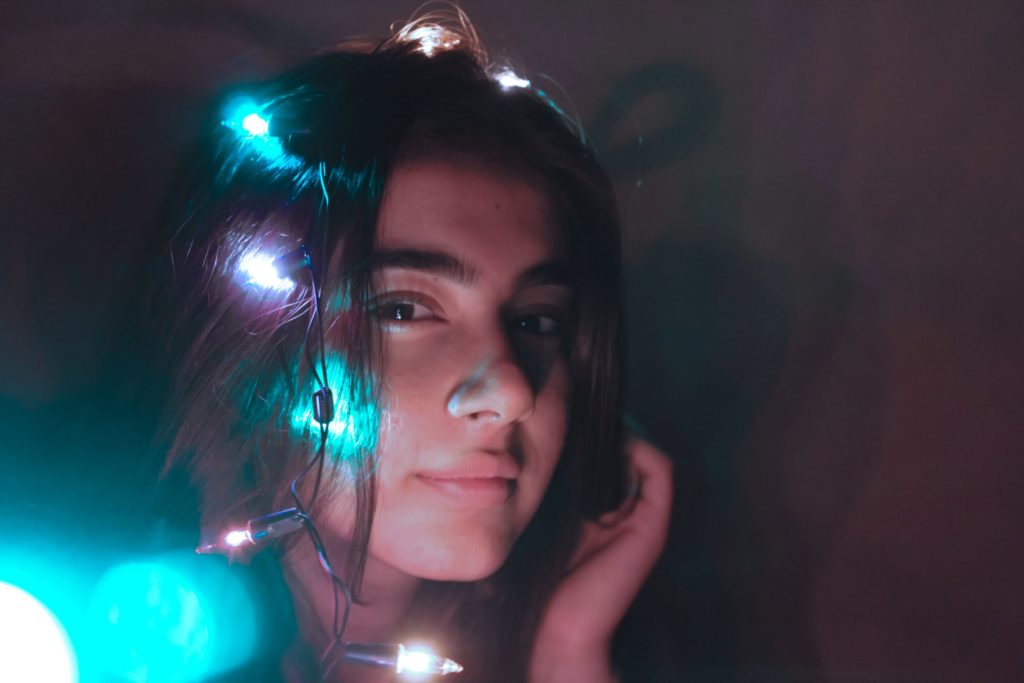
3. Make Do With Whatever Light Is Available
Even if it is artificial light. To be sure, there won’t always be a window (or a big enough window) available, but this isn’t a dealbreaker. Something as simple as a single light fixture with an incandescent bulb can, indeed, be put to excellent use.
Depending on the brightness of the light, you can go for a more dramatic effect using a bare bulb, or soften it up a bit by using a lampshade or some similar modifier.

4. Use A Reflector
If you tend to associate the use of modifiers with studio/strobe work, banish that thought. A reflector can be a powerful tool no matter the source of light, allowing you to further soften the light and knock out unwanted shadows.
5. Increase ISO
There seems to be a lot of anxiety over increasing ISO levels, particularly for portraiture, but it’s my opinion that most of the worry is unwarranted.
Odds are your camera handles low light admirably. Even if it doesn’t perform as well as you’d like it to, a bit of noise/grain can actually supplement the mood and overall aesthetic of indoor portraits.
6. Use A Tripod
If you do prefer to keep a lower ISO, then you’ll probably want to use a tripod in situations where you can’t get a fast enough shutter speed to avoid camera shake.
One thing to keep in mind when working with animate subjects: a tripod will steady your camera, allowing you to shoot at a slower shutter speed, but it has no bearing on your model. If your model moves, there will be blur.
7. Use A Flash
If you need or want to use a flash, that certainly is a viable option. You’ll want to modify that light, however.
Of course, there’s the aforementioned reflector. Or you can use an on-flash softbox. Or you can bounce the flash off the ceiling. Whatever you do, just aim a bare flash directly at your subject.
8. Take Control Of Your Camera
Low light photography typically demands you take more control over your camera. For optimal results, you may need to shoot in full manual — set the aperture, shutter speed and ISO on your own. Short of going full manual, shooting in aperture priority will be your best bet.
If your camera’s AF system struggles in low light, you’ll have to resort to manual focus. Take advantage of whatever focusing aids your camera provides (focus peaking, focus magnifier, etc.).
Final Thoughts
These are very basic tips, but if you’re unfamiliar with indoor photography or view indoor photography as a chore, this is the best place to start. Once you’ve wrapped your head around the adjustments you need to make, indoor photography may actually become fun for you.